Homemade Pita Bread Recipe : 3 Easy Methods
Learn how to make the ultimate homemade pita bread recipe with 3 easy methods for soft and fluffy results every time. This easy recipe creates delicious, warm pitas with perfect pockets, ideal for any filling!
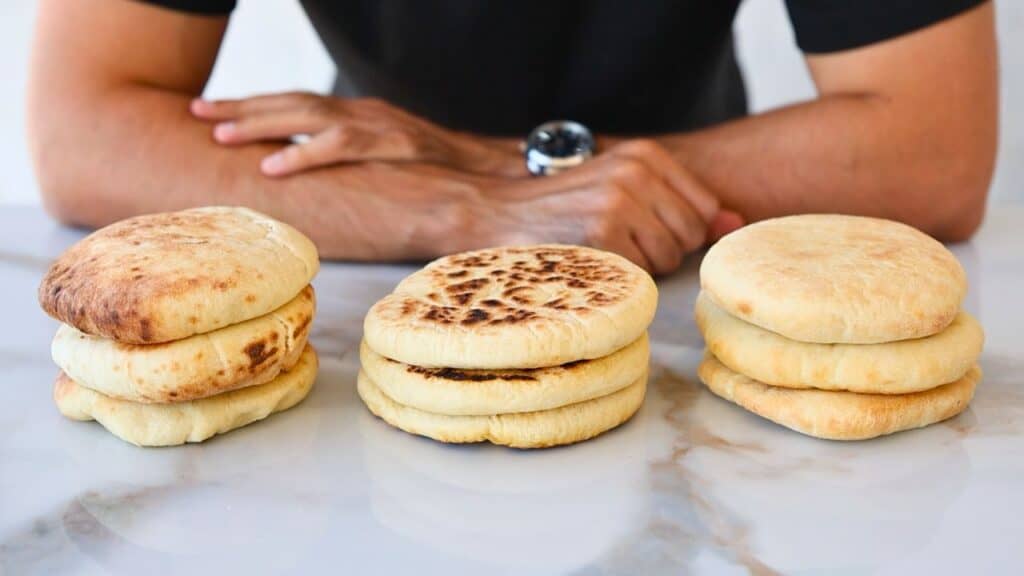
There’s something magical about certain bread recipes like homemade pita bread, garlic naan, and others. They puff up like magic, becoming the fluffiest and lightest things in the world. That’s why I love making bread at home!
Video Recipe: Homemade Pita Bread
I know many of you really like my video tutorials, so feel free to watch this video recipe. It will make it easier to understand the recipe and make the best fluffy pita bread.
Pita Bread Ingredients
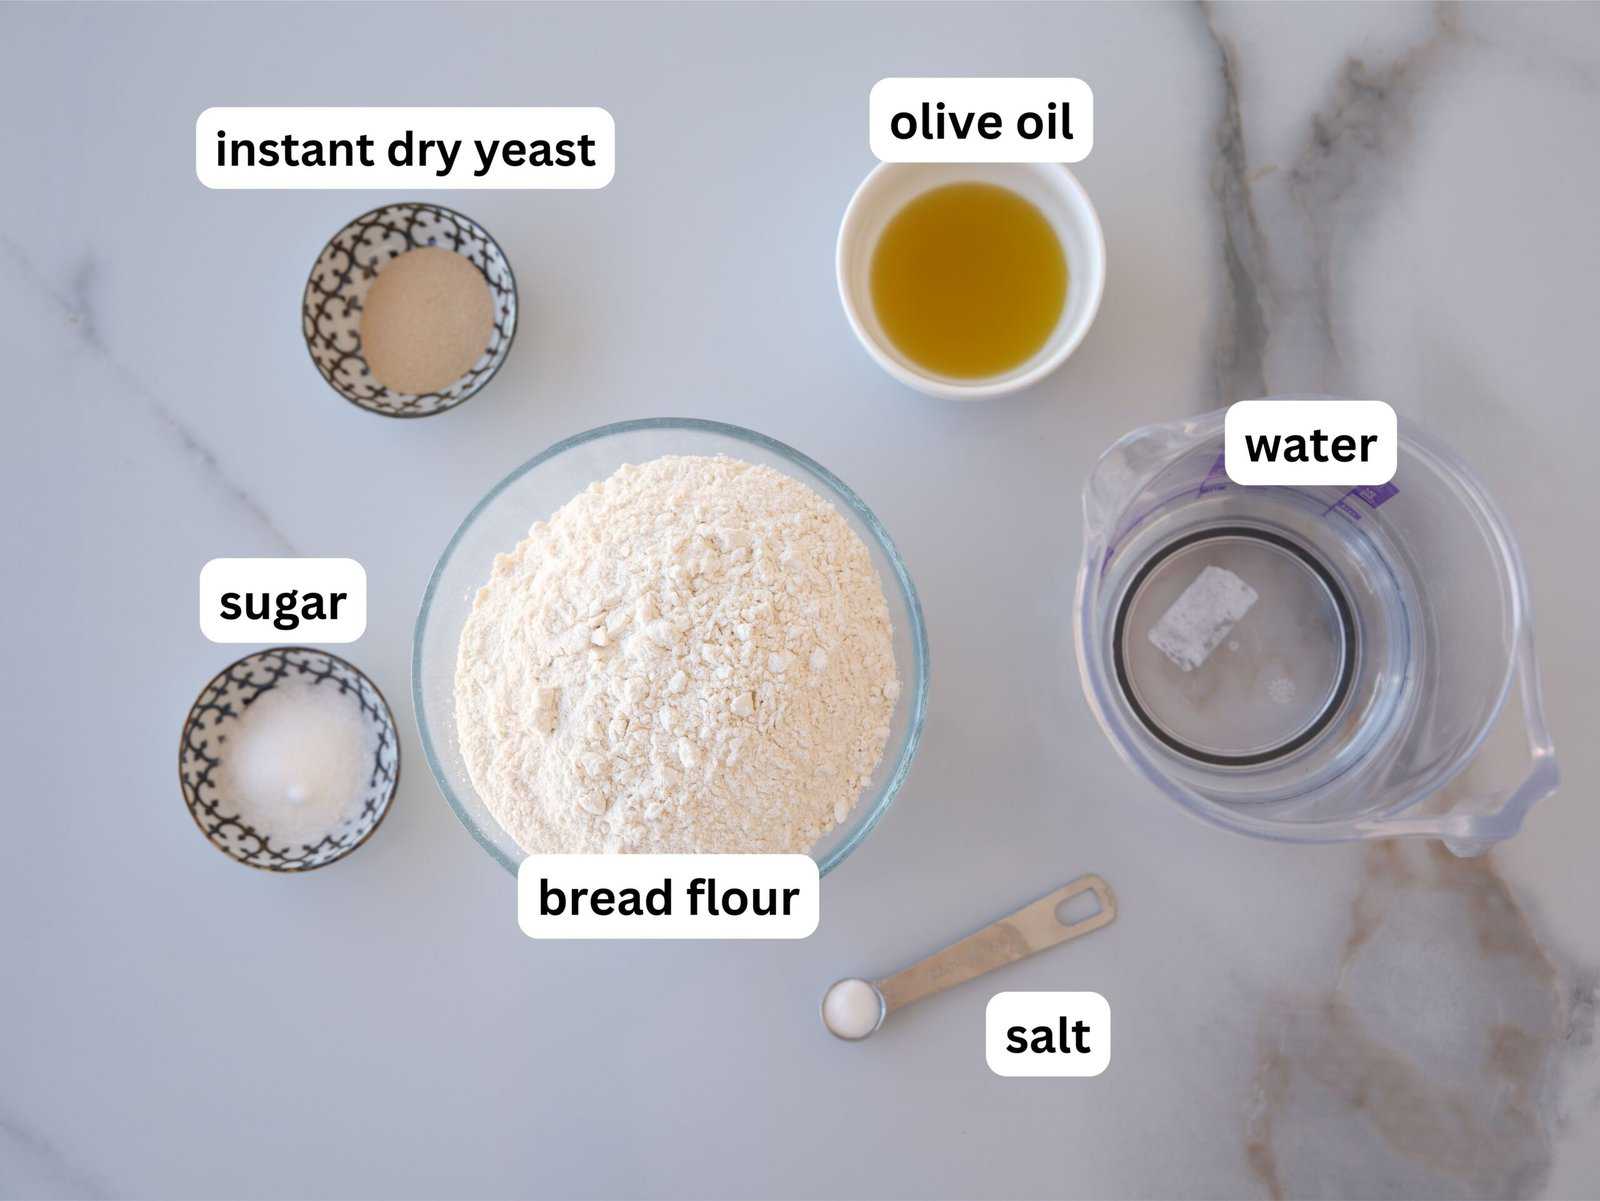
- Instant Dry Yeast: This is the key ingredient for leavening, helping the dough rise and giving pita its signature airy pocket.
- Sugar: A small amount of sugar activates the yeast, kick-starting the fermentation process for a soft and fluffy texture.
- Bread Flour: Bread flour is ideal for pita due to its high protein content, creating a dough that’s strong, elastic, and perfect for a pillowy soft finish.
- Salt: Enhances flavor and strengthens the dough structure.
- Olive Oil: Adds richness, helping the pita stay soft and tender while also giving it a hint of Mediterranean flavor.
This is just a short review of the ingredients; for the complete recipe, including quantities, scroll down to the recipe card.
How to Make Pita Bread Dough
This pita dough recipe works for all three methods, so you can make this easy dough and choose whether you prefer baking your pitas in a regular oven, making pita bread on a stovetop, or even baking pita bread in a pizza oven. More about all three methods later on!
1. Mix the Dry Ingredients
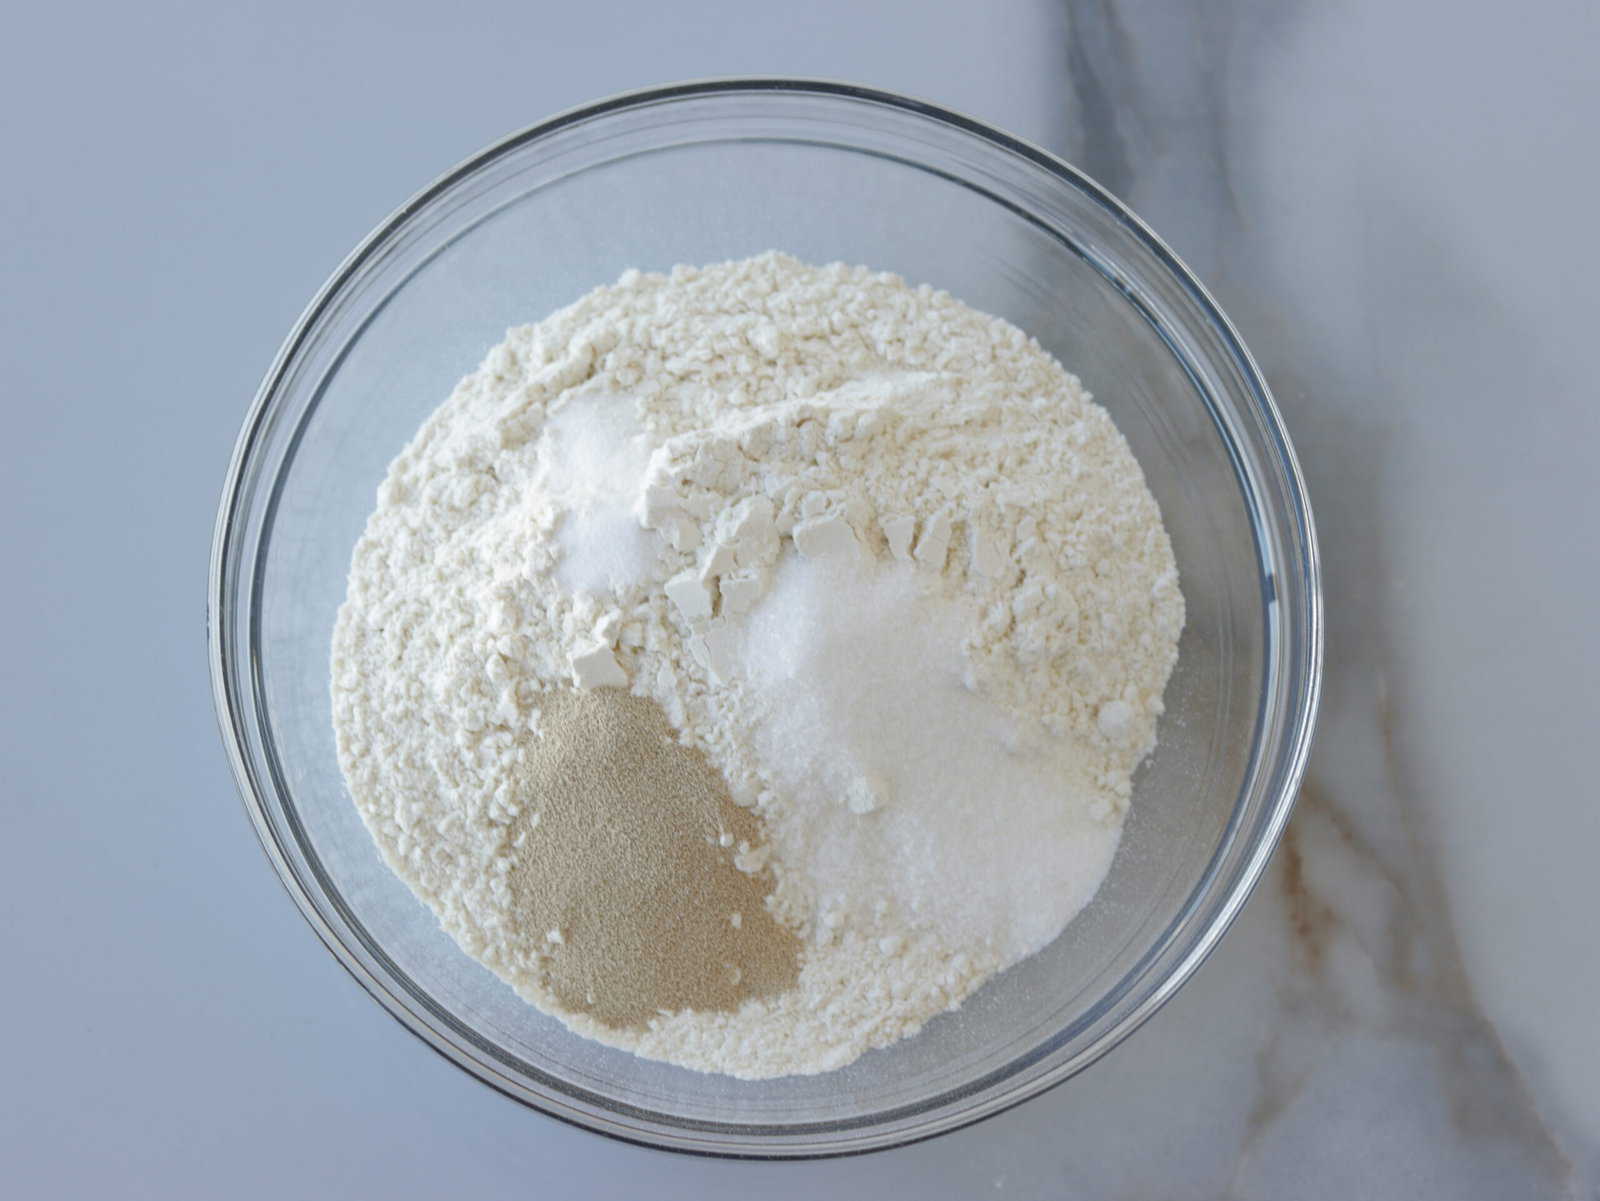
Start by sifting the flour into a large mixing bowl, then add the yeast, sugar, and salt. Mix well to ensure an even distribution of ingredients, which helps the dough rise evenly.
2. Combine Wet Ingredients and Form the Dough
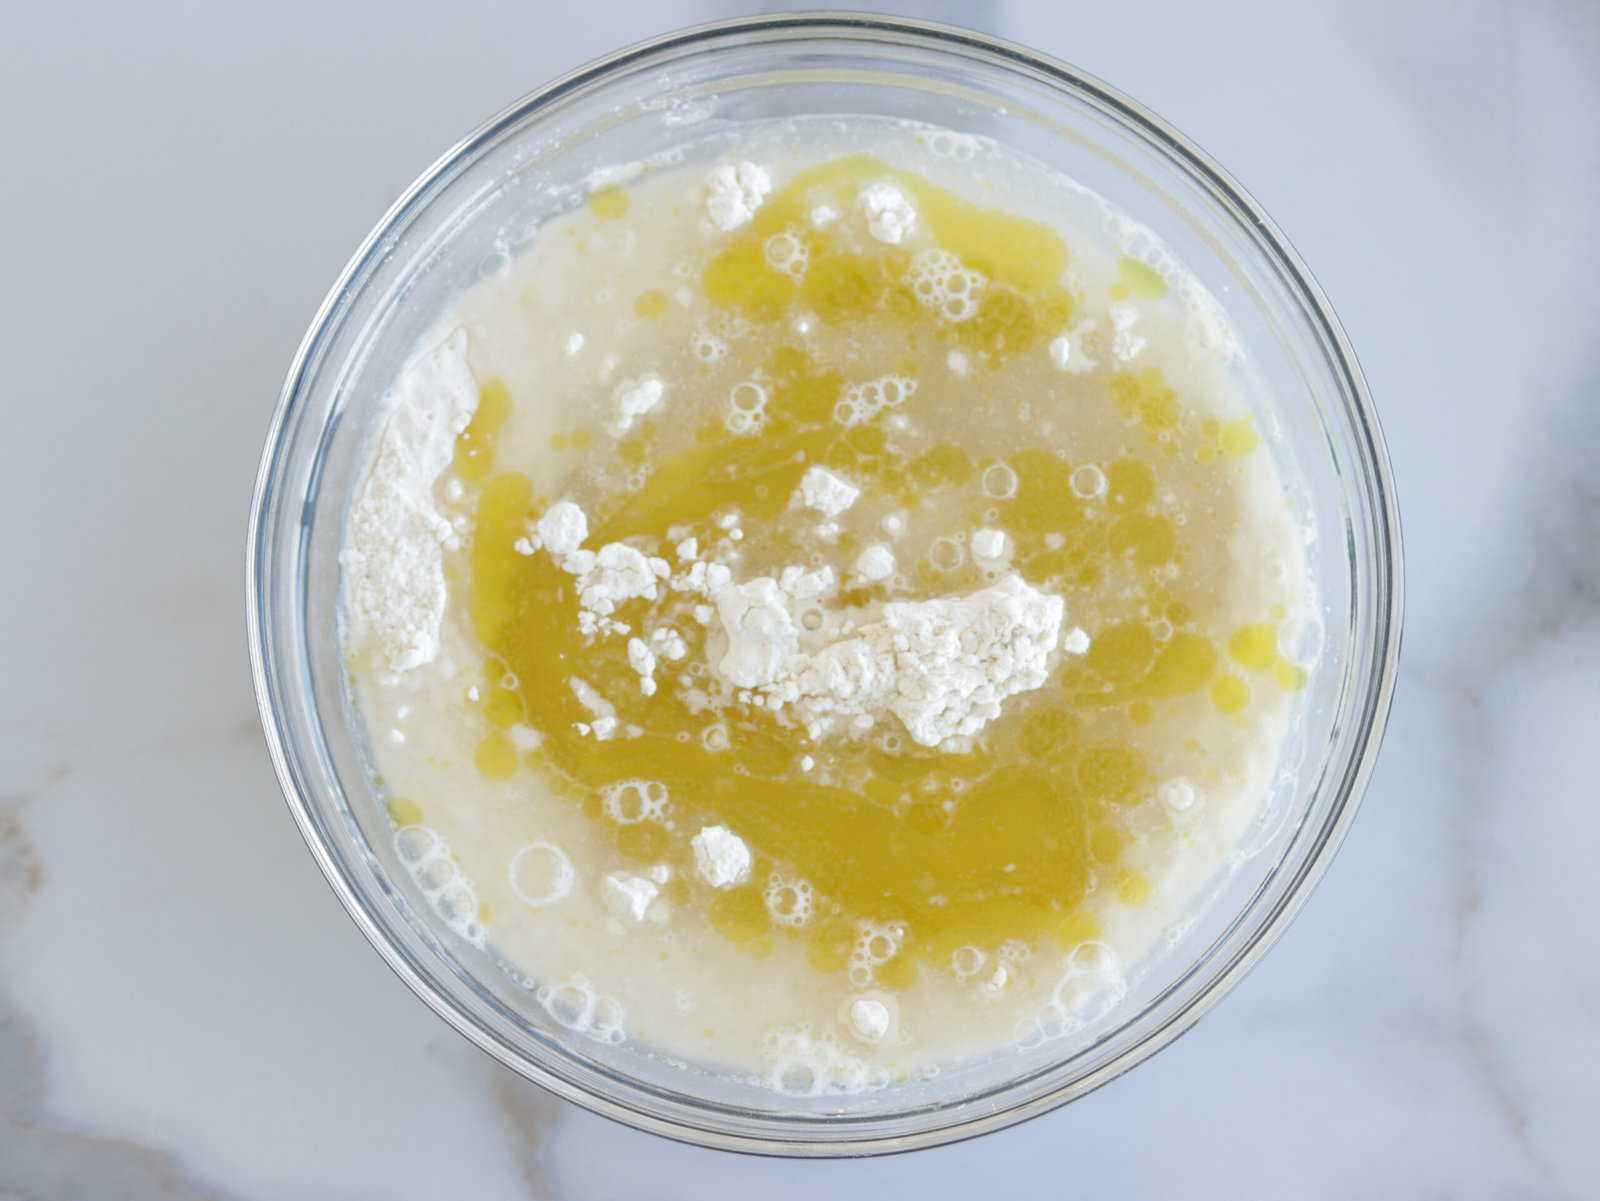
Add the olive oil and water to the dry ingredients. Mix by hand or with a wooden spoon until the ingredients come together to form a rough dough. If you’re using a stand mixer, this process is even easier!
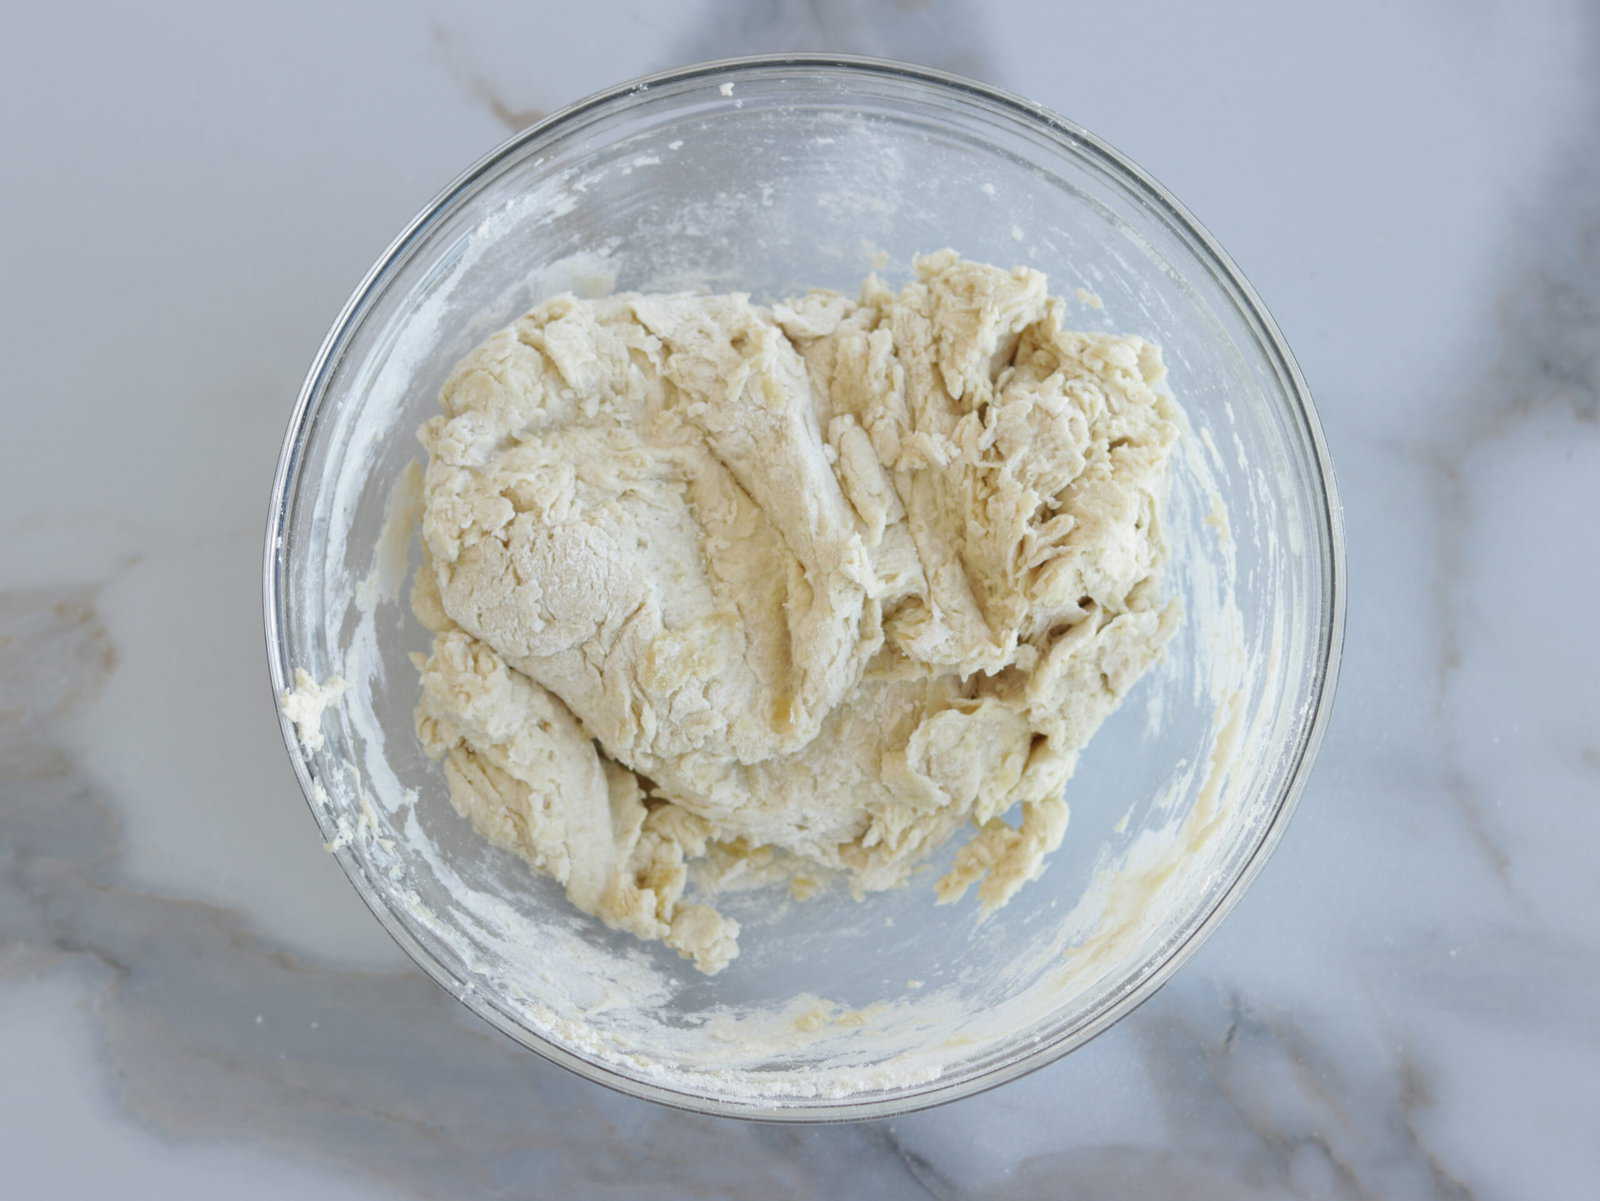
3. Knead the Dough
Transfer the dough to a floured surface, then knead by hand for about 10 minutes until smooth and elastic. Kneading helps develop the gluten, which is crucial for a soft, chewy pita. If using a mixer, knead on medium speed with a dough hook until the dough reaches the right consistency.
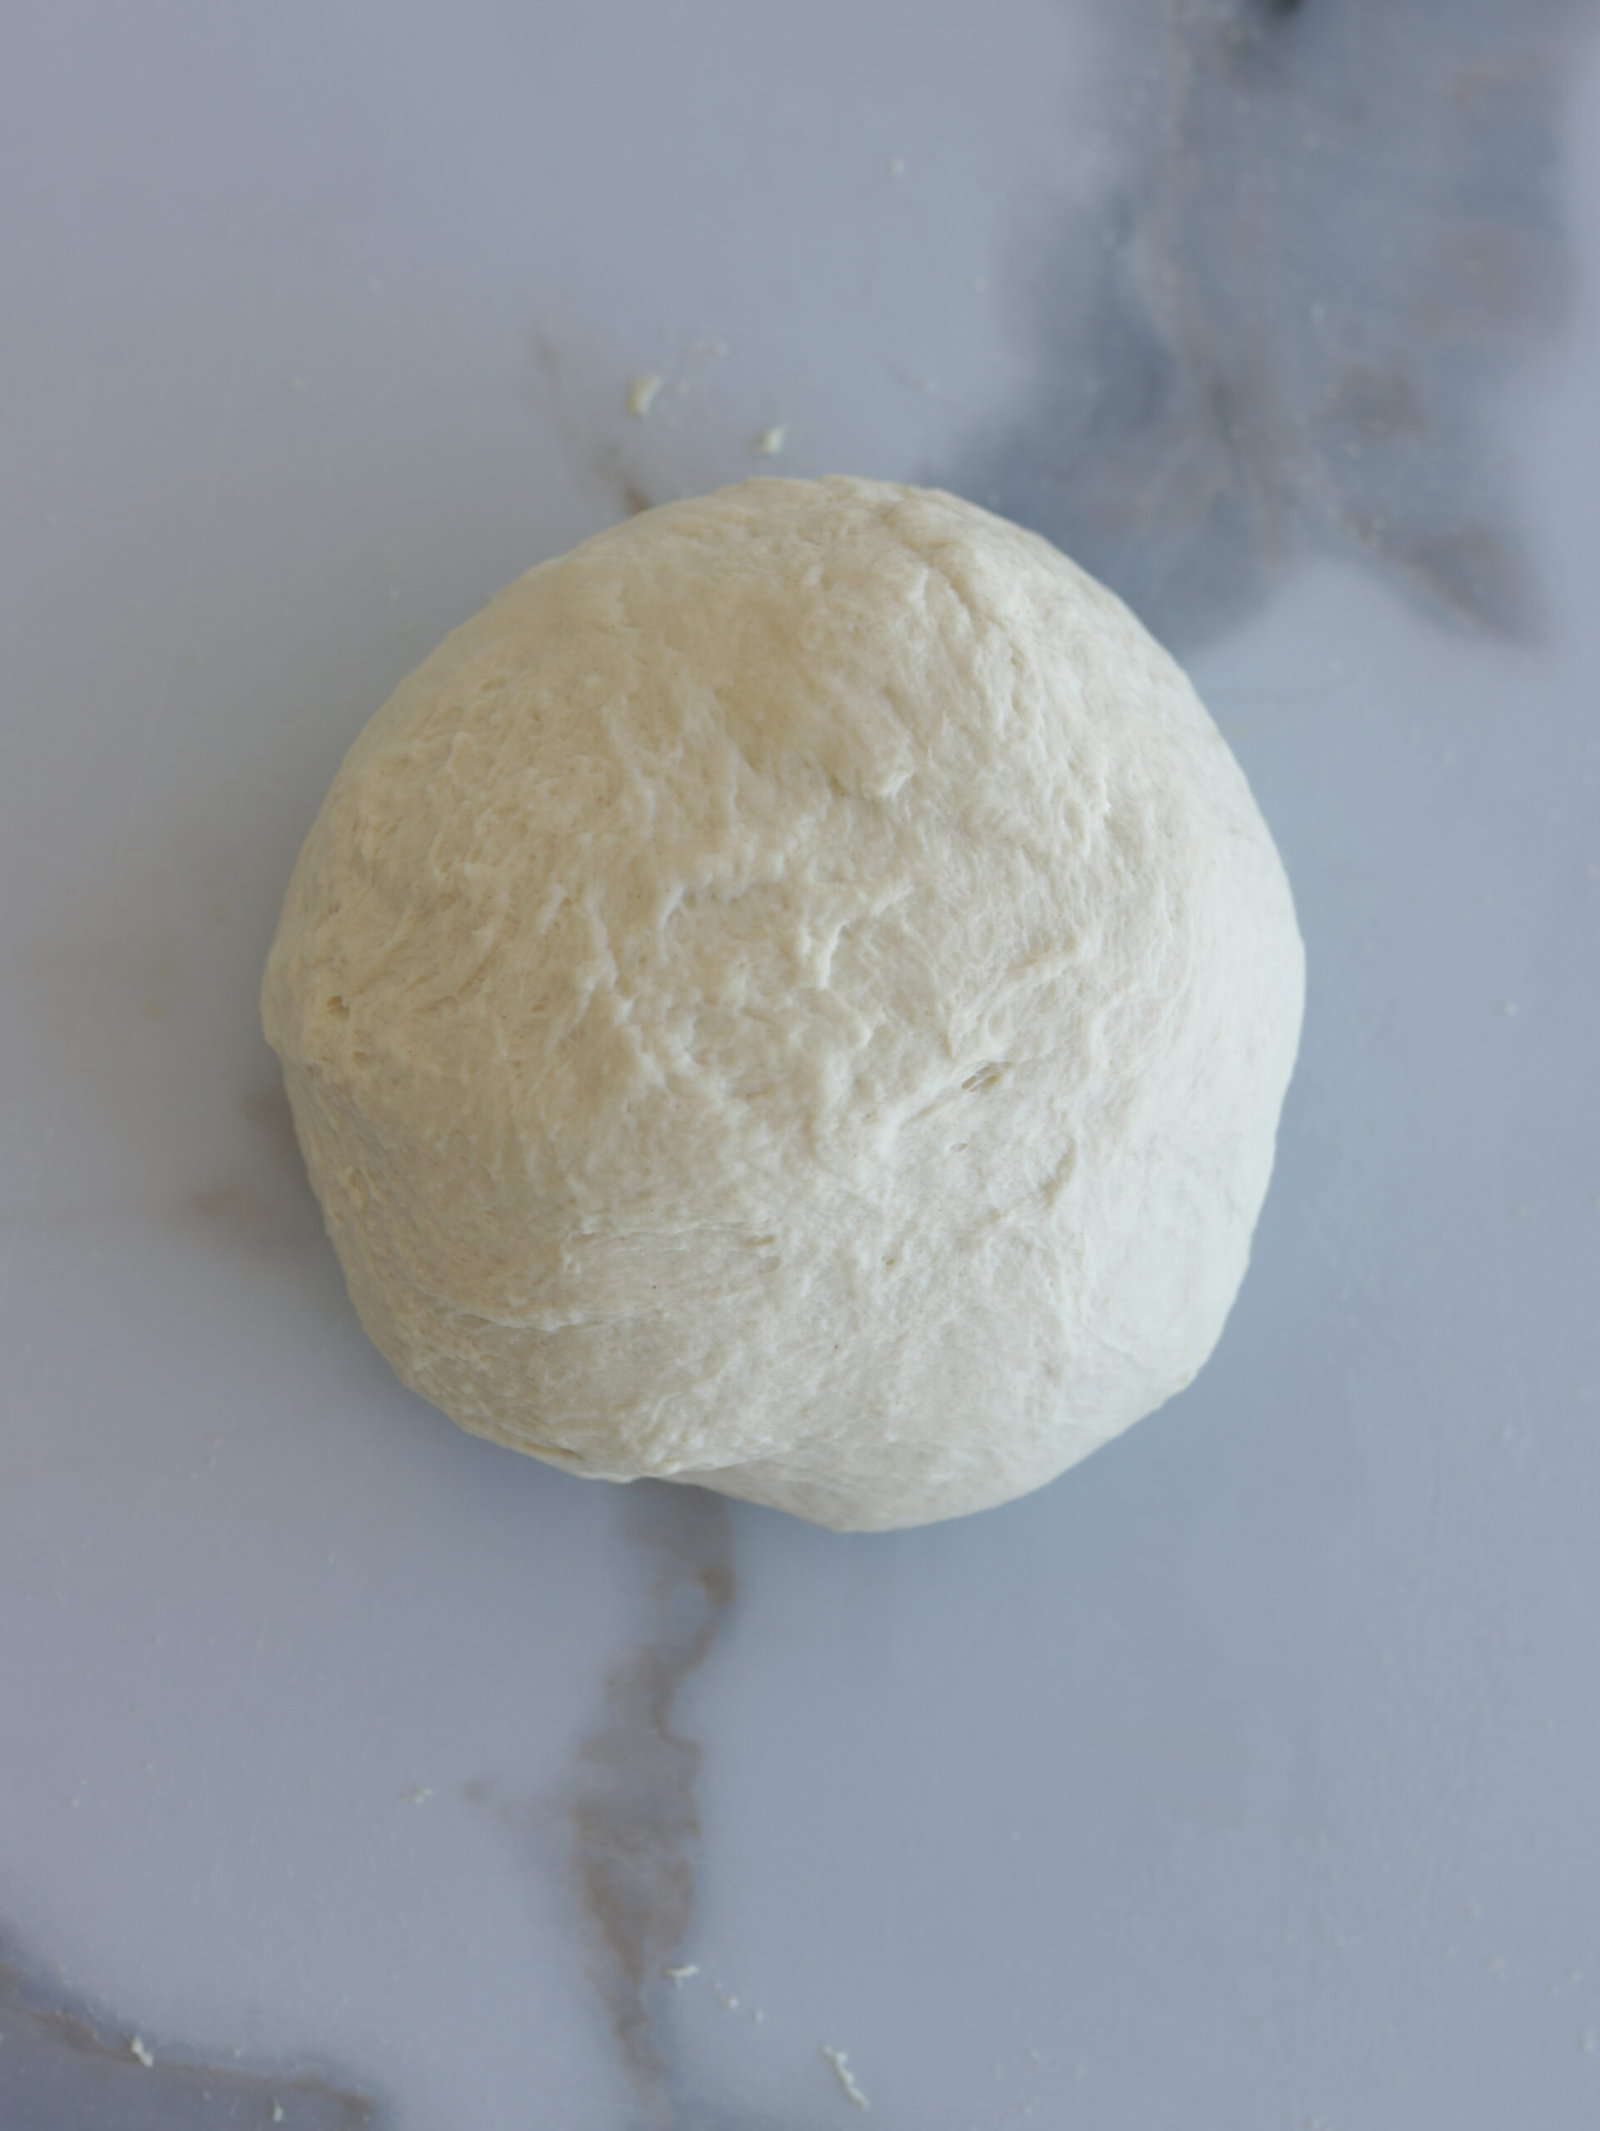
4. First Rise
Place the dough in a lightly oiled bowl, cover it, and let it rise in a warm area until doubled in size. This rise time helps create the airy texture and fluffy pocket that pita is known for.

5. Divide and Shape
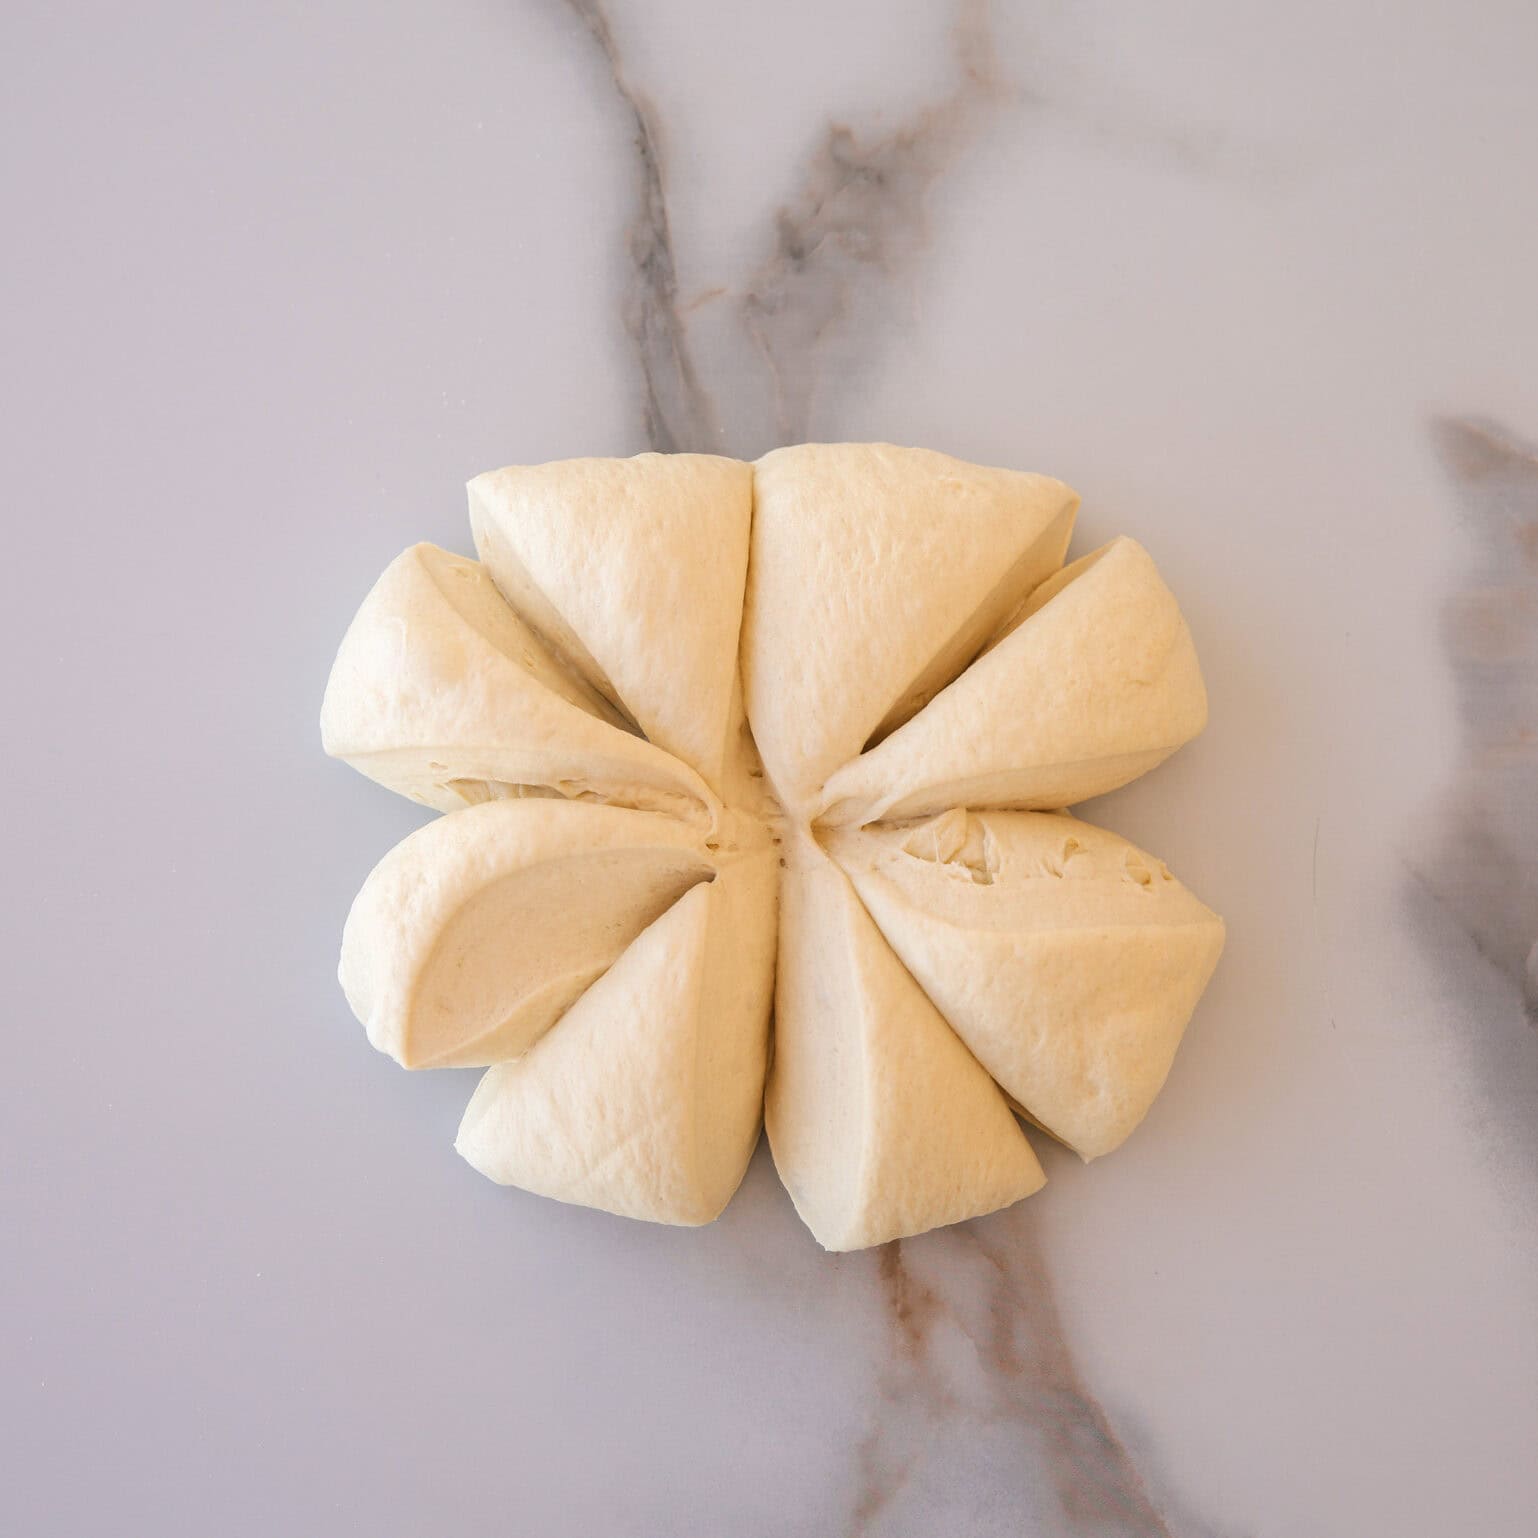
After the dough has risen, punch it down to release any excess air. Divide it into equal portions and roll each one into a smooth ball. Cover and let the dough balls rest for a short period before shaping them.
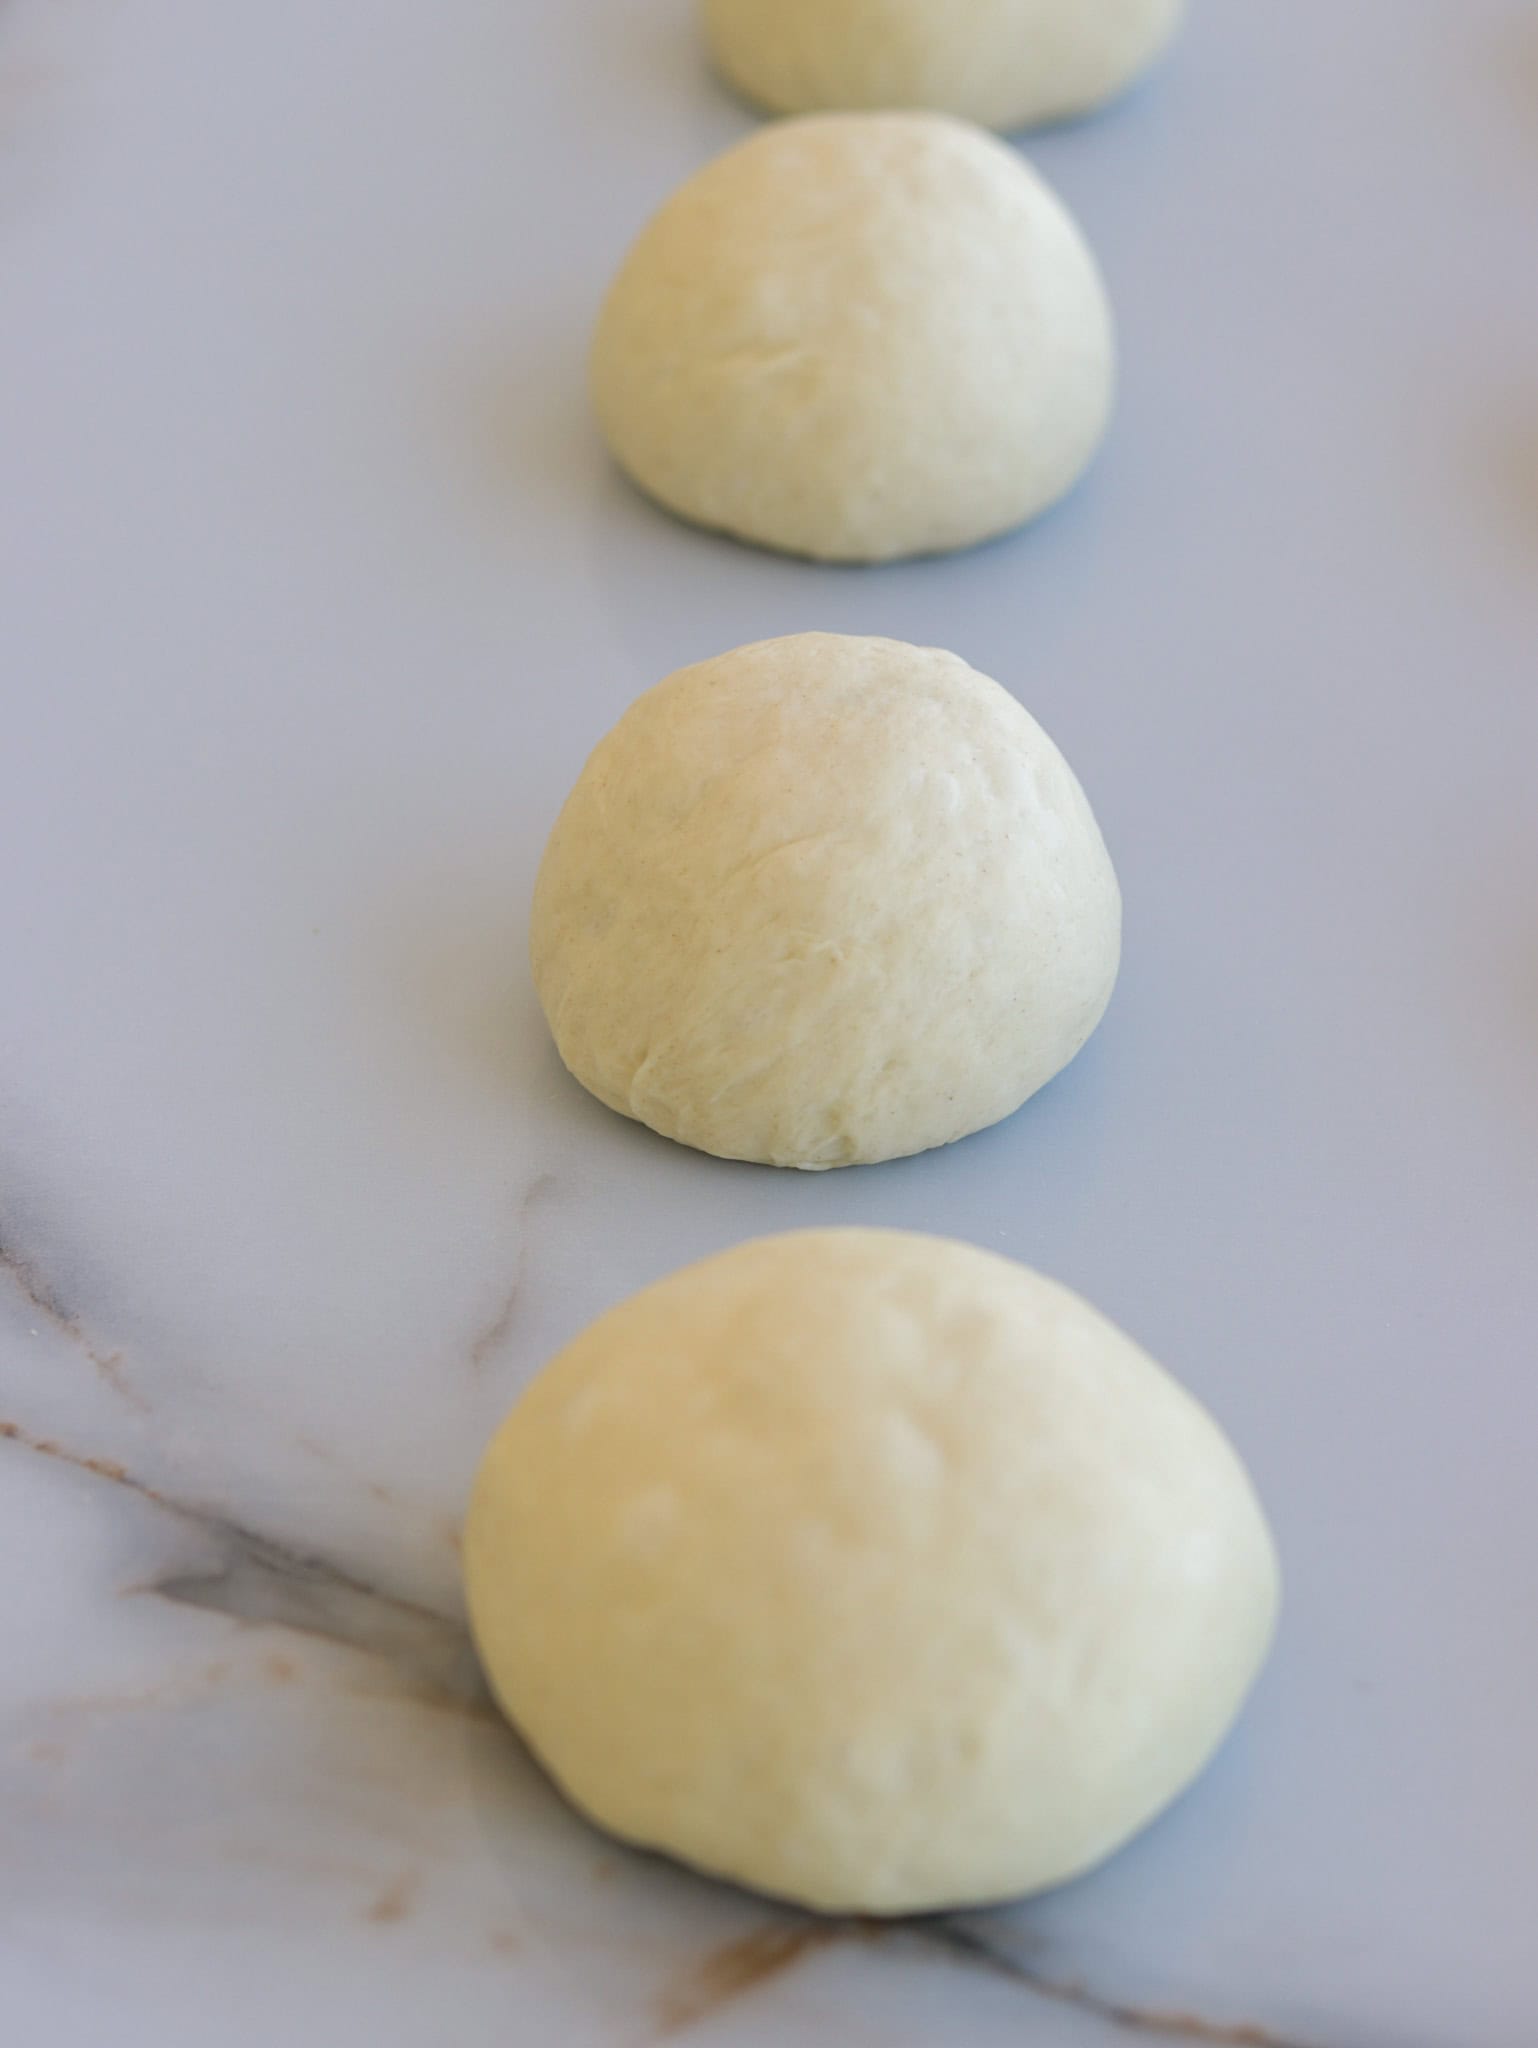
6. Roll Out the Dough
On a floured surface, roll each dough ball into a circle, about 1/2 cm (1/4 inch) thick. This thickness is key for achieving the classic pita pocket.
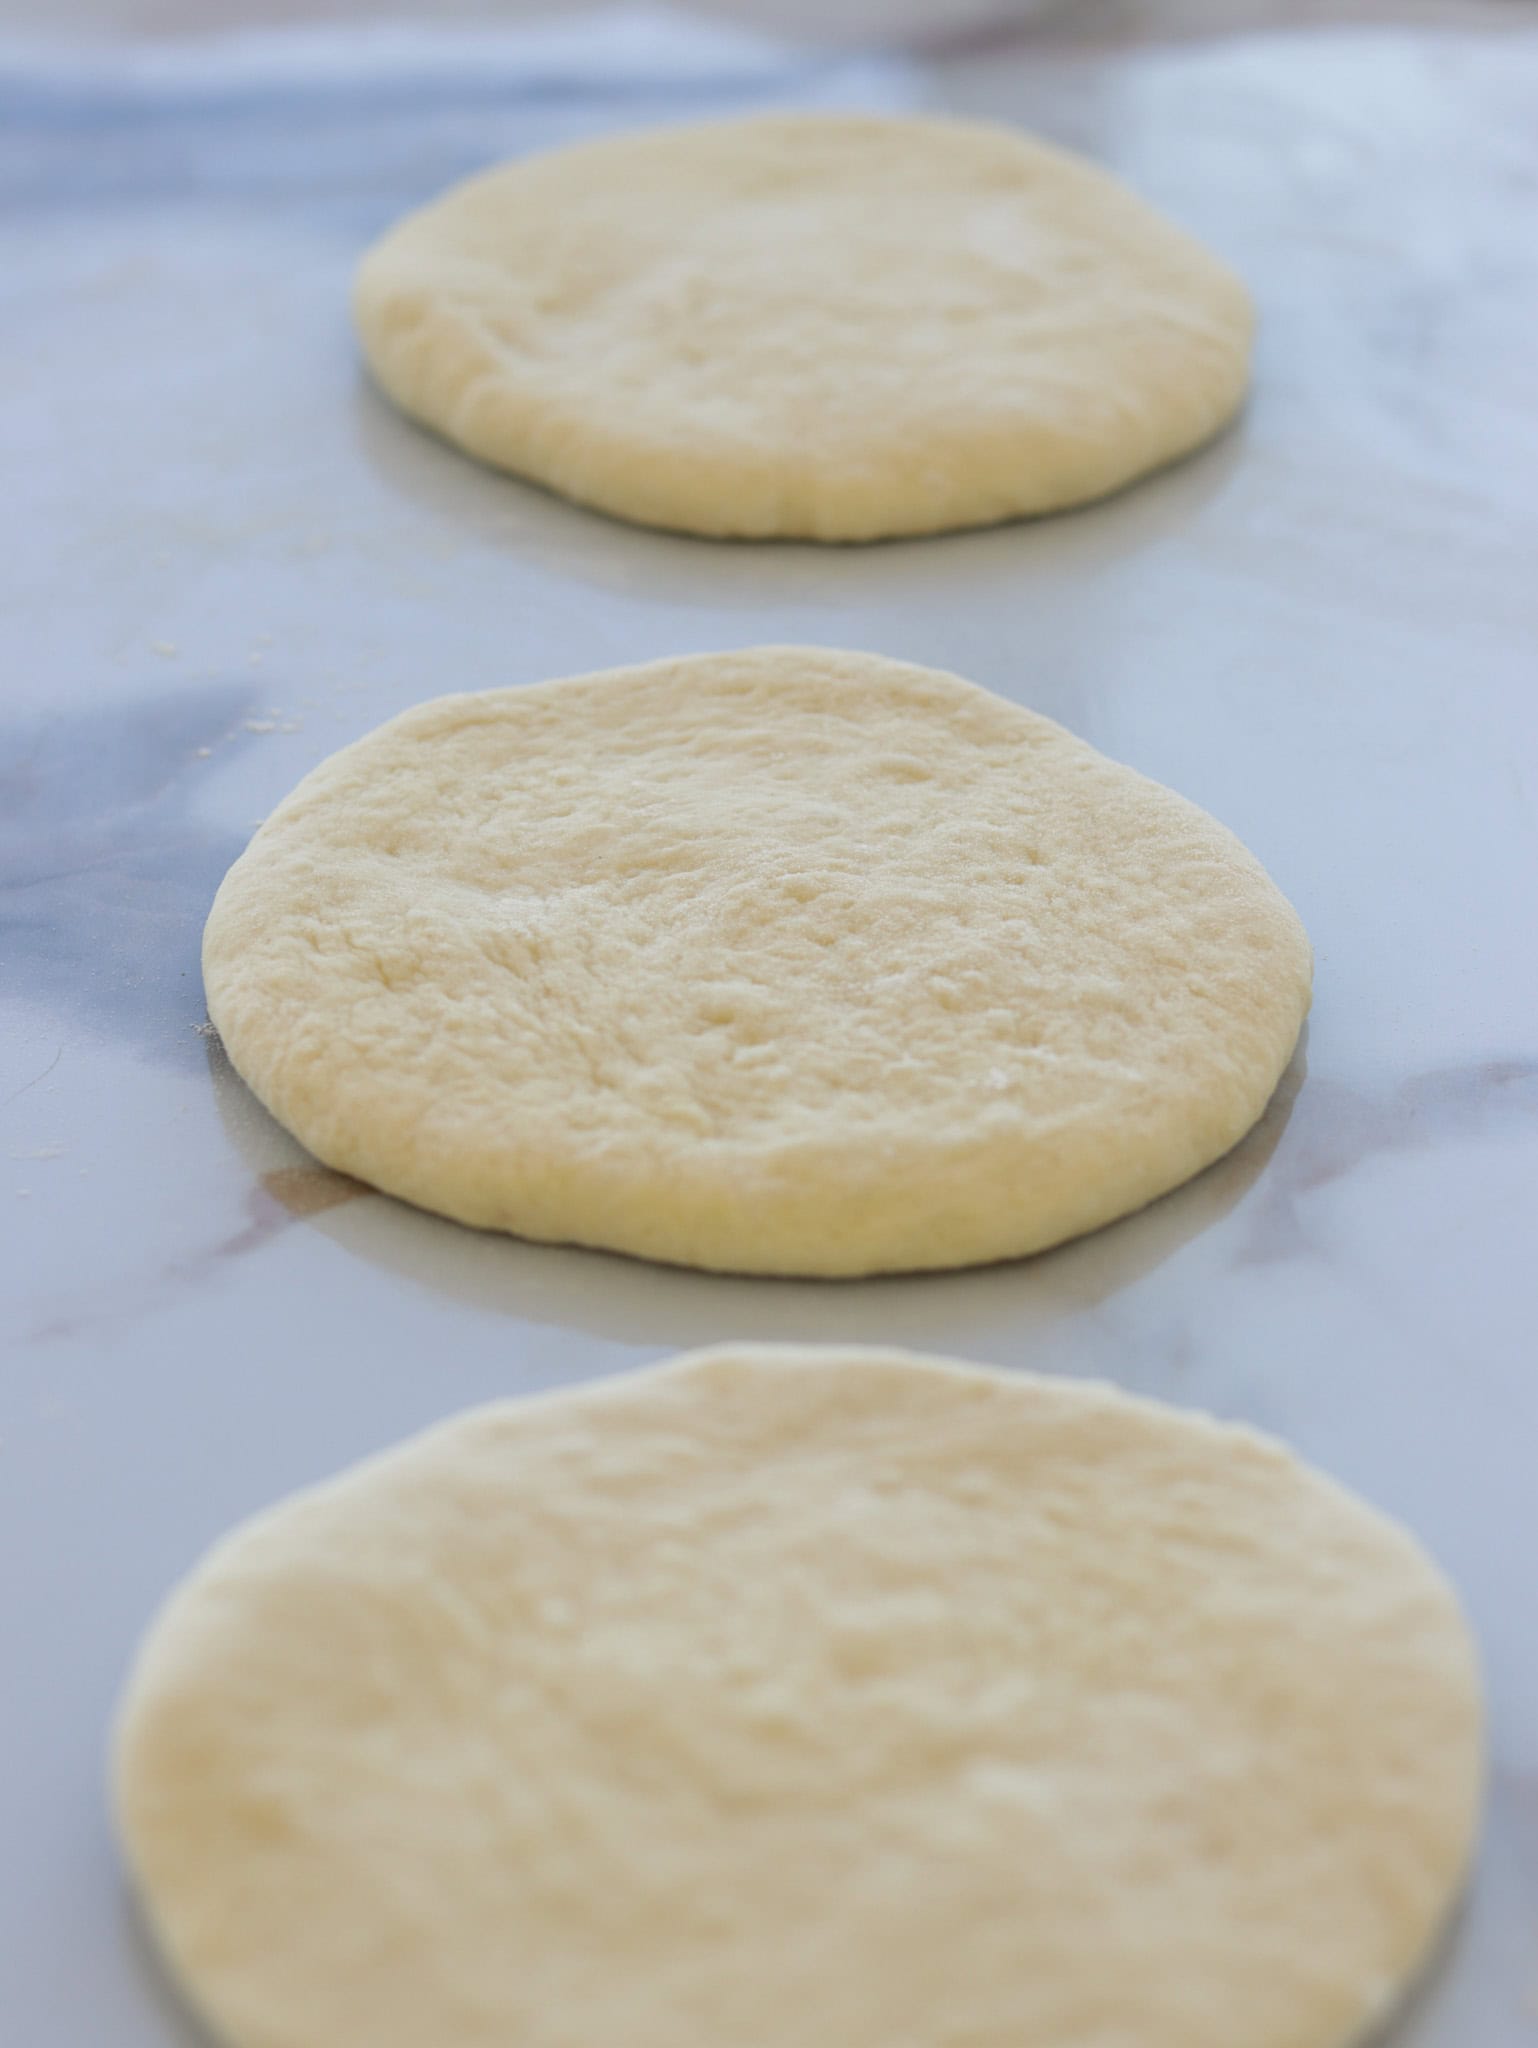
Your pita dough is now ready to bake! For the next steps on using a pizza oven, regular oven, or stovetop, check out the instructions below.
How to Make Pita Bread In The Oven
Making homemade pita bread in the oven is an easy method that yields deliciously soft and fluffy pitas with perfect pockets!
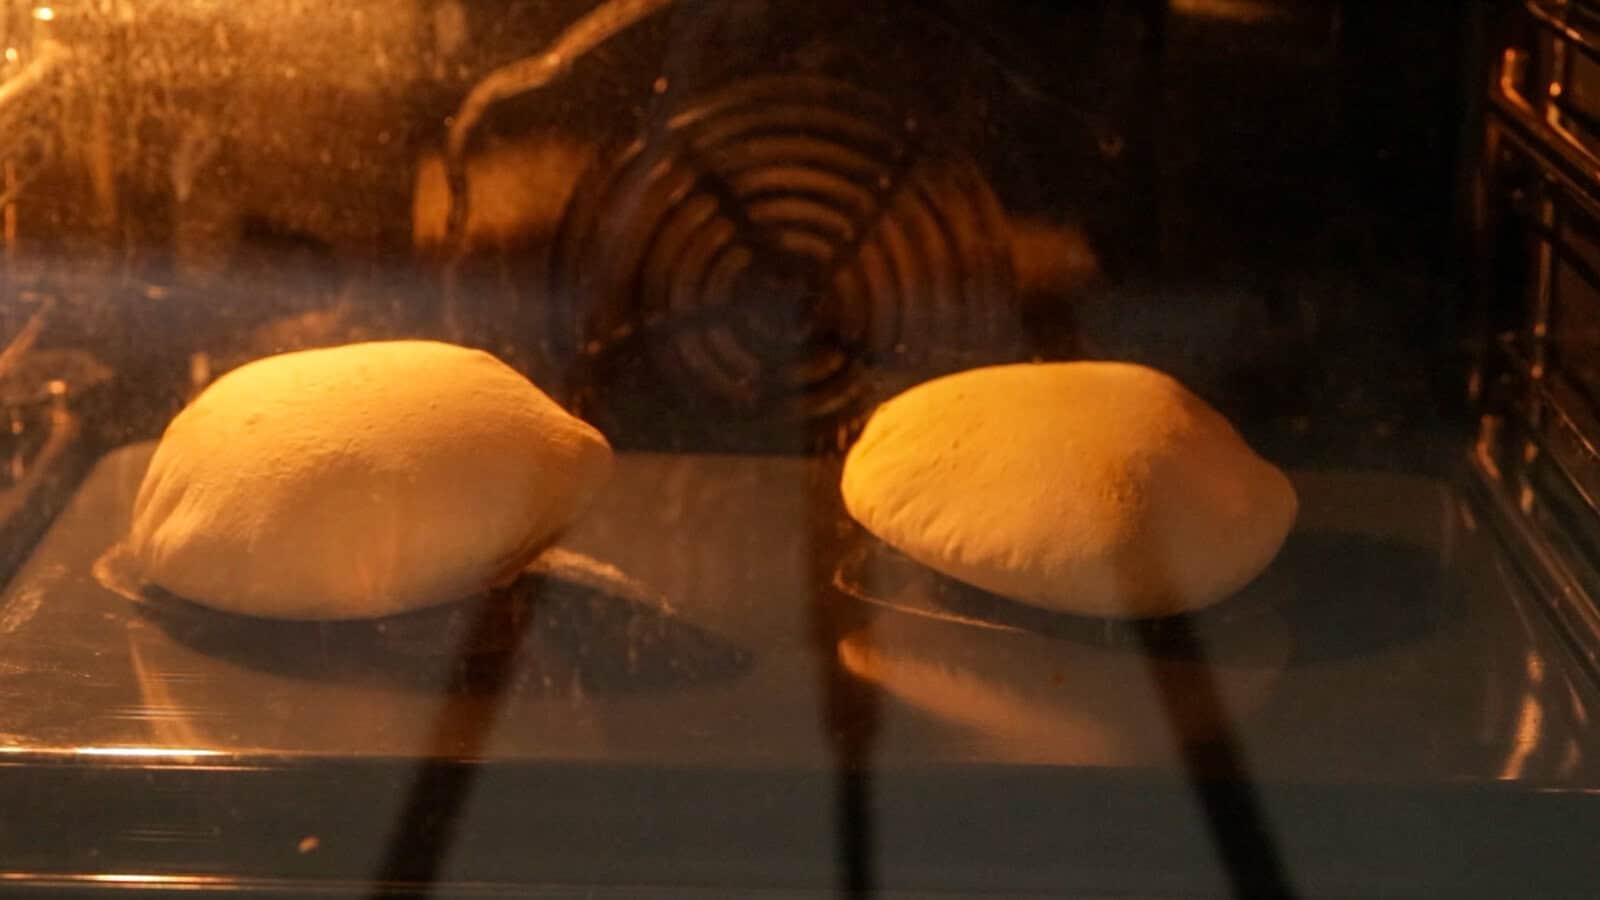
- Preheat the Oven
Start by preheating your oven to the highest temperature it can reach, ideally around 485°F (250°C). Place a baking tray upside down inside to act as a baking stone, which will help the pitas puff up beautifully. - Prepare the Dough
Roll each dough ball into a 1/4-inch thick circle on a floured surface. This thickness is ideal for achieving the classic pita pocket when baked. - Bake the Pitas
When the oven is hot, carefully remove the preheated baking tray, place parchment paper on it, and arrange a few pitas at a time on the tray. Bake for about 3 minutes, or until the pitas puff up. Flip and bake for an additional minute to get a light golden color. - Cover and Keep Soft
Immediately cover the freshly baked pitas with a towel to trap steam, ensuring they stay soft and fluffy.
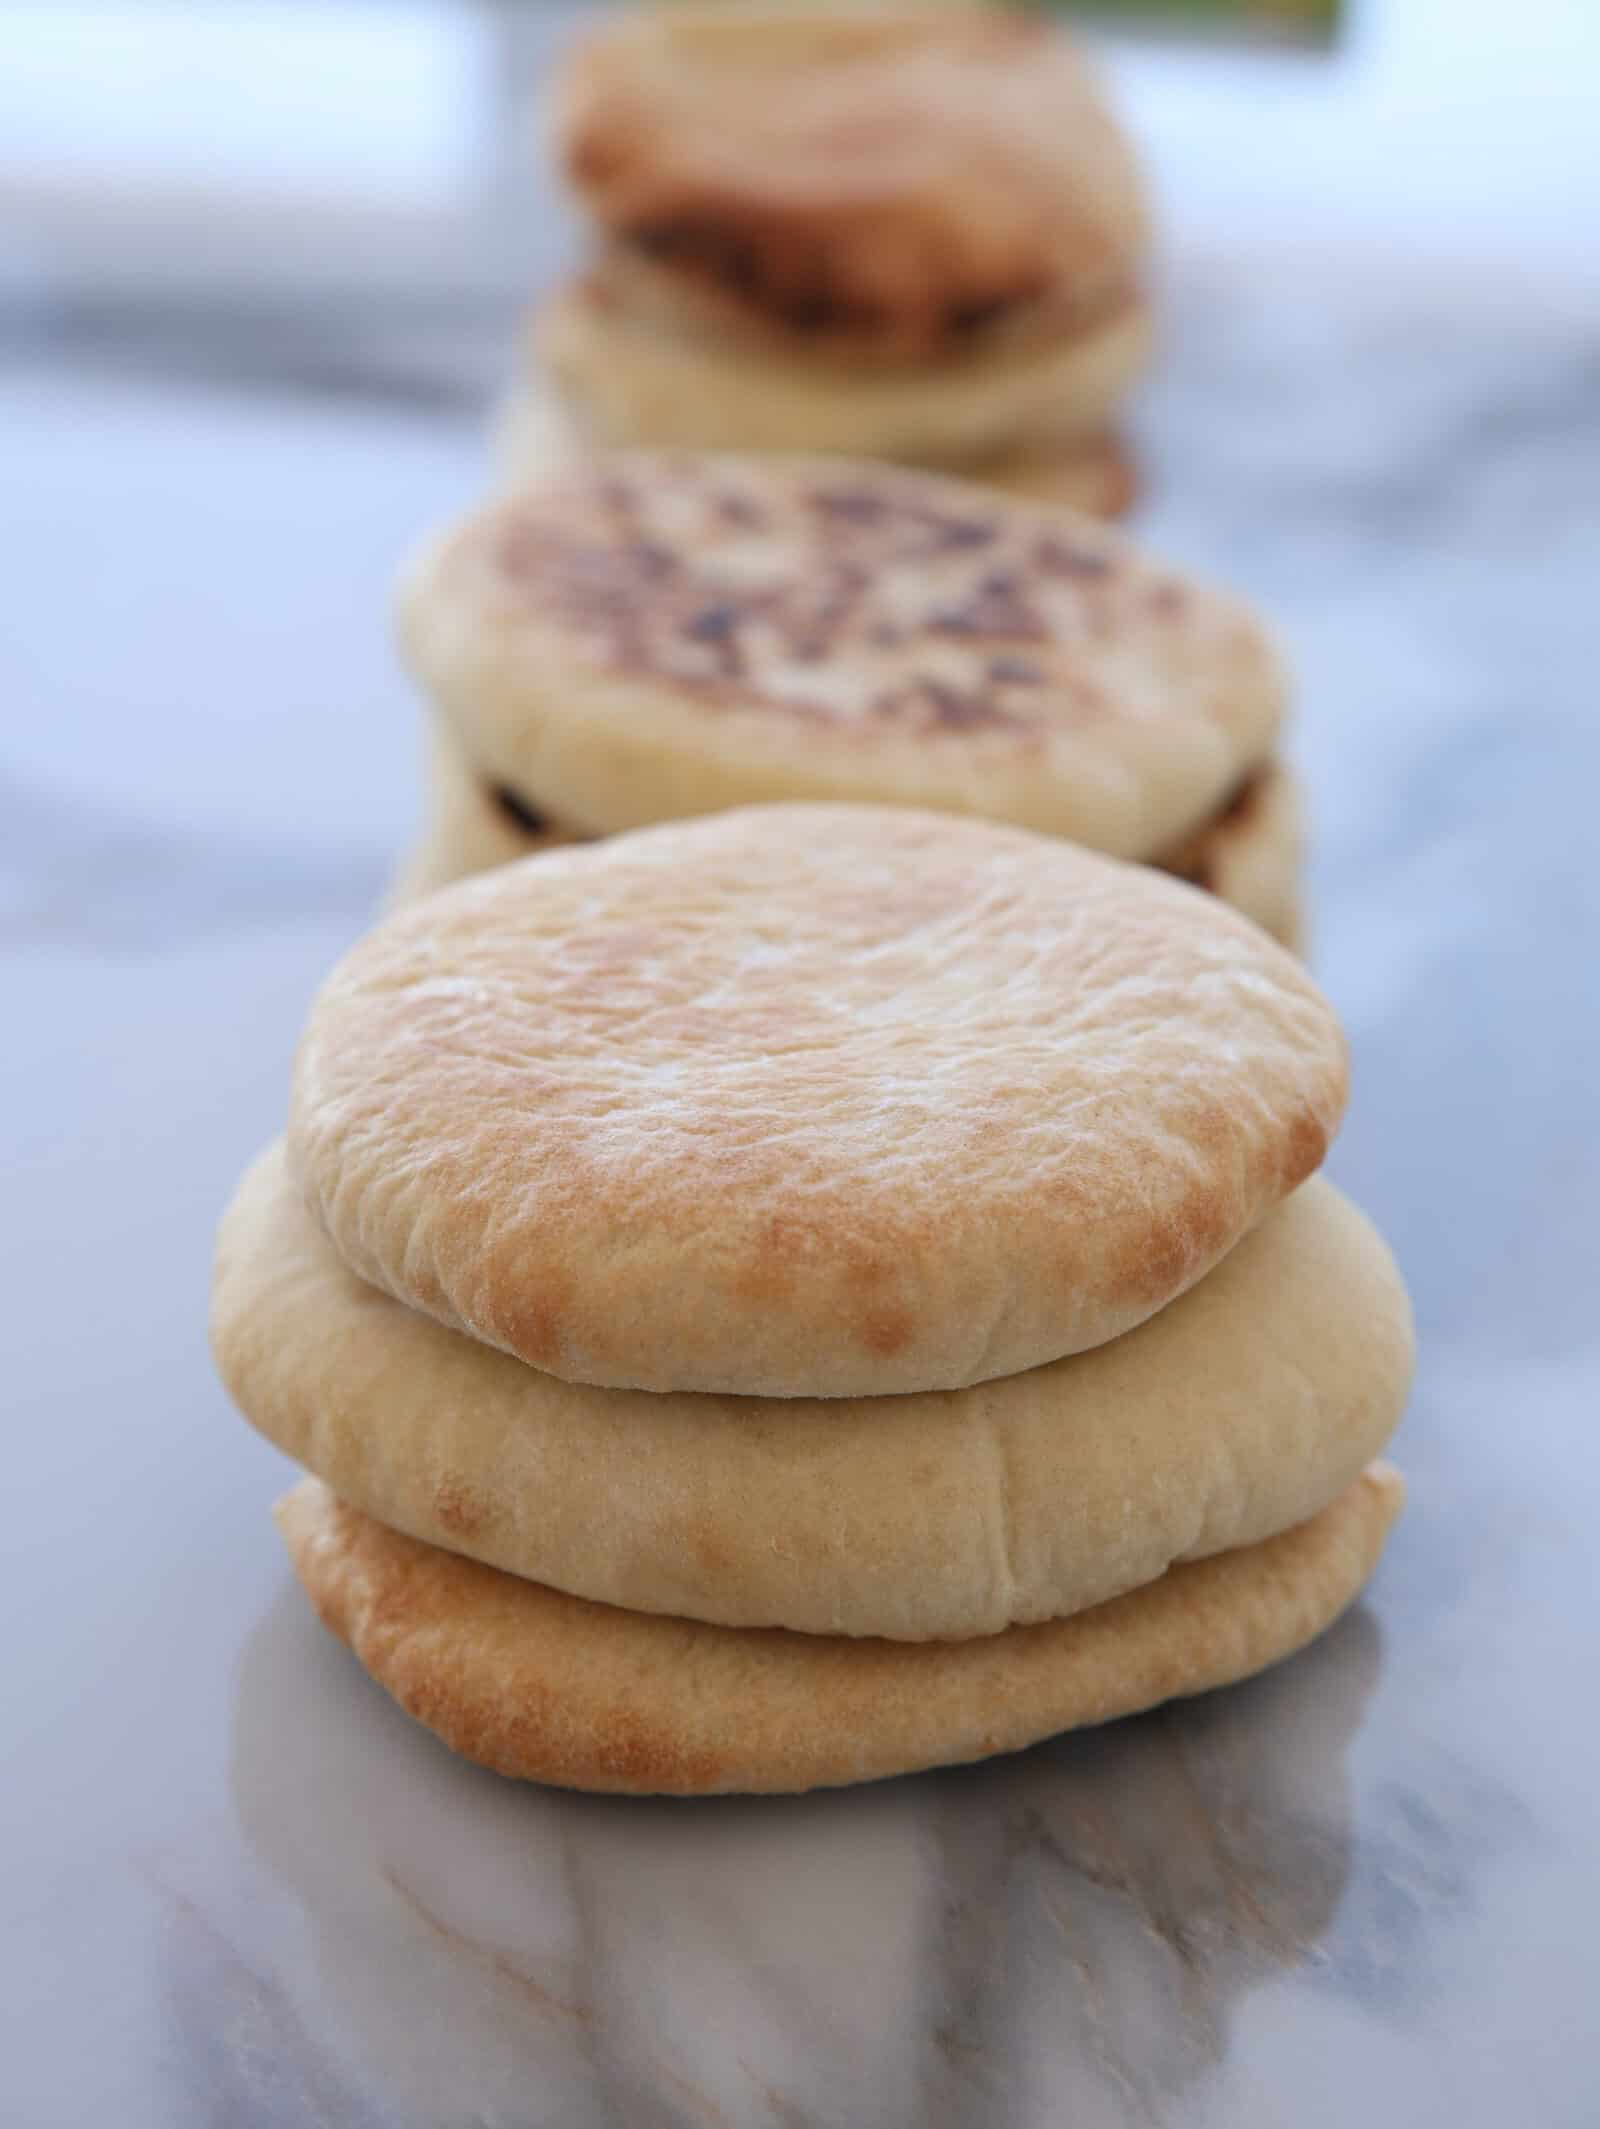
This easy oven method for homemade pita bread is a fantastic way to achieve bakery-quality results at home!
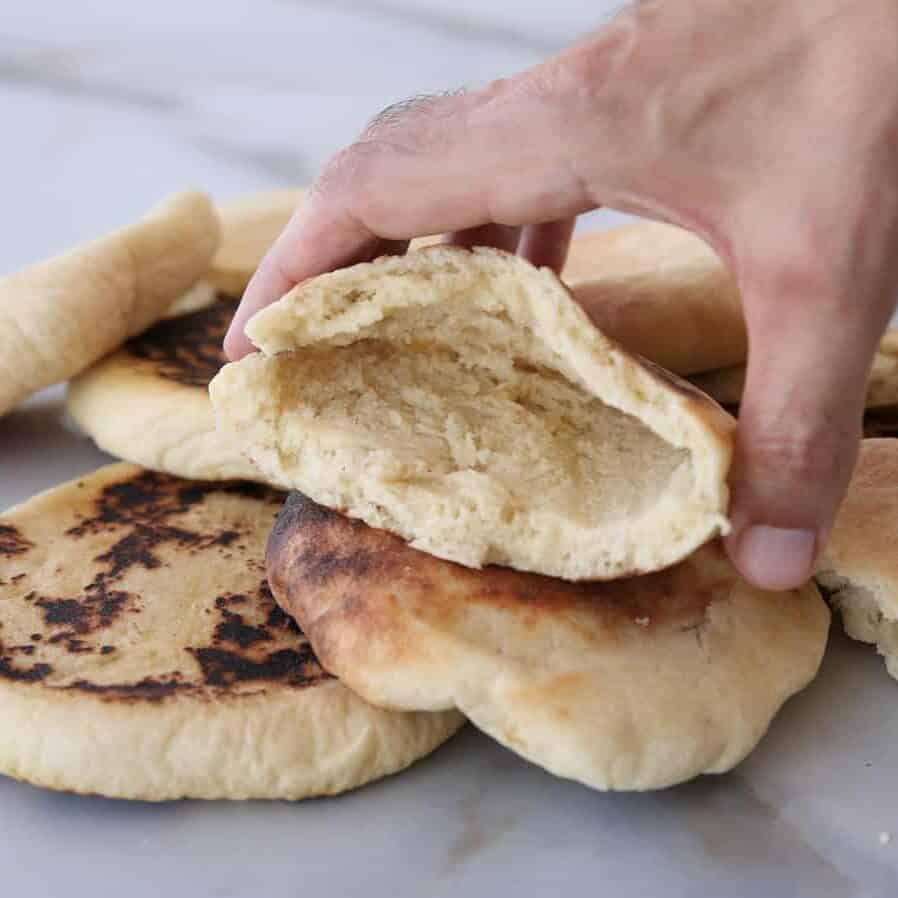
The Pocket Test
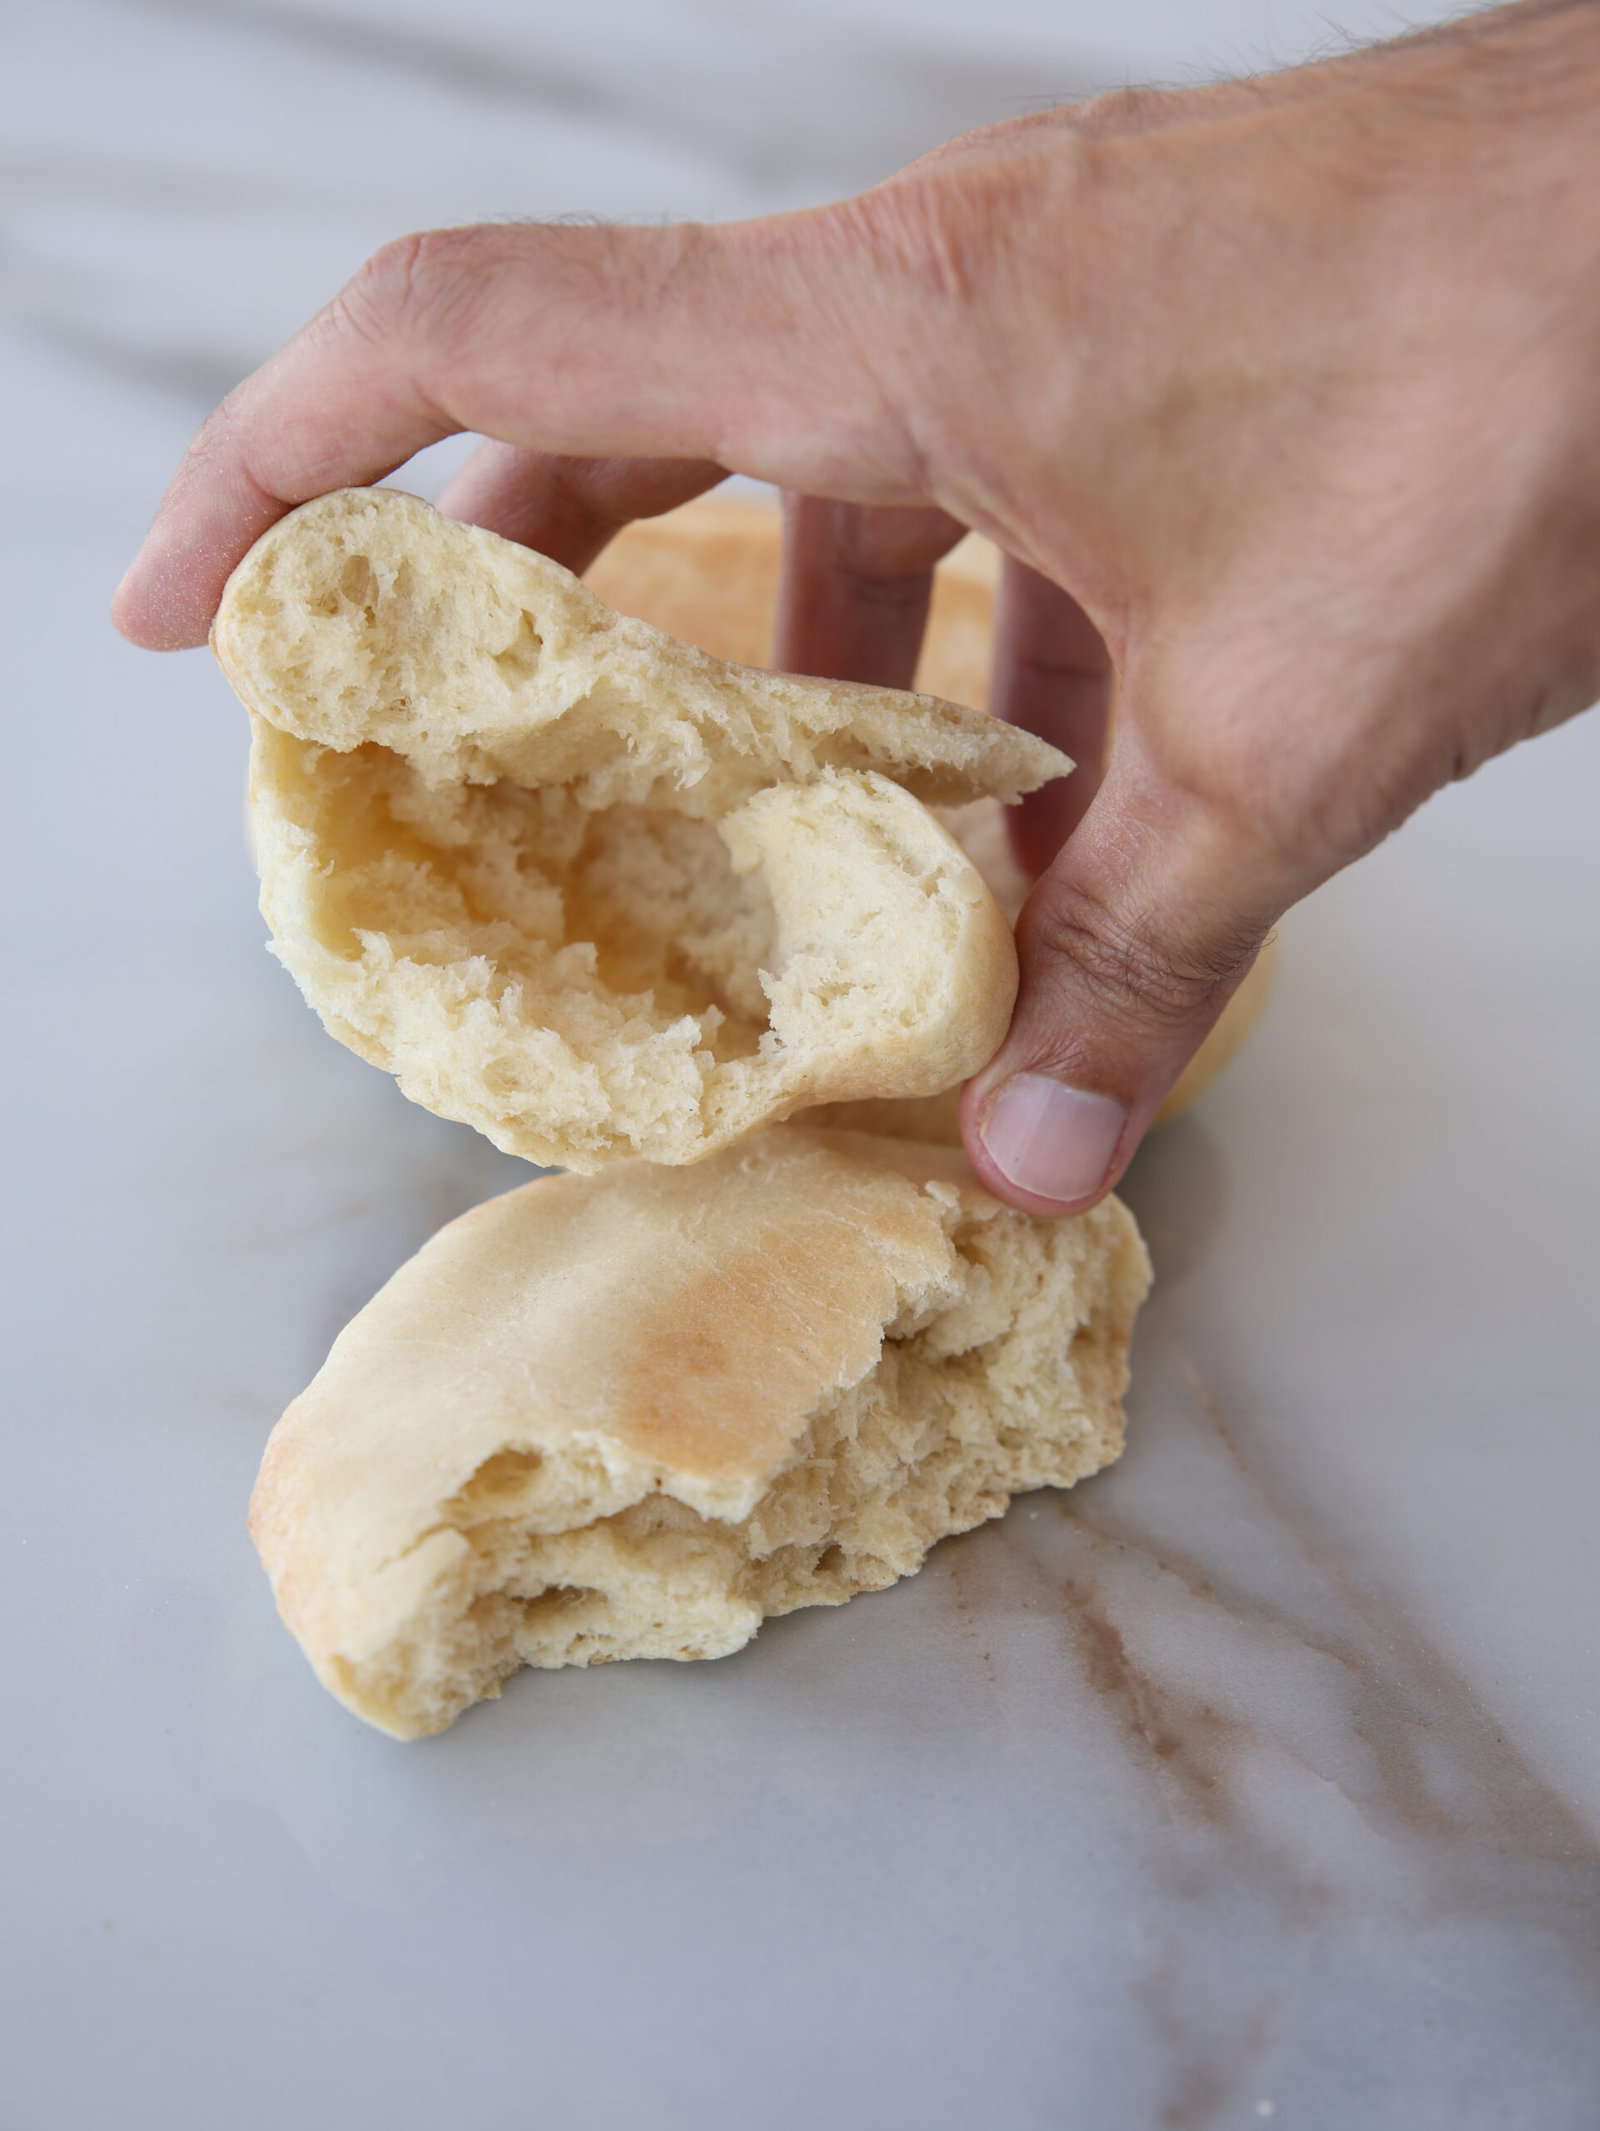
How to Make Fluffy Pita Bread on the Stovetop (Skillet Method)
Cooking pita bread in a skillet on the stovetop is an easy way to achieve soft, fluffy pita pockets without needing an oven!
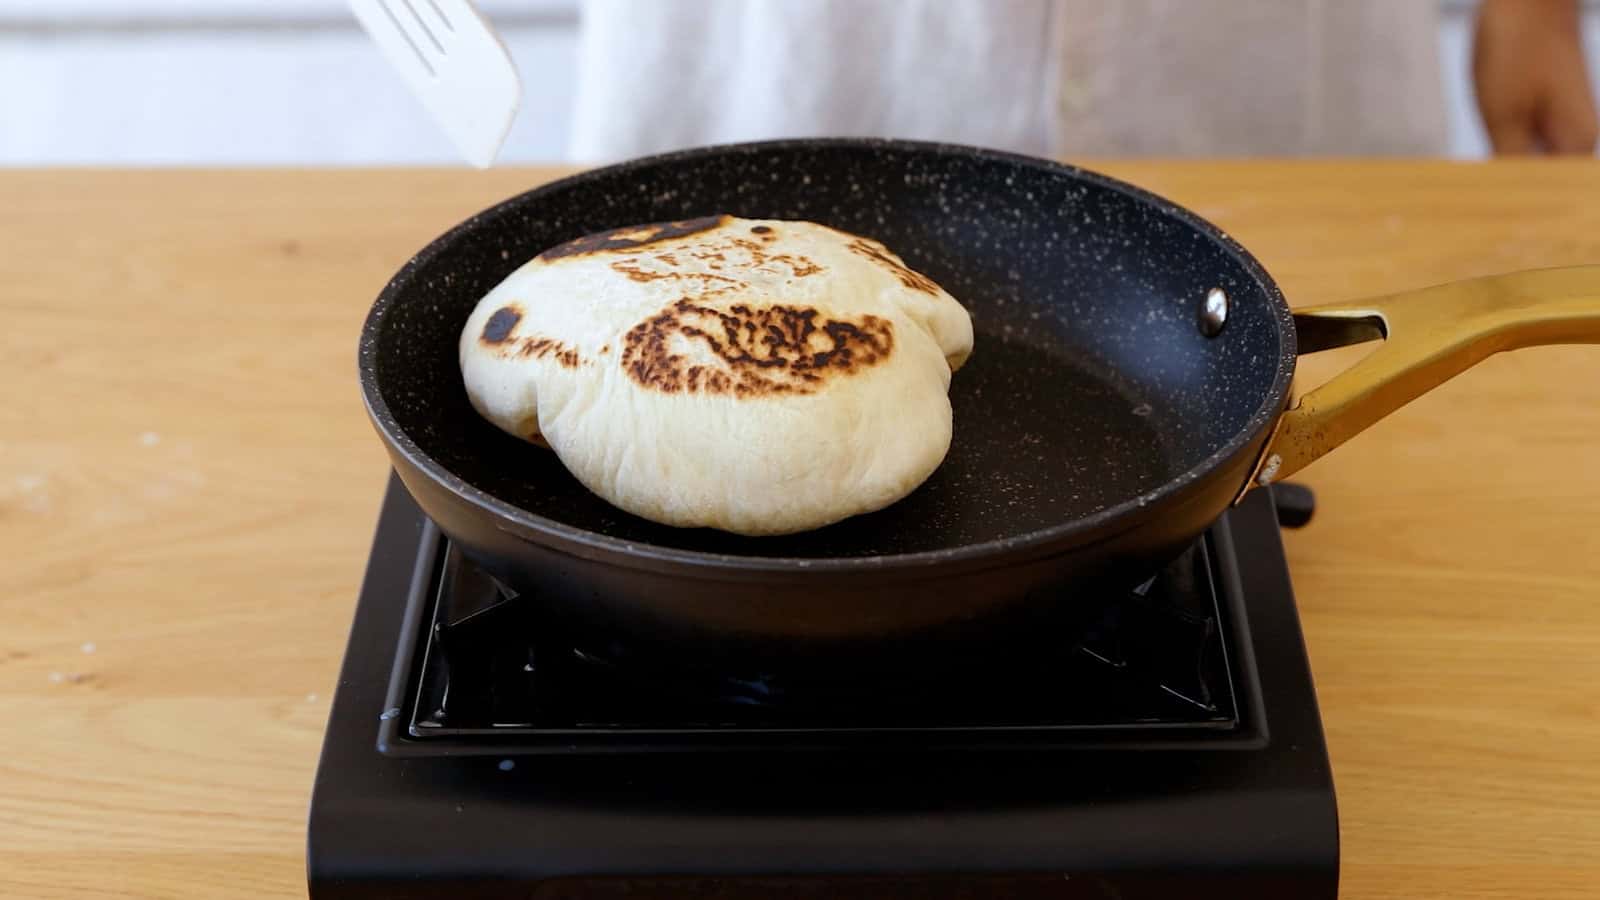
- Preheat the Skillet
Heat a cast-iron skillet or heavy-bottomed pan over medium-high heat. A well-heated skillet is essential for creating that perfect fluffy pita bread pocket. - Prepare the Dough
Roll each dough ball into a 1/4-inch thick circle, which helps the pita puff up beautifully on the stovetop. - Cook the Pitas
Place one dough circle into the hot skillet. Cook for 1–2 minutes, or until you see the pita start to puff and golden spots form on the bottom. Flip the pita and cook for an additional minute until both sides are golden and fluffy. - Cover to Soften
Immediately cover the warm pitas with a towel to keep them soft and steamy, ensuring they stay fluffy.
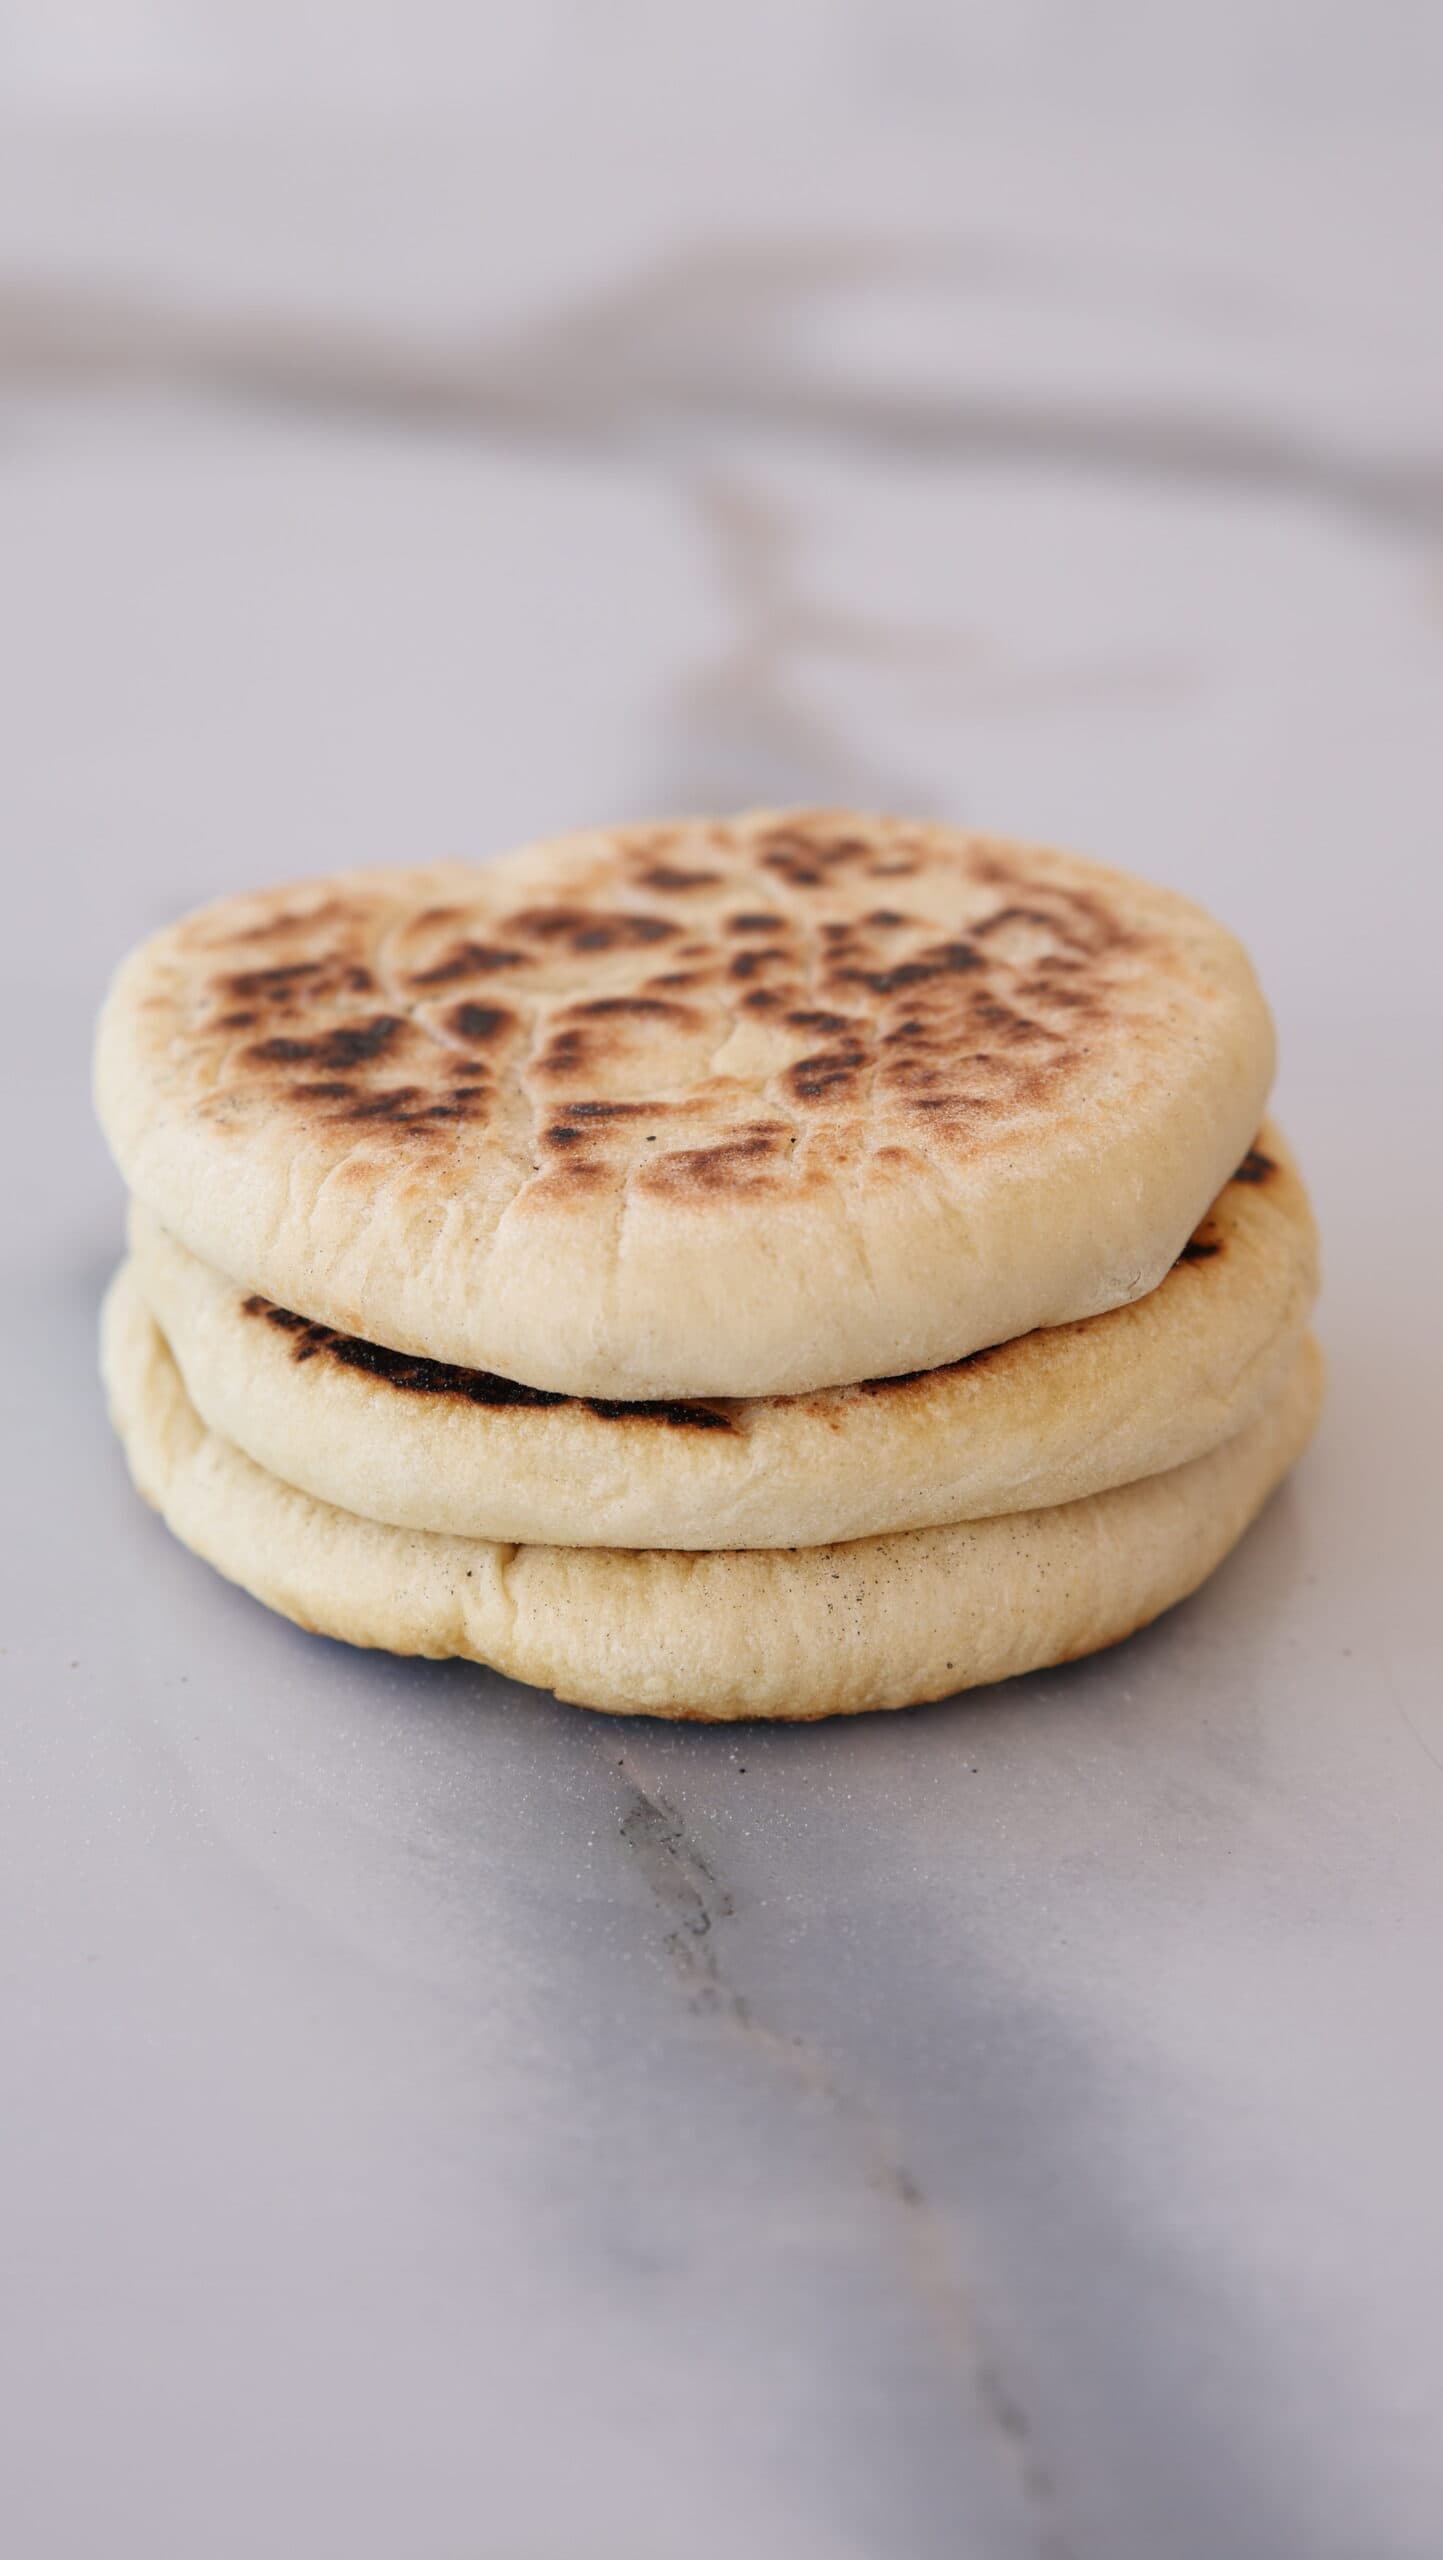
This stovetop skillet method is perfect for making easy, fluffy pita bread with pockets right in a pan!
The Pocket Test
How to Make Pita Bread in a Pizza Oven
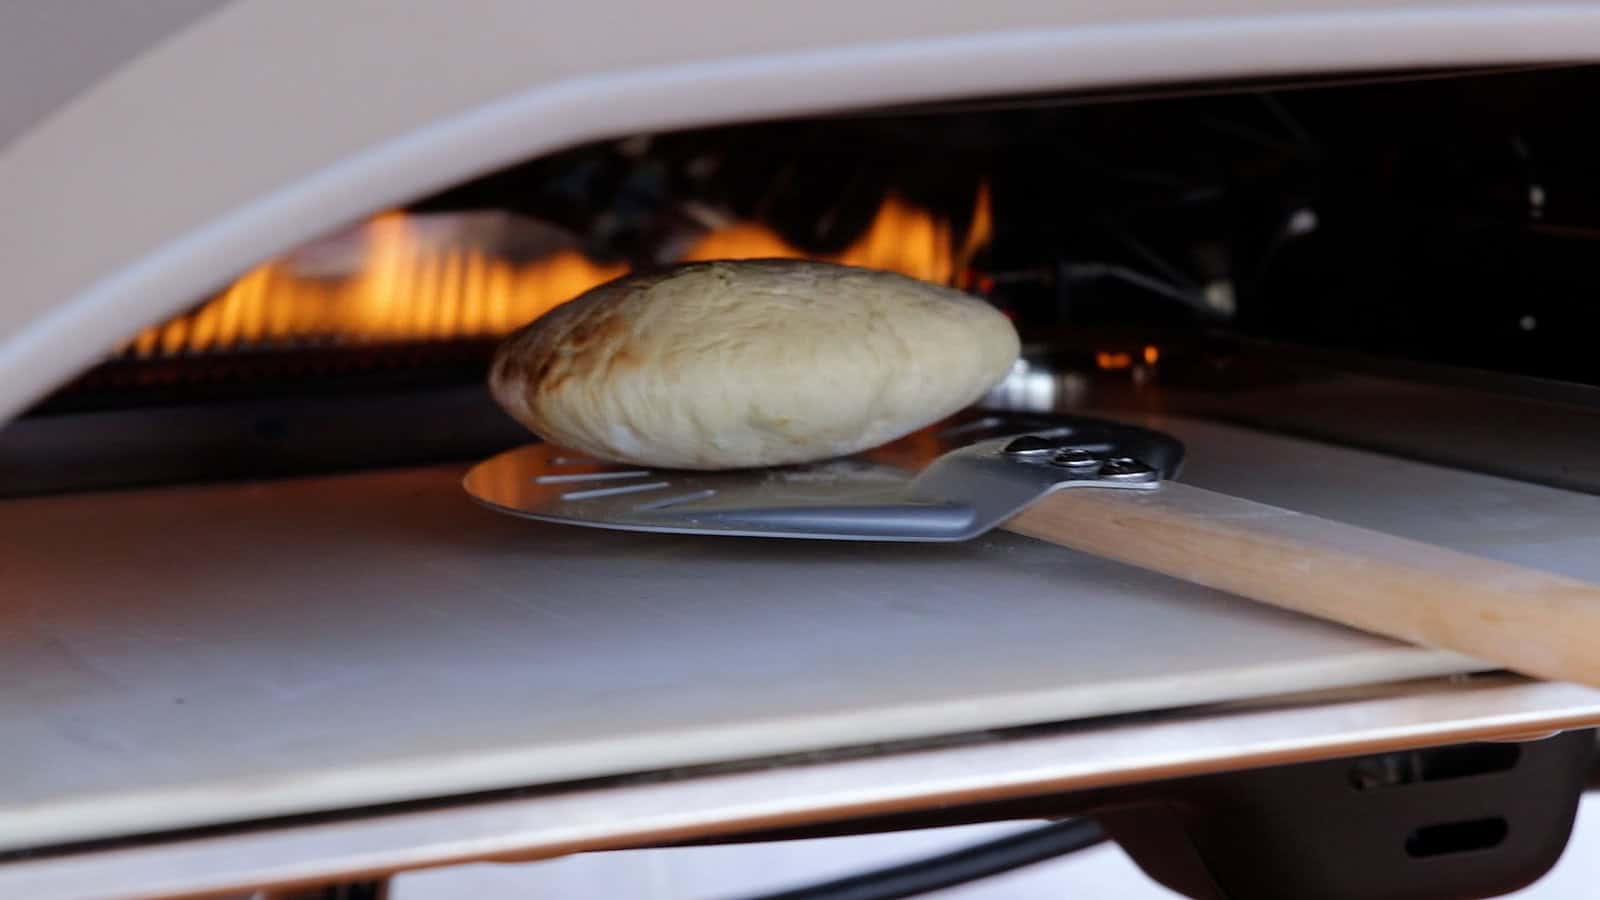
Using a pizza oven is a fantastic way to make pita bread with authentic, bakery-style results. This easy pita bread recipe cooks quickly at high heat, producing soft, fluffy pitas with perfect pockets.
- Preheat the Pizza Oven
Heat your pizza oven to a high temperature, ideally between 600–700°F (315–370°C). This high heat is key to achieving a quick puff and lightly golden exterior. - Prepare and Shape the Dough
Roll each dough ball into a 1/4-inch thick circle on a floured surface. This size allows the pitas to puff up and form their signature pockets during baking. - Bake the Pitas
Place the rolled dough directly on the pizza oven surface. Bake each pita for about 30–60 seconds, until it puffs up and turns golden brown. Flip and cook for just a few more seconds to ensure both sides are evenly baked. - Cover for Softness
Once baked, cover the pitas with a towel to trap steam, keeping them soft and fluffy.
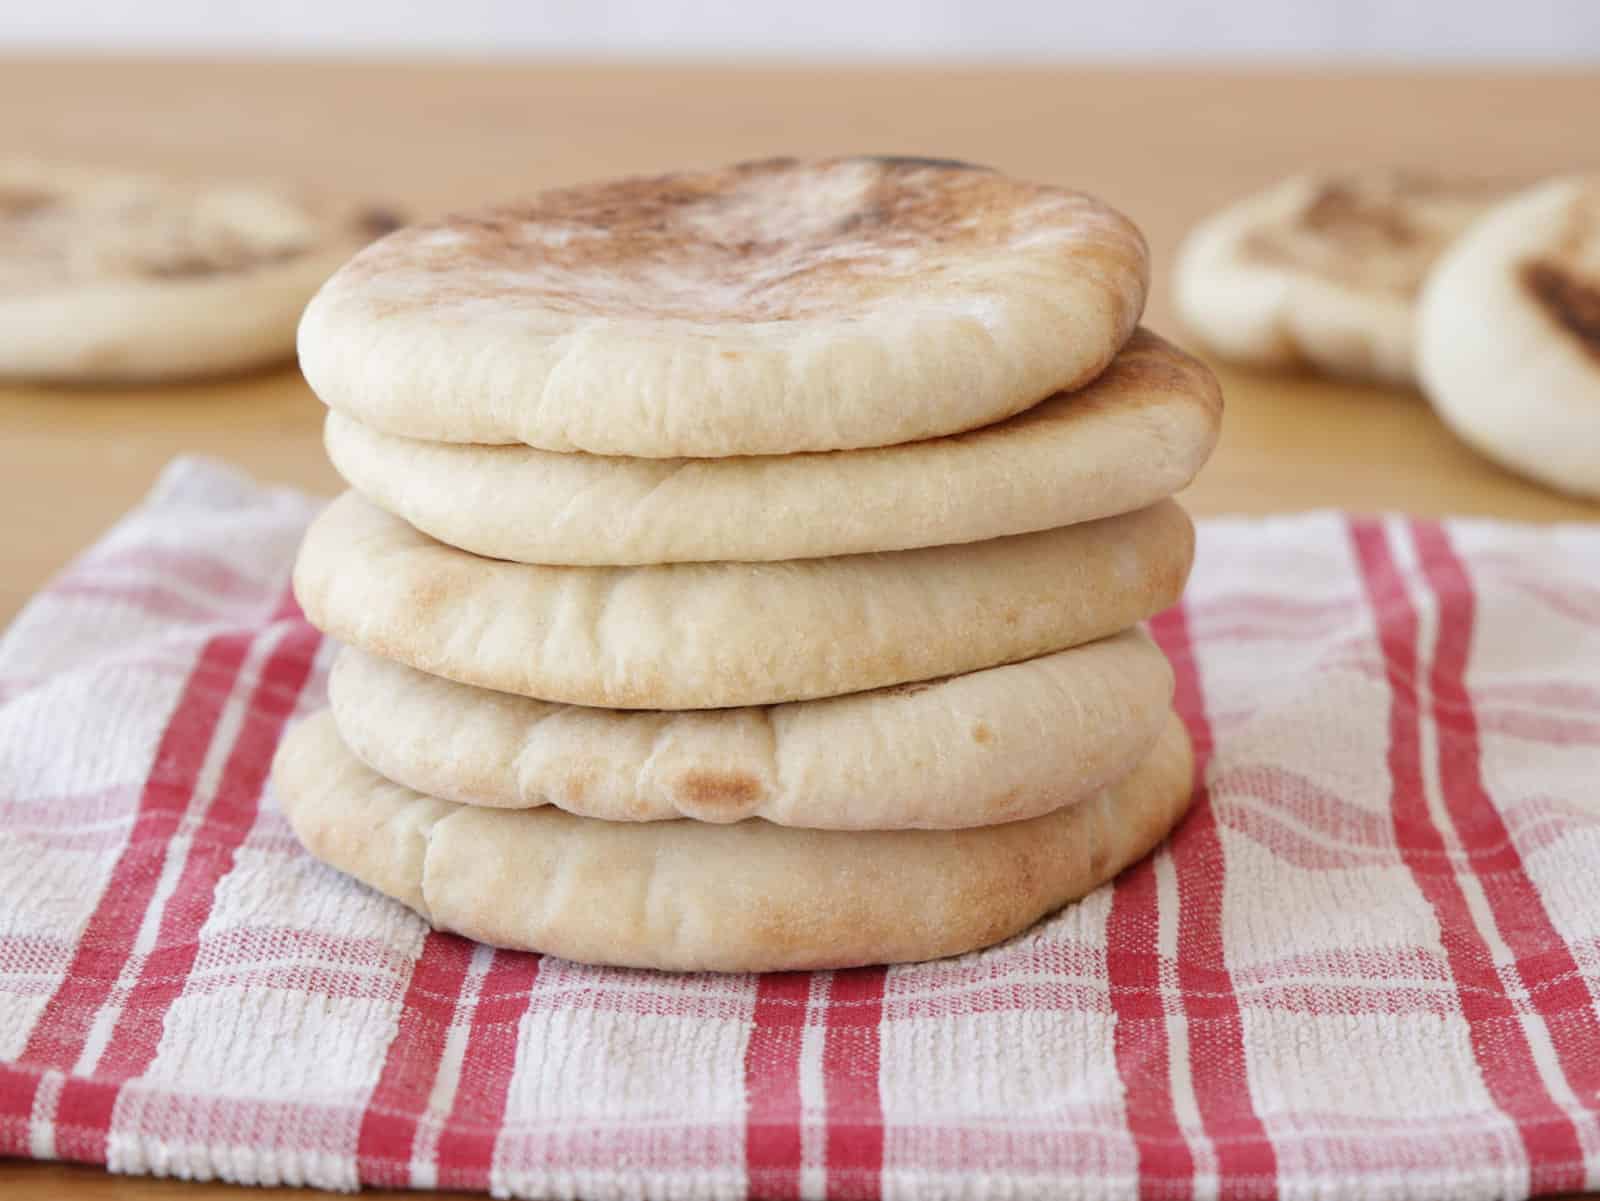
This pizza oven method is an easy way to make pita bread with beautiful pockets and a soft, airy texture!
In this recipe, I use Ooni Koda 16, which is a great option for making pita bread, pizza, and other baked goods. Here you can buy the pizza oven: Ooni Koda 16 (affiliate link).
The Pocket Test
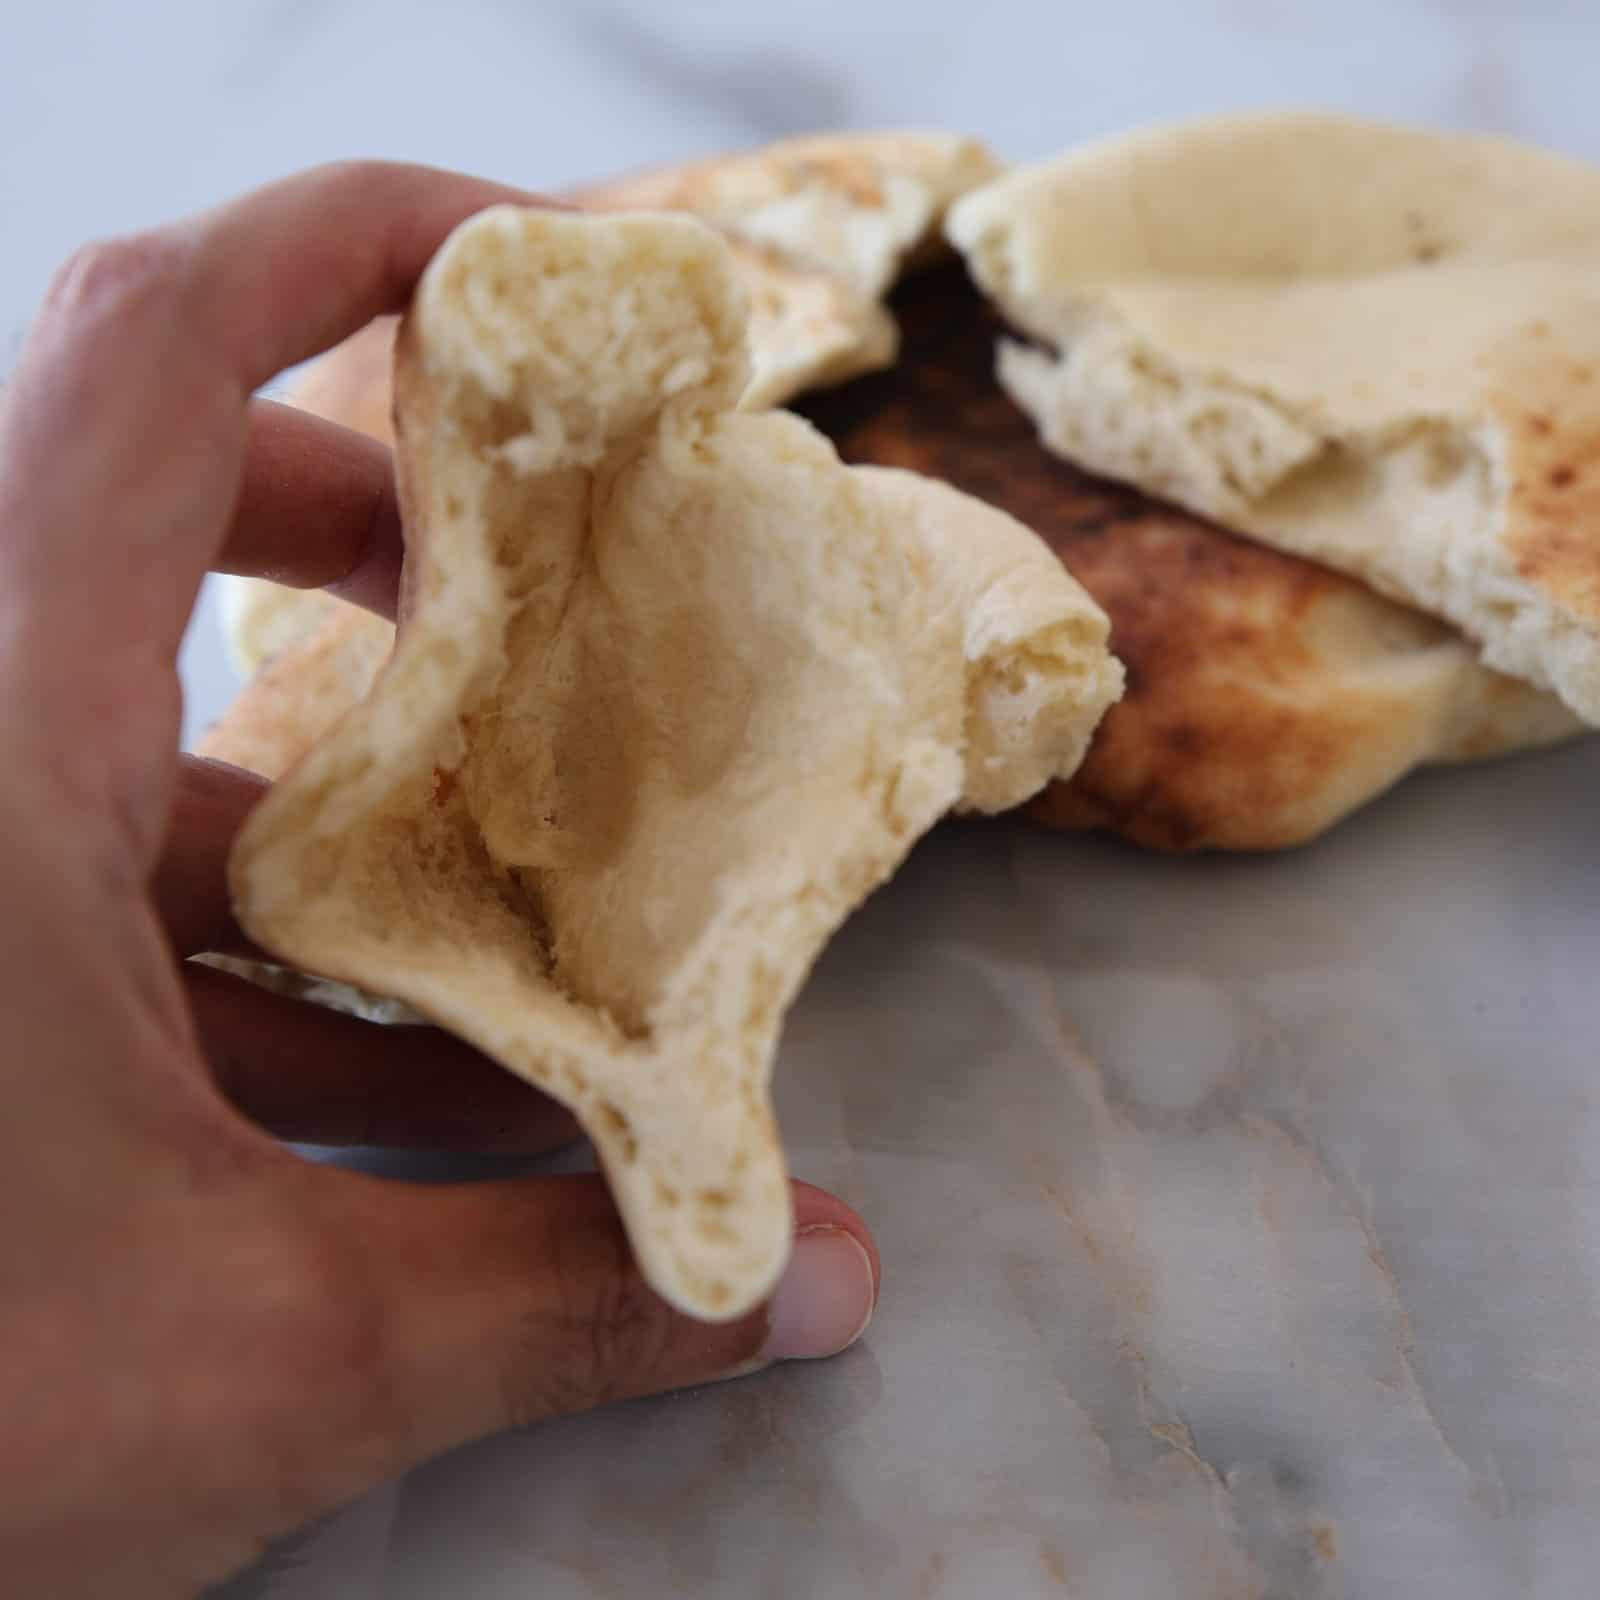
Perfectly Puffed Pita Pockets: Tips & Tricks
Making easy, homemade pita bread with that perfect, fluffy pocket is simpler with a few tried-and-true tips! Whether you’re baking pita in the oven, on the stovetop, or in a pizza oven, starting with the right dough consistency is essential. Aim for a soft, elastic dough to help the pita puff up beautifully during cooking.
- Preheat Thoroughly: Whether you’re using an oven, stovetop skillet, or pizza oven, ensure it’s fully preheated. High heat creates instant steam, which is essential for forming the pocket.
- Roll to the Right Thickness: Aim for about 1/4 inch thickness. Too thin may lead to over-crisping, while too thick might prevent the pocket from forming.
- Cover Freshly Baked Pitas: After baking, cover the warm pitas with a towel. This traps steam, keeping them soft and fluffy.
- Choose Your Method: The oven, stovetop, or pizza oven all work well—just follow the best practices for each for that Mediterranean-style pita perfection!
Why Didn’t My Pita Bread Puff Up?
When pita bread doesn’t puff, it’s usually due to a few common issues with dough handling, temperature, or thickness. Here’s why it might happen and how to ensure you get that perfect pocket every time.
- Incorrect Dough Consistency: If the dough isn’t soft and elastic, it may not puff well. Make sure to knead until smooth and stretchy—this helps trap air, which is crucial for creating the pocket.
- Insufficient Heat: Pita needs very high heat to form its pocket. If you’re baking in an oven, preheat to the maximum temperature and use a baking stone or preheated baking tray to mimic a hot surface. For stovetop cooking, make sure the skillet is hot before adding the dough.
- Rolling Thickness: Rolling the dough too thick or too thin can prevent puffing. Aim for about 1/4 inch thick. Too thick, and the pita won’t cook through quickly enough; too thin, and it won’t have the structure to create a pocket.
- Skipping the Resting Step: Letting the dough balls rest before rolling and cooking helps relax the gluten, making it easier to achieve a puffy, airy pita. A short 15-20 minute rest after shaping is essential.
By following these tips, you’ll create soft, fluffy pita bread with that signature pocket every time!
Best Served With
- Gyros – Perfectly seasoned and tender, gyros are a classic choice for pita, offering a flavorful mix of meats, tzatziki, and fresh veggies for the ultimate Mediterranean wrap.
- Homemade Falafel – Crispy on the outside and tender on the inside, homemade falafel pairs beautifully with pita, adding a hearty, plant-based filling packed with herbs and spices.
- Hummus – Smooth and creamy, hummus is a deliciously simple dip that complements pita’s soft texture, making it ideal for snacking or as a side with any meal.
- Tzatziki: This refreshing yogurt and cucumber sauce is perfect for dipping or spreading on pita, adding a cool, creamy contrast to warm pita and any savory fillings.
Common Questions
If your pita didn’t puff, it might be due to low heat, incorrect dough thickness, or not allowing the dough to rest properly. Preheat your cooking surface well, roll the dough to about 1/4 inch thickness, and let the dough rest before baking or cooking.
Bread flour is ideal as its higher protein content provides structure and elasticity, giving pita its soft, chewy texture. All-purpose flour works as well but may result in a slightly softer texture.
Cover freshly baked pitas with a clean towel immediately after cooking to trap steam. This helps keep them soft and fluffy.
Traditional pita relies on yeast for puffing, but you can try a baking powder variation for a quicker version, though it may not produce the same pockets.
It depends on preference! An oven, stovetop skillet, or pizza oven all work well. A pizza oven gives a quick, bakery-style result, while a skillet offers convenience and an easy stovetop option.
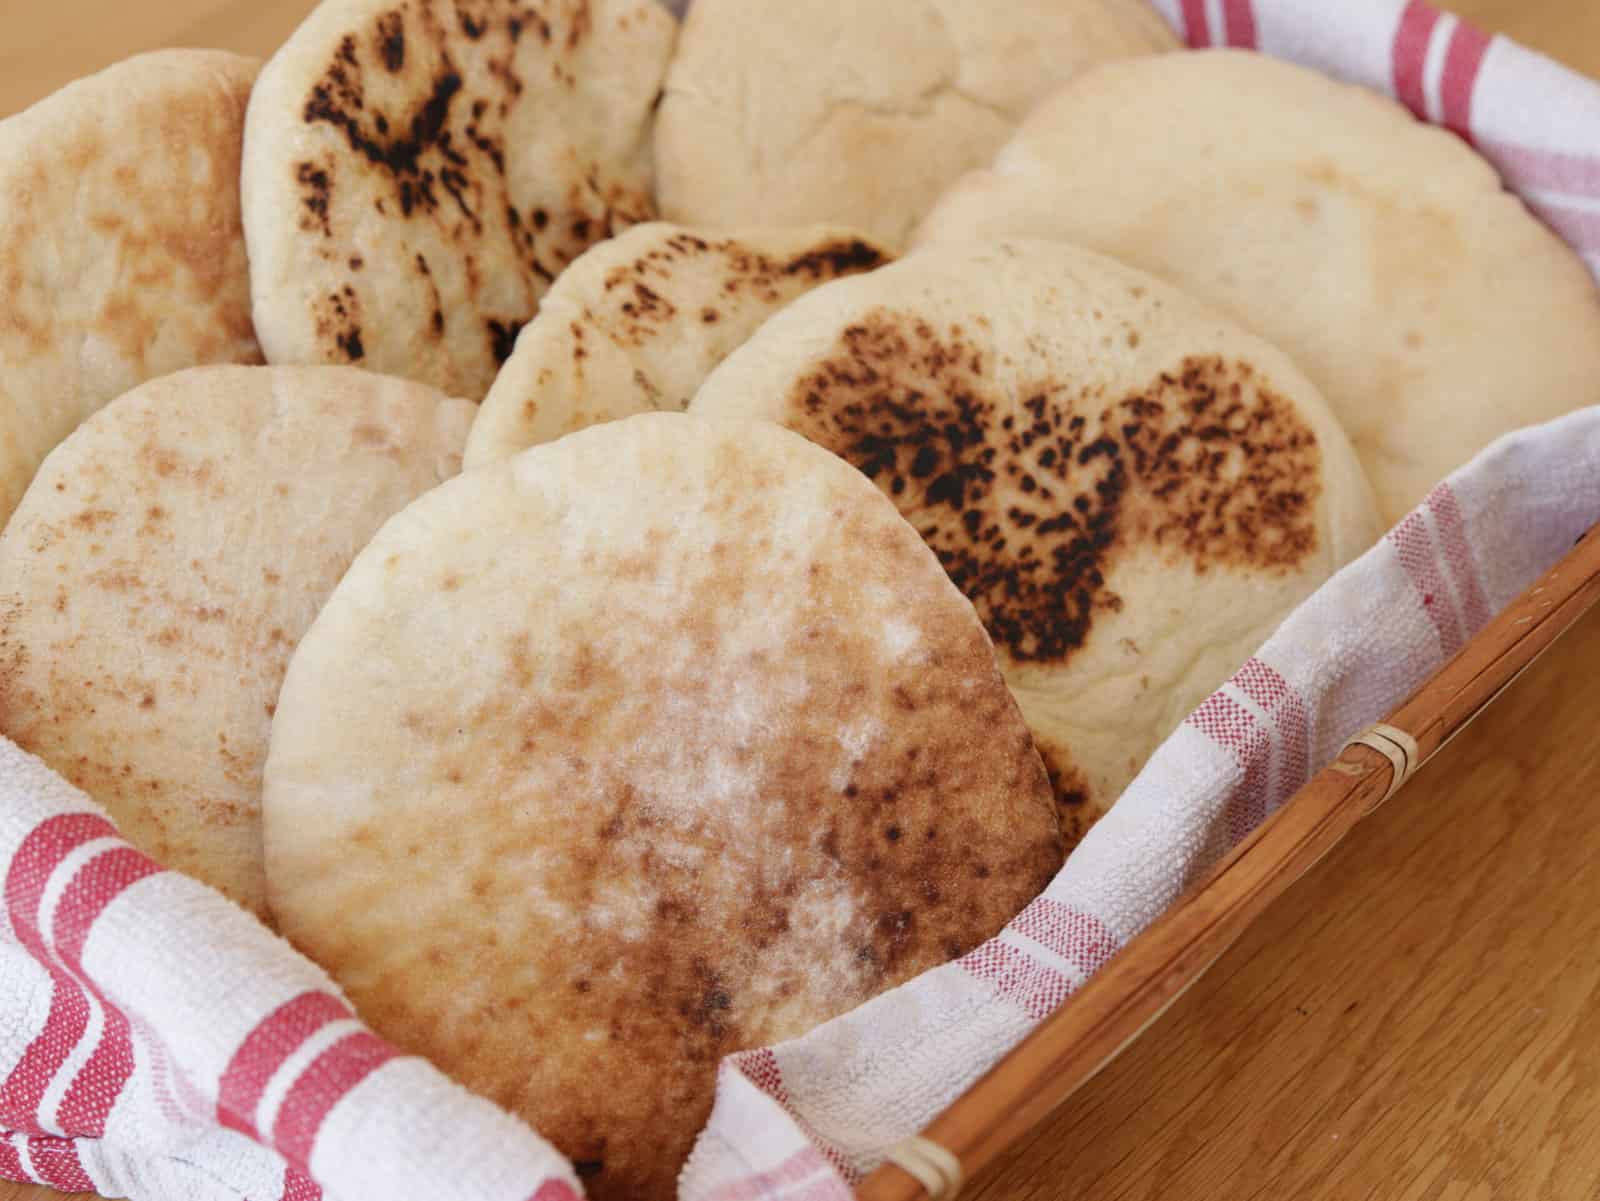
How to Store Pita Bread
To keep your homemade pita bread fresh and soft, follow these storage tips:
Room Temperature: Place cooled pita bread in an airtight bag or container and store at room temperature for up to 2–3 days. Keeping it sealed prevents it from drying out.
Refrigerator: For slightly longer storage, wrap pita in plastic wrap or place in an airtight container, and refrigerate for up to a week. Be aware that refrigeration can make it a bit firmer, so warm it briefly before serving.
Freezer: For longer storage, freeze pita by placing it in a freezer-safe bag with parchment between each piece. It’ll keep well for up to 3 months. To reheat, warm in an oven, skillet, or toaster for soft, fluffy pita pockets.
More Bread Recipes
If you like baking bread at home, try these recipes:
Homemade Pita Bread Recipe
Equipment
Ingredients
- 4 cups (500 g) Bread flour
- ¾ tablespoon (7 g) Instant dry yeast
- 1 tablespoon (14 g) Sugar
- 1 teaspoon Salt
- 2 tablespoons olive oil
- 1¼ (300 ml) Water room temperature
Instructions
- Make Pita Dough: Sift the flour into the mixer bowl. Add the dry yeast, sugar, and salt, and mix well.
- Add the olive oil and water. Start mixing with your hands or a wooden spoon until a dough forms.
- Transfer the dough to a floured surface and knead until a smooth and elastic dough forms, about 10 minutes. If you have a stand mixer, this process will be much easier.
- Transfer the dough to a lightly oiled bowl and leave to rise for about an hour or until it doubles in volume.
- Punch the dough to release the air and divide it into 8 equal parts, about 100g each. Roll them into balls.
- Method 1 – Bake in a pizza oven: Preheat your pizza oven to 600-700°F (315-370°C).
- Roll the dough balls into 1/2 cm (1/4 inch) thick circles. When the pizza oven is hot enough, place the dough directly on the oven surface and bake until puffed and lightly golden brown, about 30-60 seconds. Flip and bake for a few more seconds.
- Method 2 – Baking in a Regular Oven: Preheat your oven to 485°F (250°C) or the highest temperature your oven can reach.
- Place a baking tray upside down in the oven to simulate a baking stone.
- Roll the dough balls into 1/2 cm (1/4 inch) thick circles.
- When the oven is hot enough, carefully remove the tray, place a parchment paper on top, then place 3-4 pitas on the tray. Bake for about 3 minutes or until puffed, then flip and bake for another 1 minute until golden brown.
- Method 3 – Baking in a Pan: Heat a cast-iron skillet or a heavy-bottomed pan over medium-high heat.
- Roll the dough balls into 1/2 cm (1/4 inch) thick circles. Place one pita at a time in the hot pan and cook for about 1-2 minutes on each side, or until puffed and golden spots appear.
- Immediately cover the pitas with a towel to create a steamy environment. They must be covered all the time to prevent drying out. The pitas soften after cooling and are at their best the day they are baked.
Video

Notes
- Watch the Video: For a better understanding of the recipe, I always recommend watching the video recipe, which includes a step-by-step guide to help you succeed.
- FAQs: Make sure you read the FAQs for this recipe which are located above the recipe box for additional tips and troubleshooting! For extra tips and variations read the article.
- Soft Pita Bread: Immediately cover the pitas with a towel to create a steamy environment. They must be covered all the time to prevent drying out. The pitas soften after cooling and are at their best the day they are baked.
- I don’t usually write such long posts, but this blog post gives you all the information to bake the perfect pita bread using every possible method and creates a beautiful pocket.




so damn good! reminds me of my grandma
Glad you liked it 🙂
I tried the stovetop pita bread method and it worked perfectly for me, fluffy and delicious.
Glad to hear that you liked it!