
Crème Brûlée Cheesecake
This post may contain affiliate links.
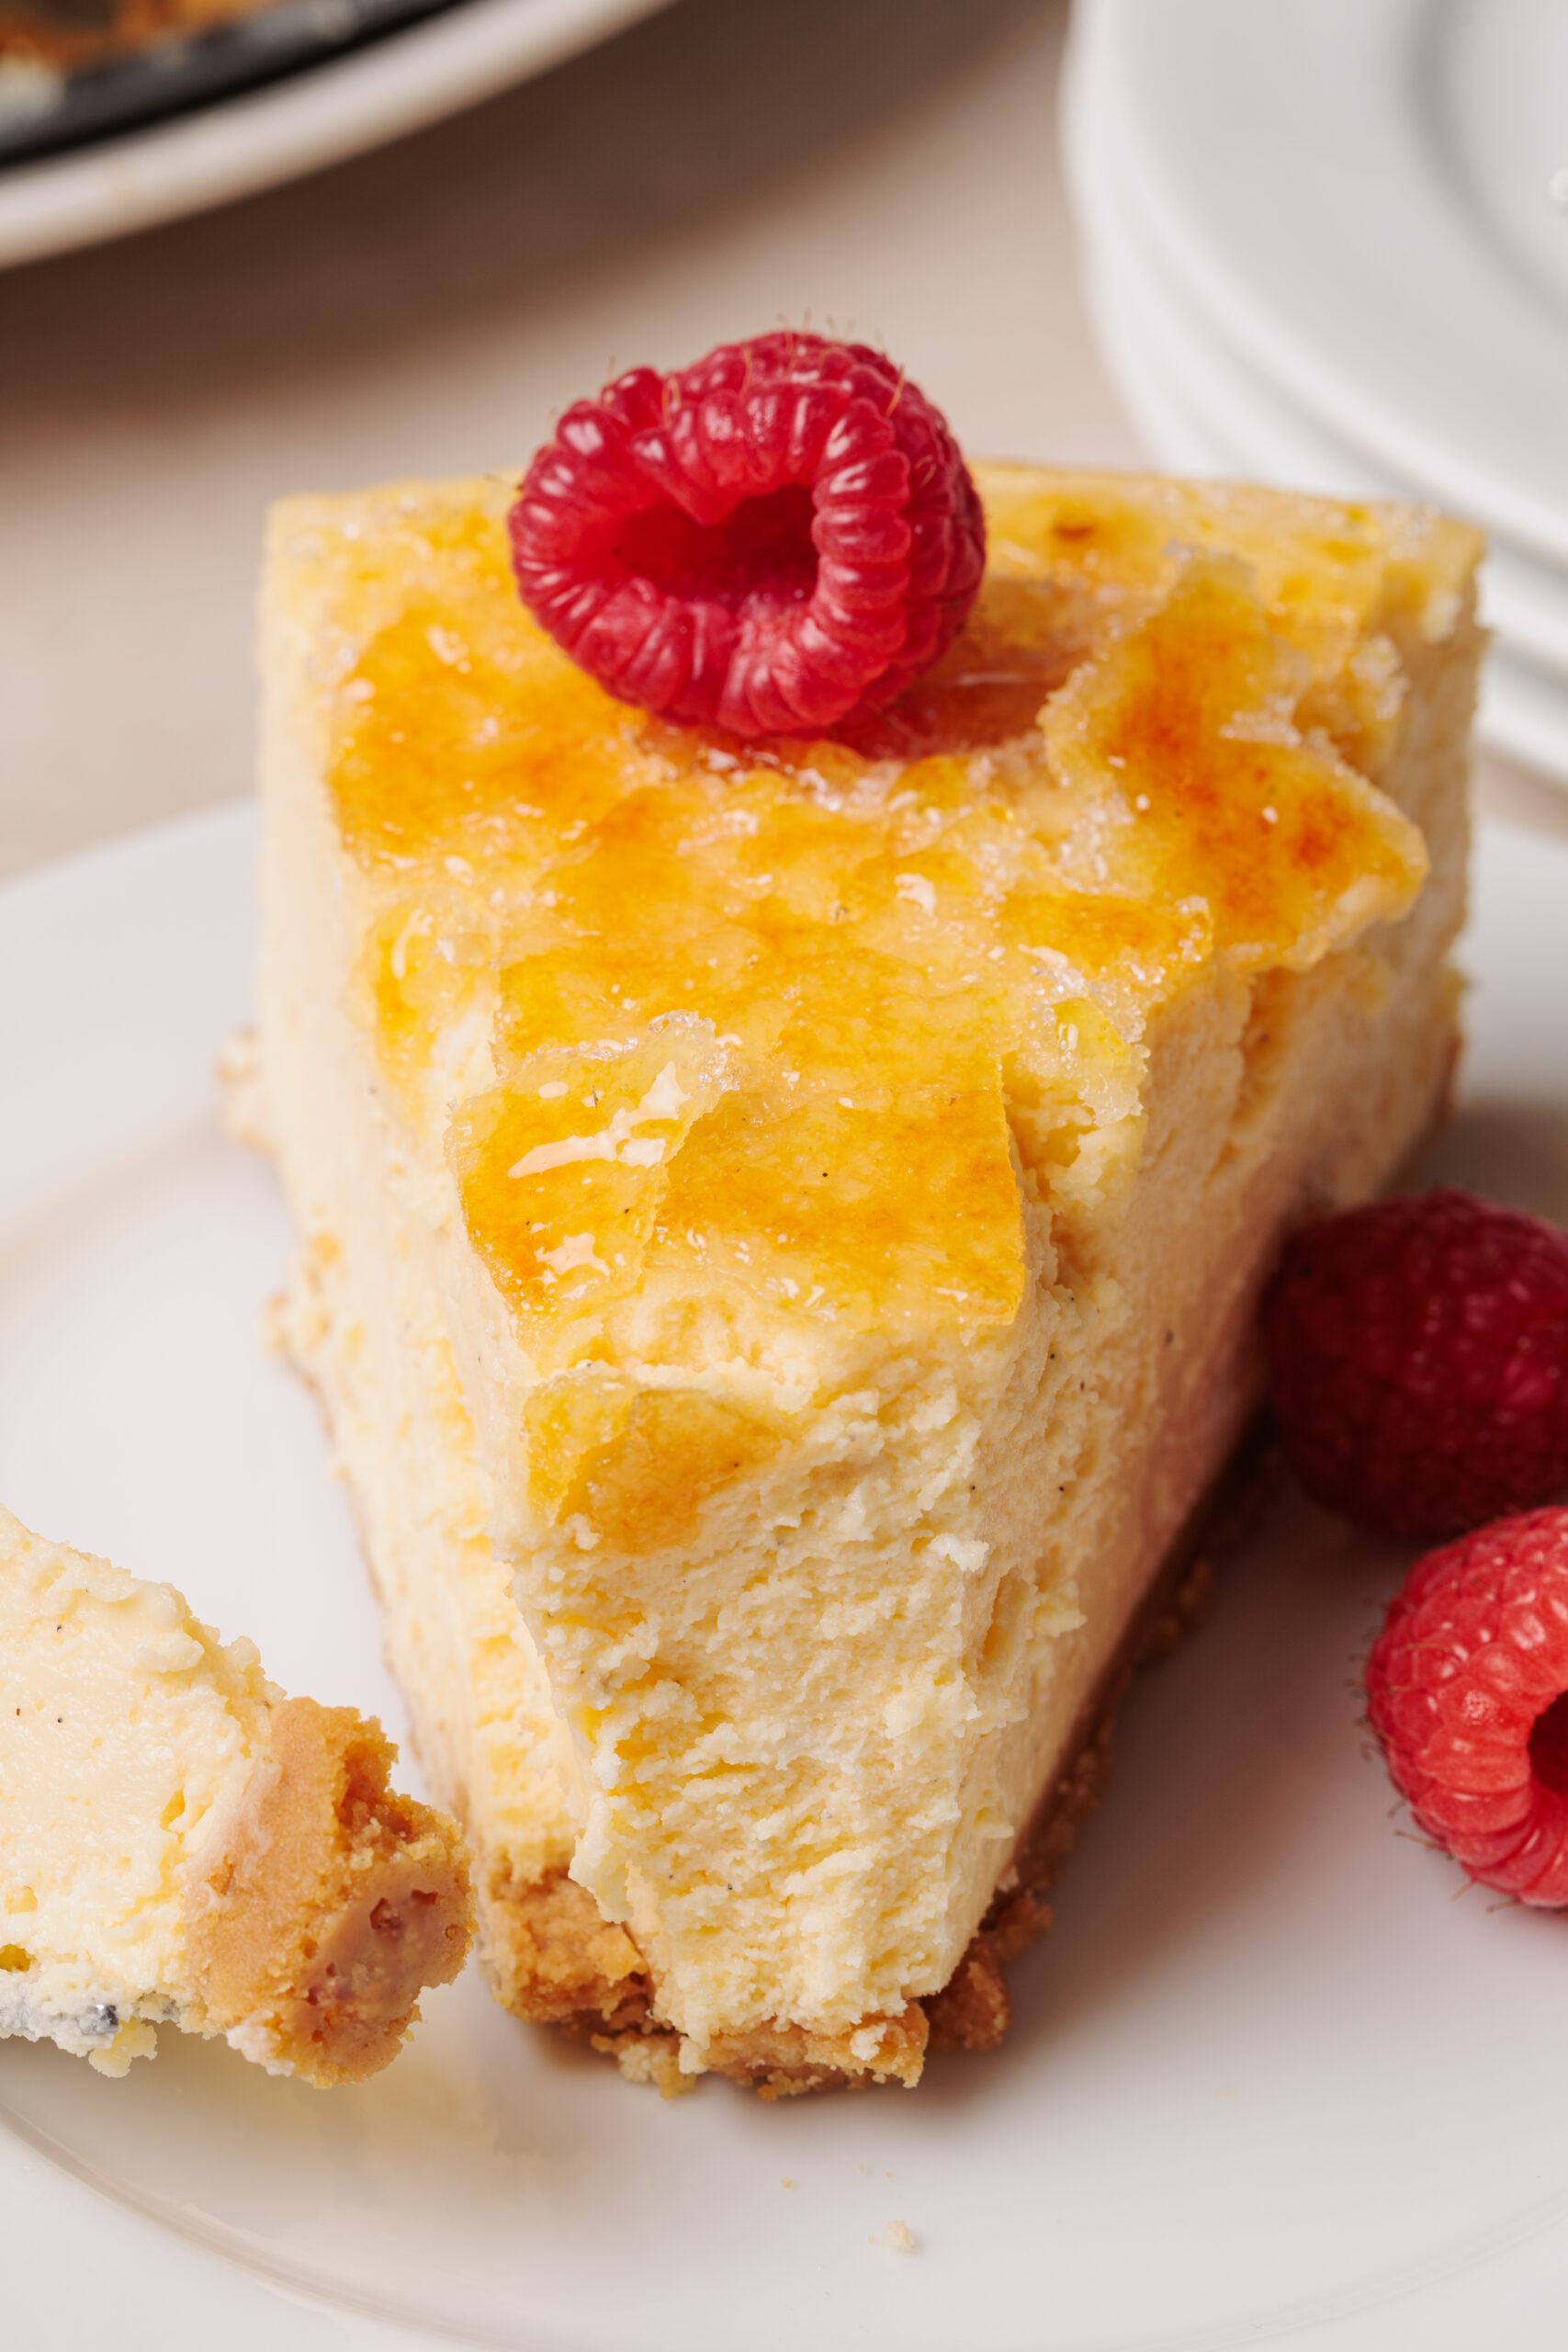
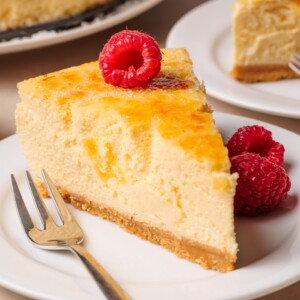
My rich, creamy, caramelized Crème Brûlée Cheesecake recipe combines two of my favorite desserts into one delightful slice. Between the buttery graham cracker crust, dreamy cheesecake filling, and crispy burnt sugar topper, every bite is an adventure of delicious flavors and exciting textures.
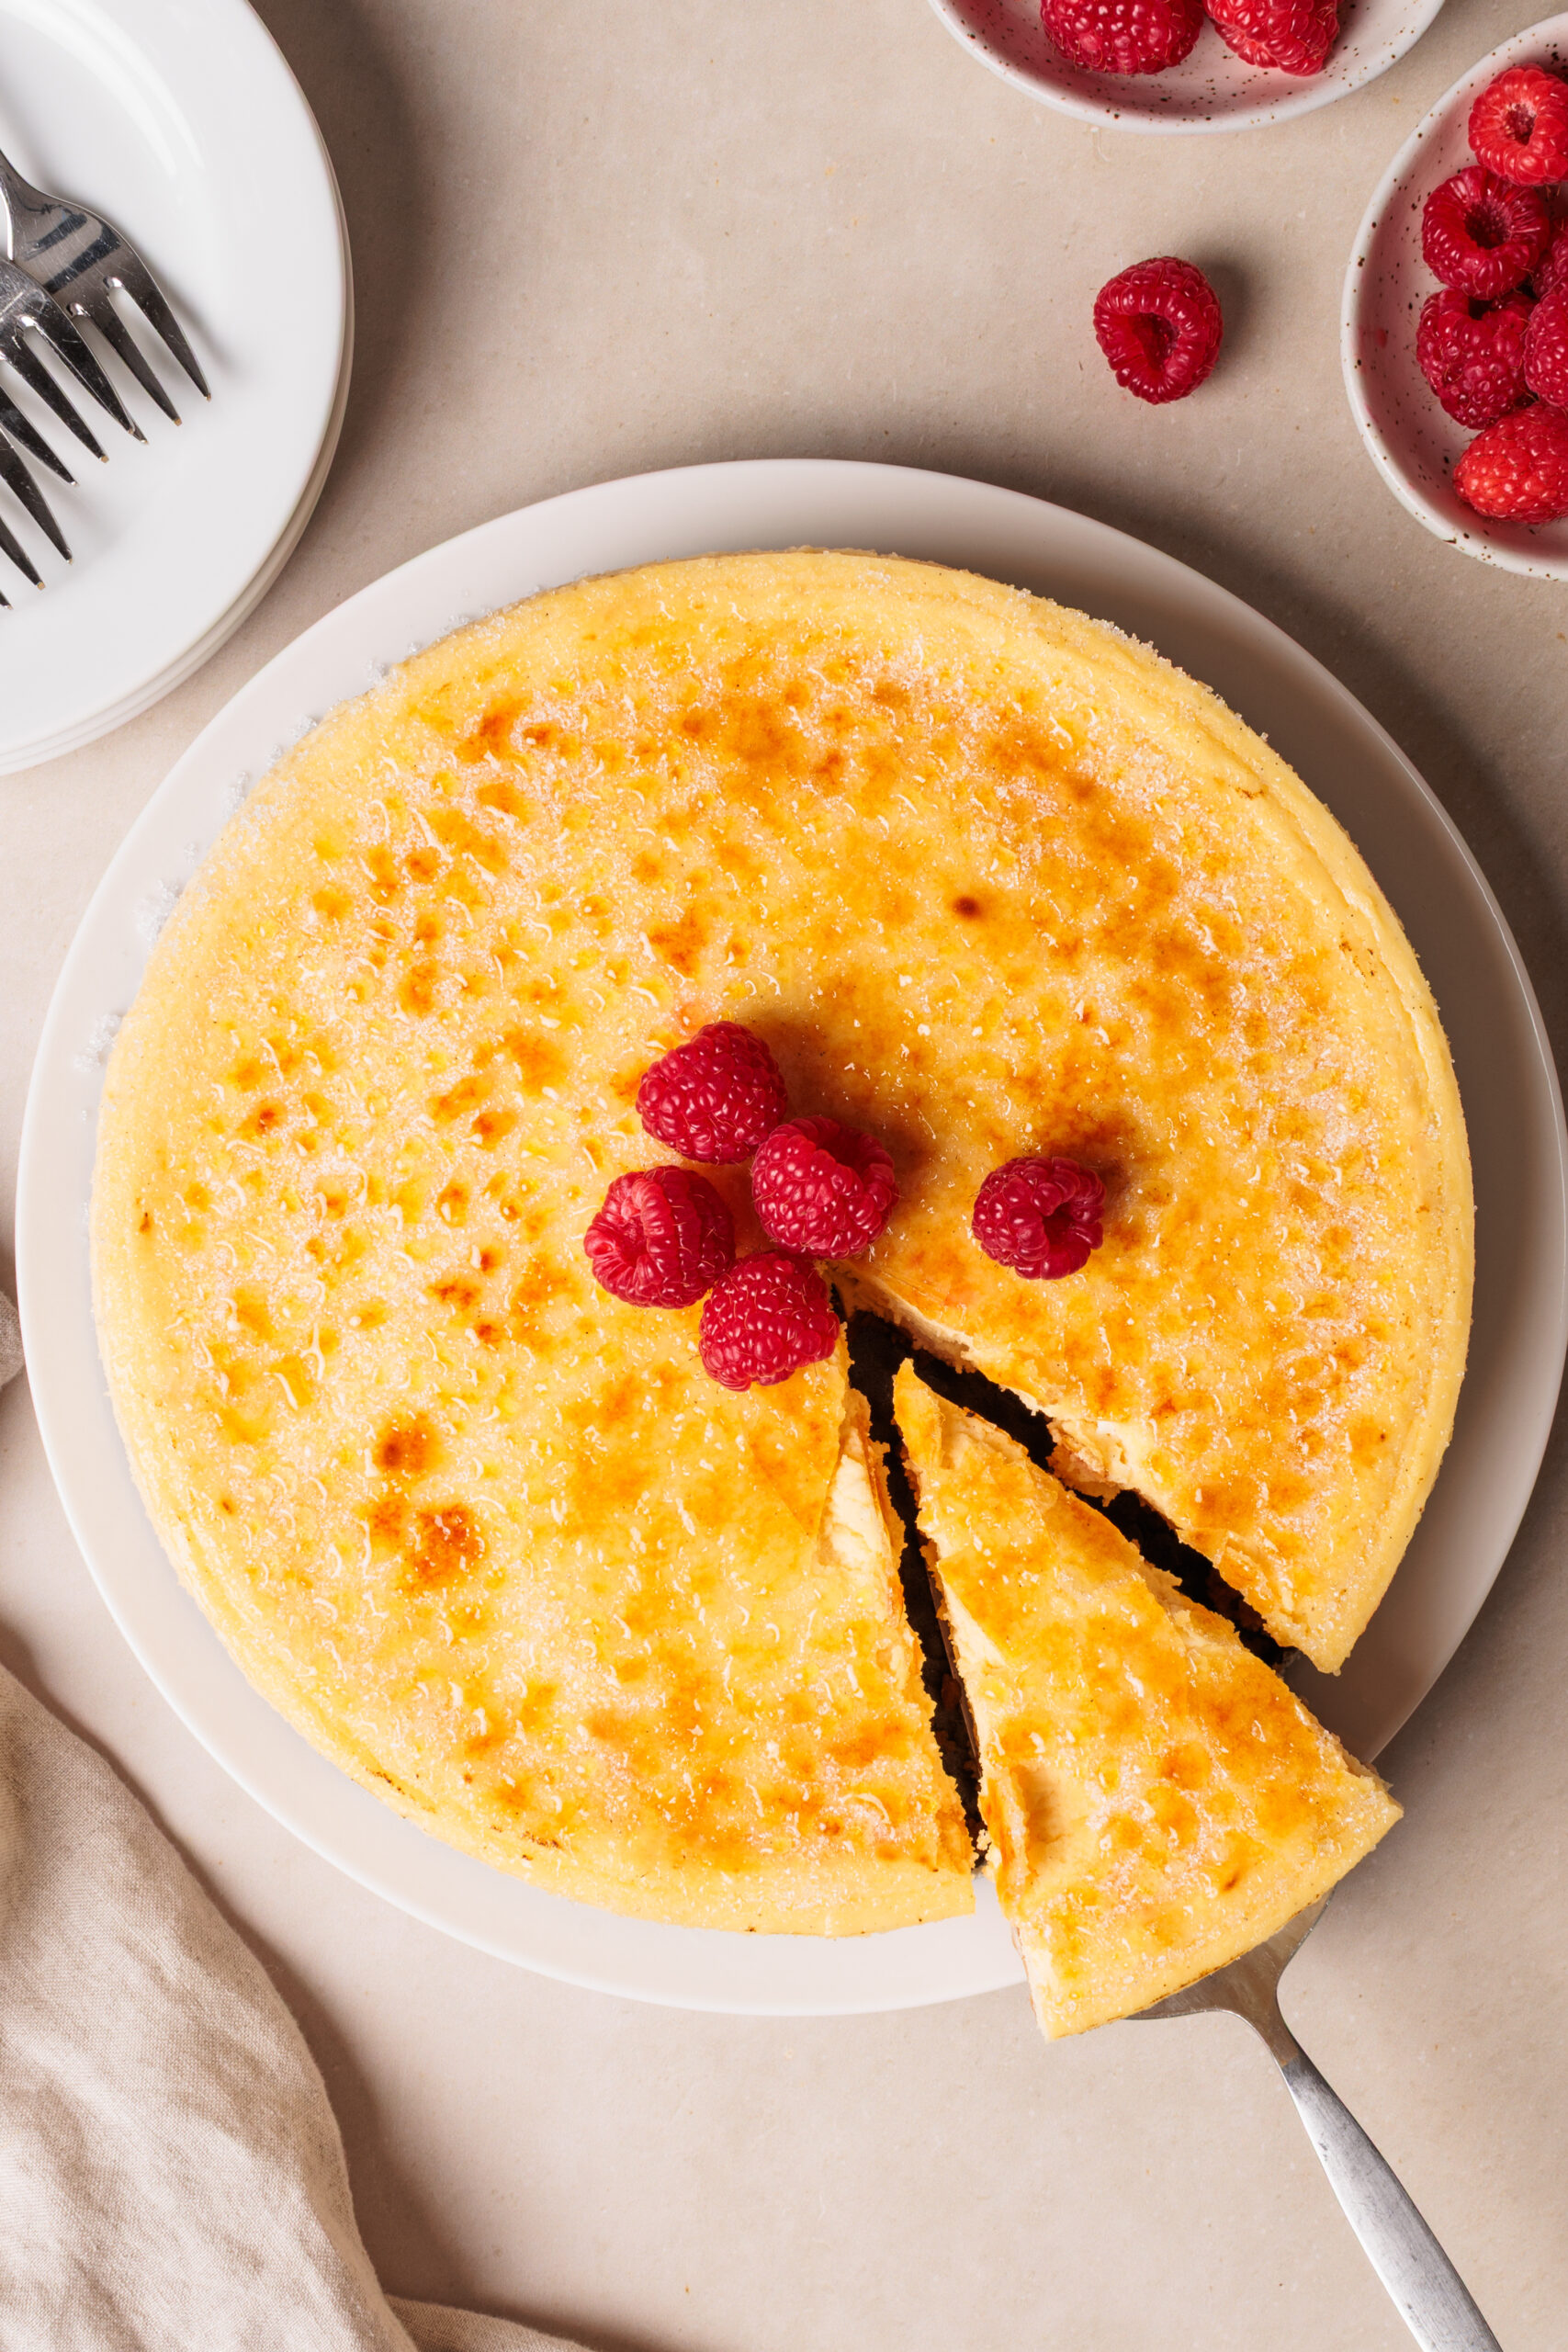
Indecisive eaters, rejoice! There’s no need to choose between crème brûlée and classic cheesecake when you can enjoy my easy crème brûlée cheesecake. All you need are 8 simple ingredients, about 30 minutes of active prep, and a bit of patience to make a showstopping end to any meal.
Ingredients & Substitutions
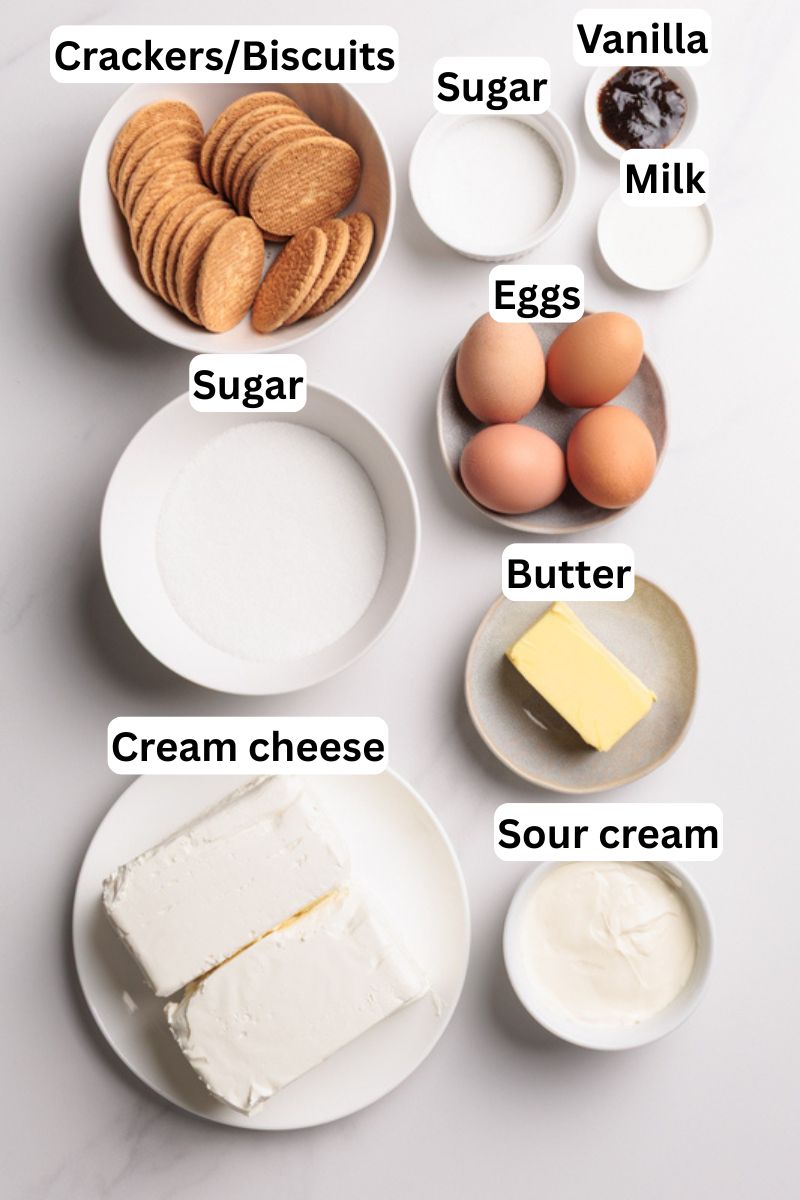
- Graham Crackers – The classic choice for cheesecake crust. Feel free to shake things up with digestive biscuits, vanilla wafers, or other plain cookies if desired.
- Unsalted Butter – For binding the cookie crust together. If you have the means, I recommend swapping in richer, more flavorful cultured European-style butter for the best results.
- Milk – Only if needed, to help bind the crust ingredients. You’re welcome to use any percentage of dairy milk or any variety of plant-based milk you prefer.
- Cream Cheese – Make sure you’re reaching for full-fat block-style cream cheese for the best results. If you prefer a lighter cheesecake, swap in all-natural Neufchatel cheese instead of low-fat or fat-free cream cheese that are packed with fillers.
- Granulated Sugar – Plain white sugar adds neutral sweetness to the filling, allowing the tangy dairy and aromatic vanilla to shine. When sprinkled on top and torched to a crisp, however, it takes on a much more complex, caramelly flavor that is to die for! Superfine/caster sugar or cane sugar can also be used.
- Sour Cream – For added tang and creamy richness. If you prefer a slightly lighter cheesecake, you can swap in full-fat greek yogurt.
- Vanilla Bean Paste – For warmth and sweetness with beautiful black flecks. An equal amount of vanilla extract can be used instead.
- Large Eggs – For a deliciously custardy cheesecake filling with the perfect amount of wobble.
This is just a short review of the ingredients; for the complete recipe, including quantities, scroll down to the recipe card 👇
How to Make Crème Brûlée Cheesecake
Watch the full video recipe to learn how to make the BEST Cheesecake Crème Brûlée mashup.
Prefer the written recipe? Scroll down to the recipe box 👇
How to Make the Perfect Cheesecake Crust
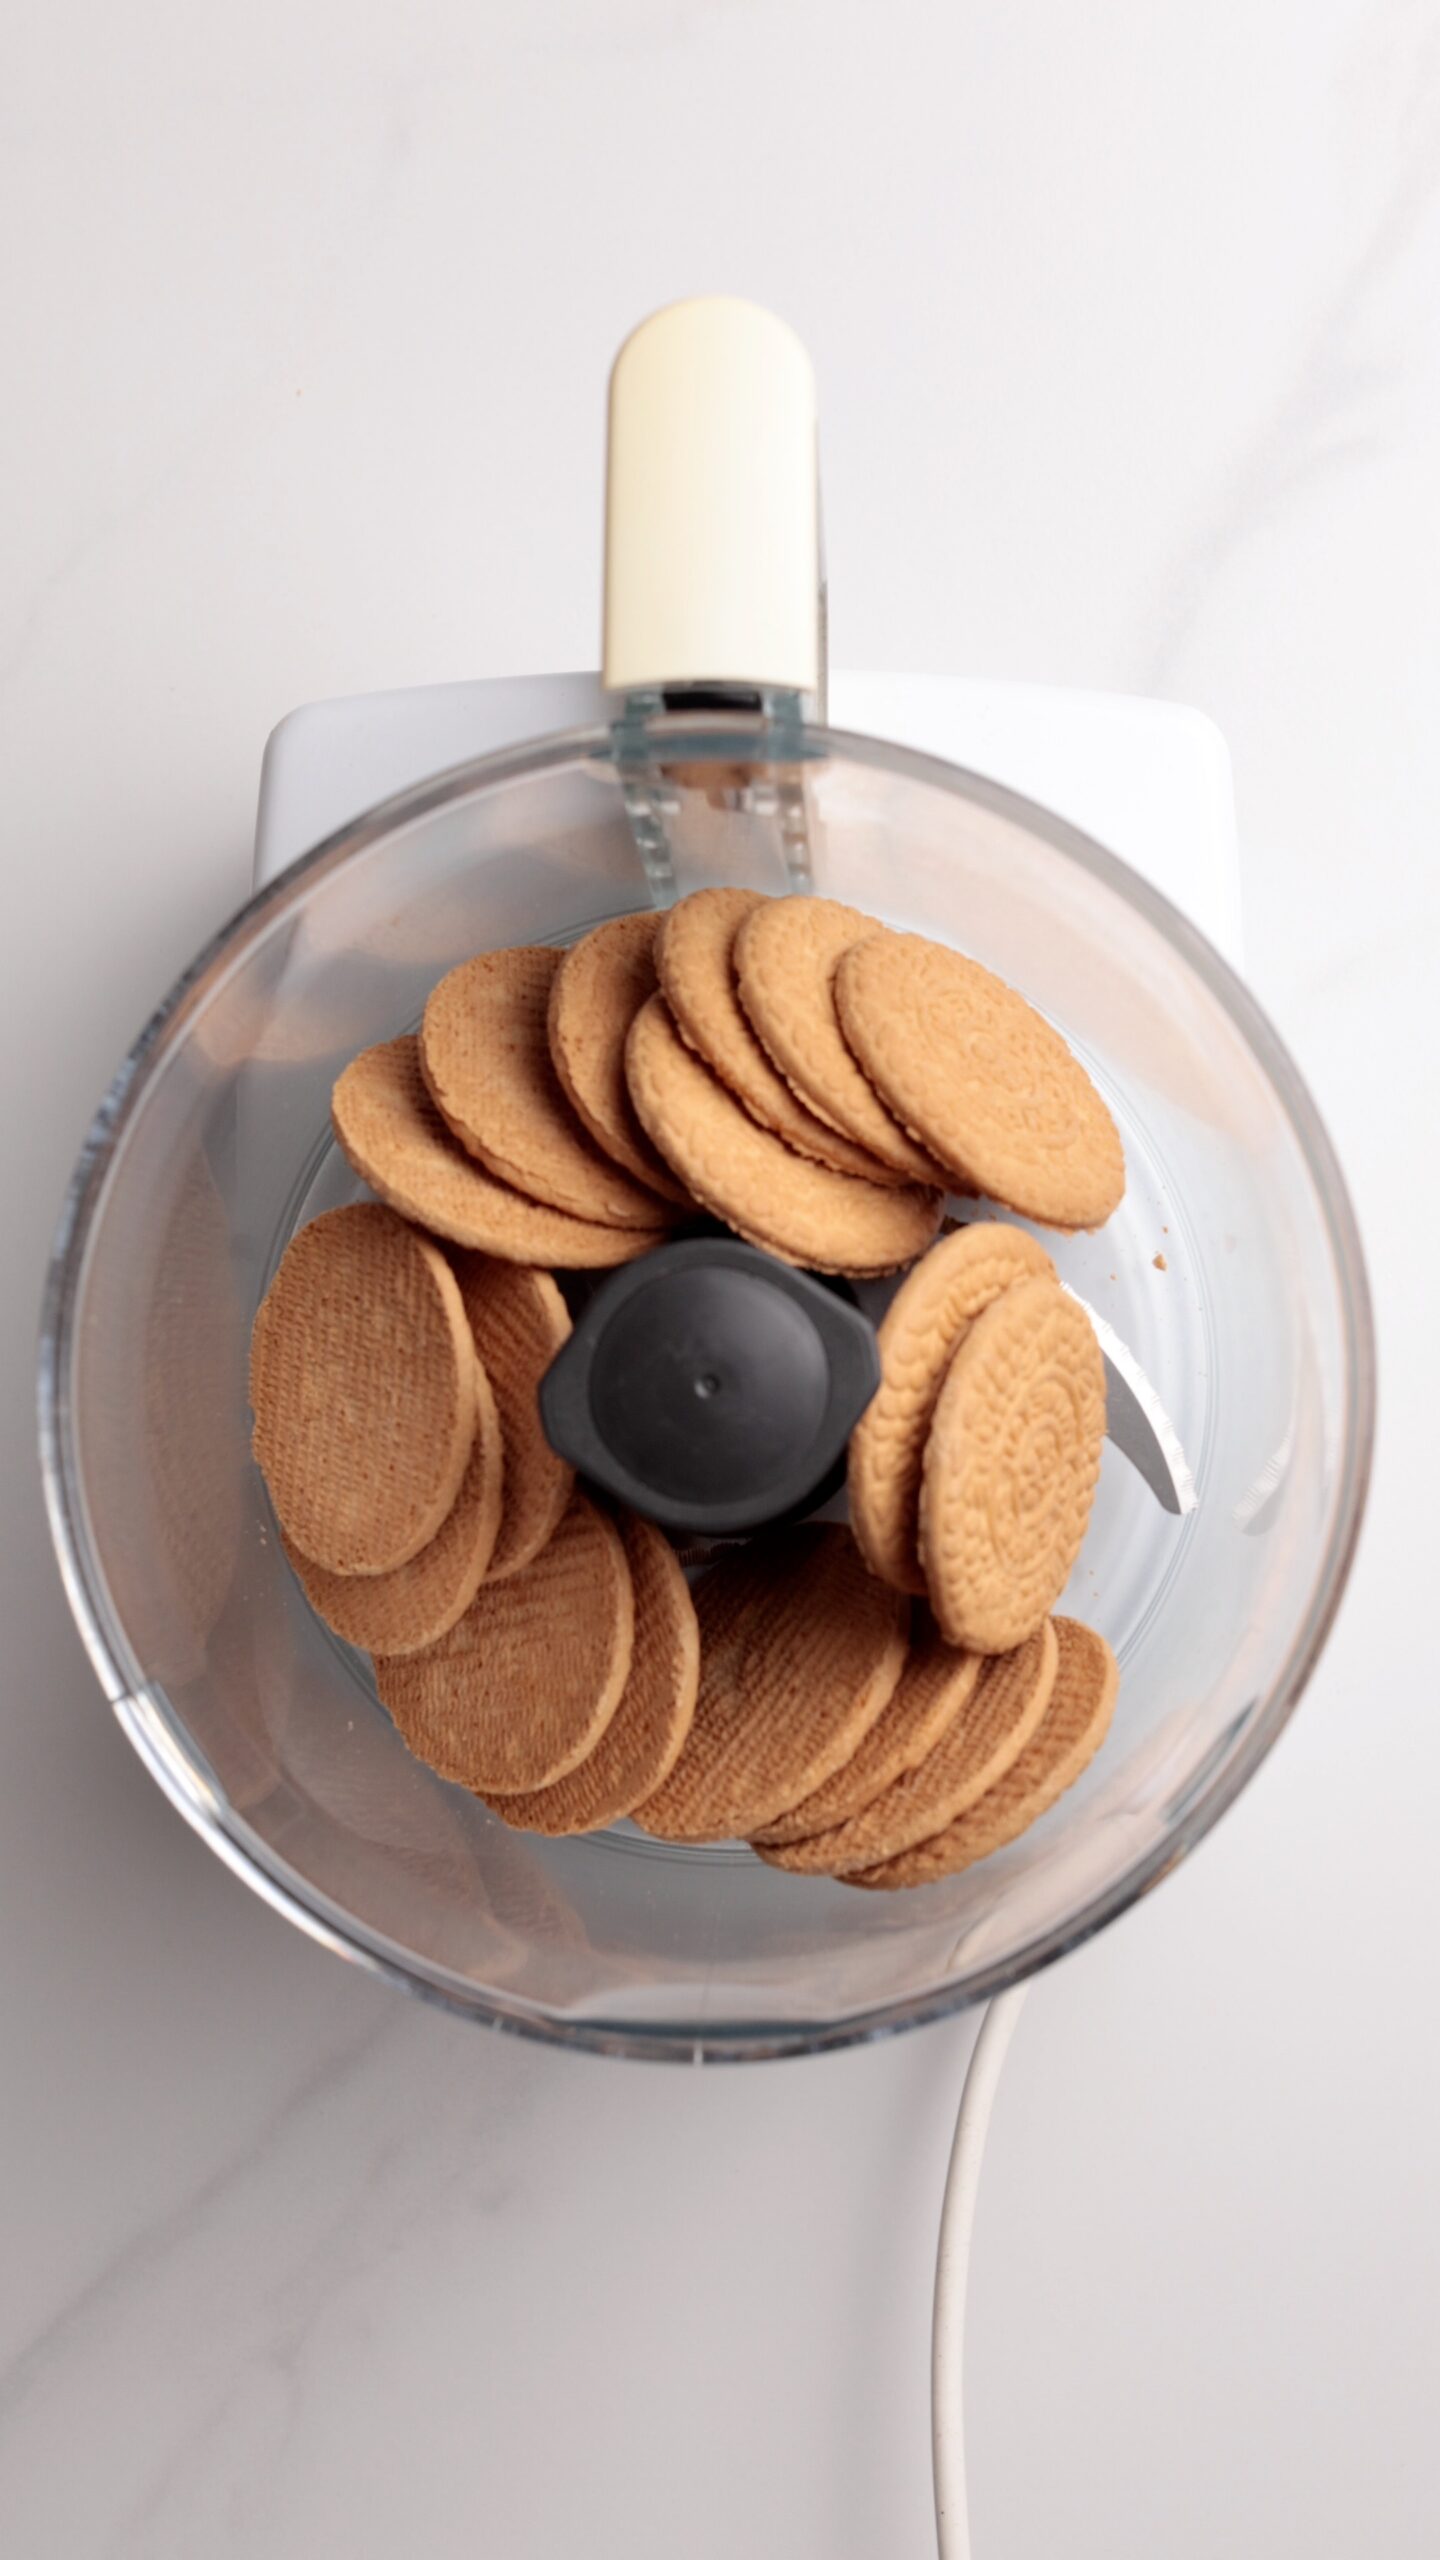
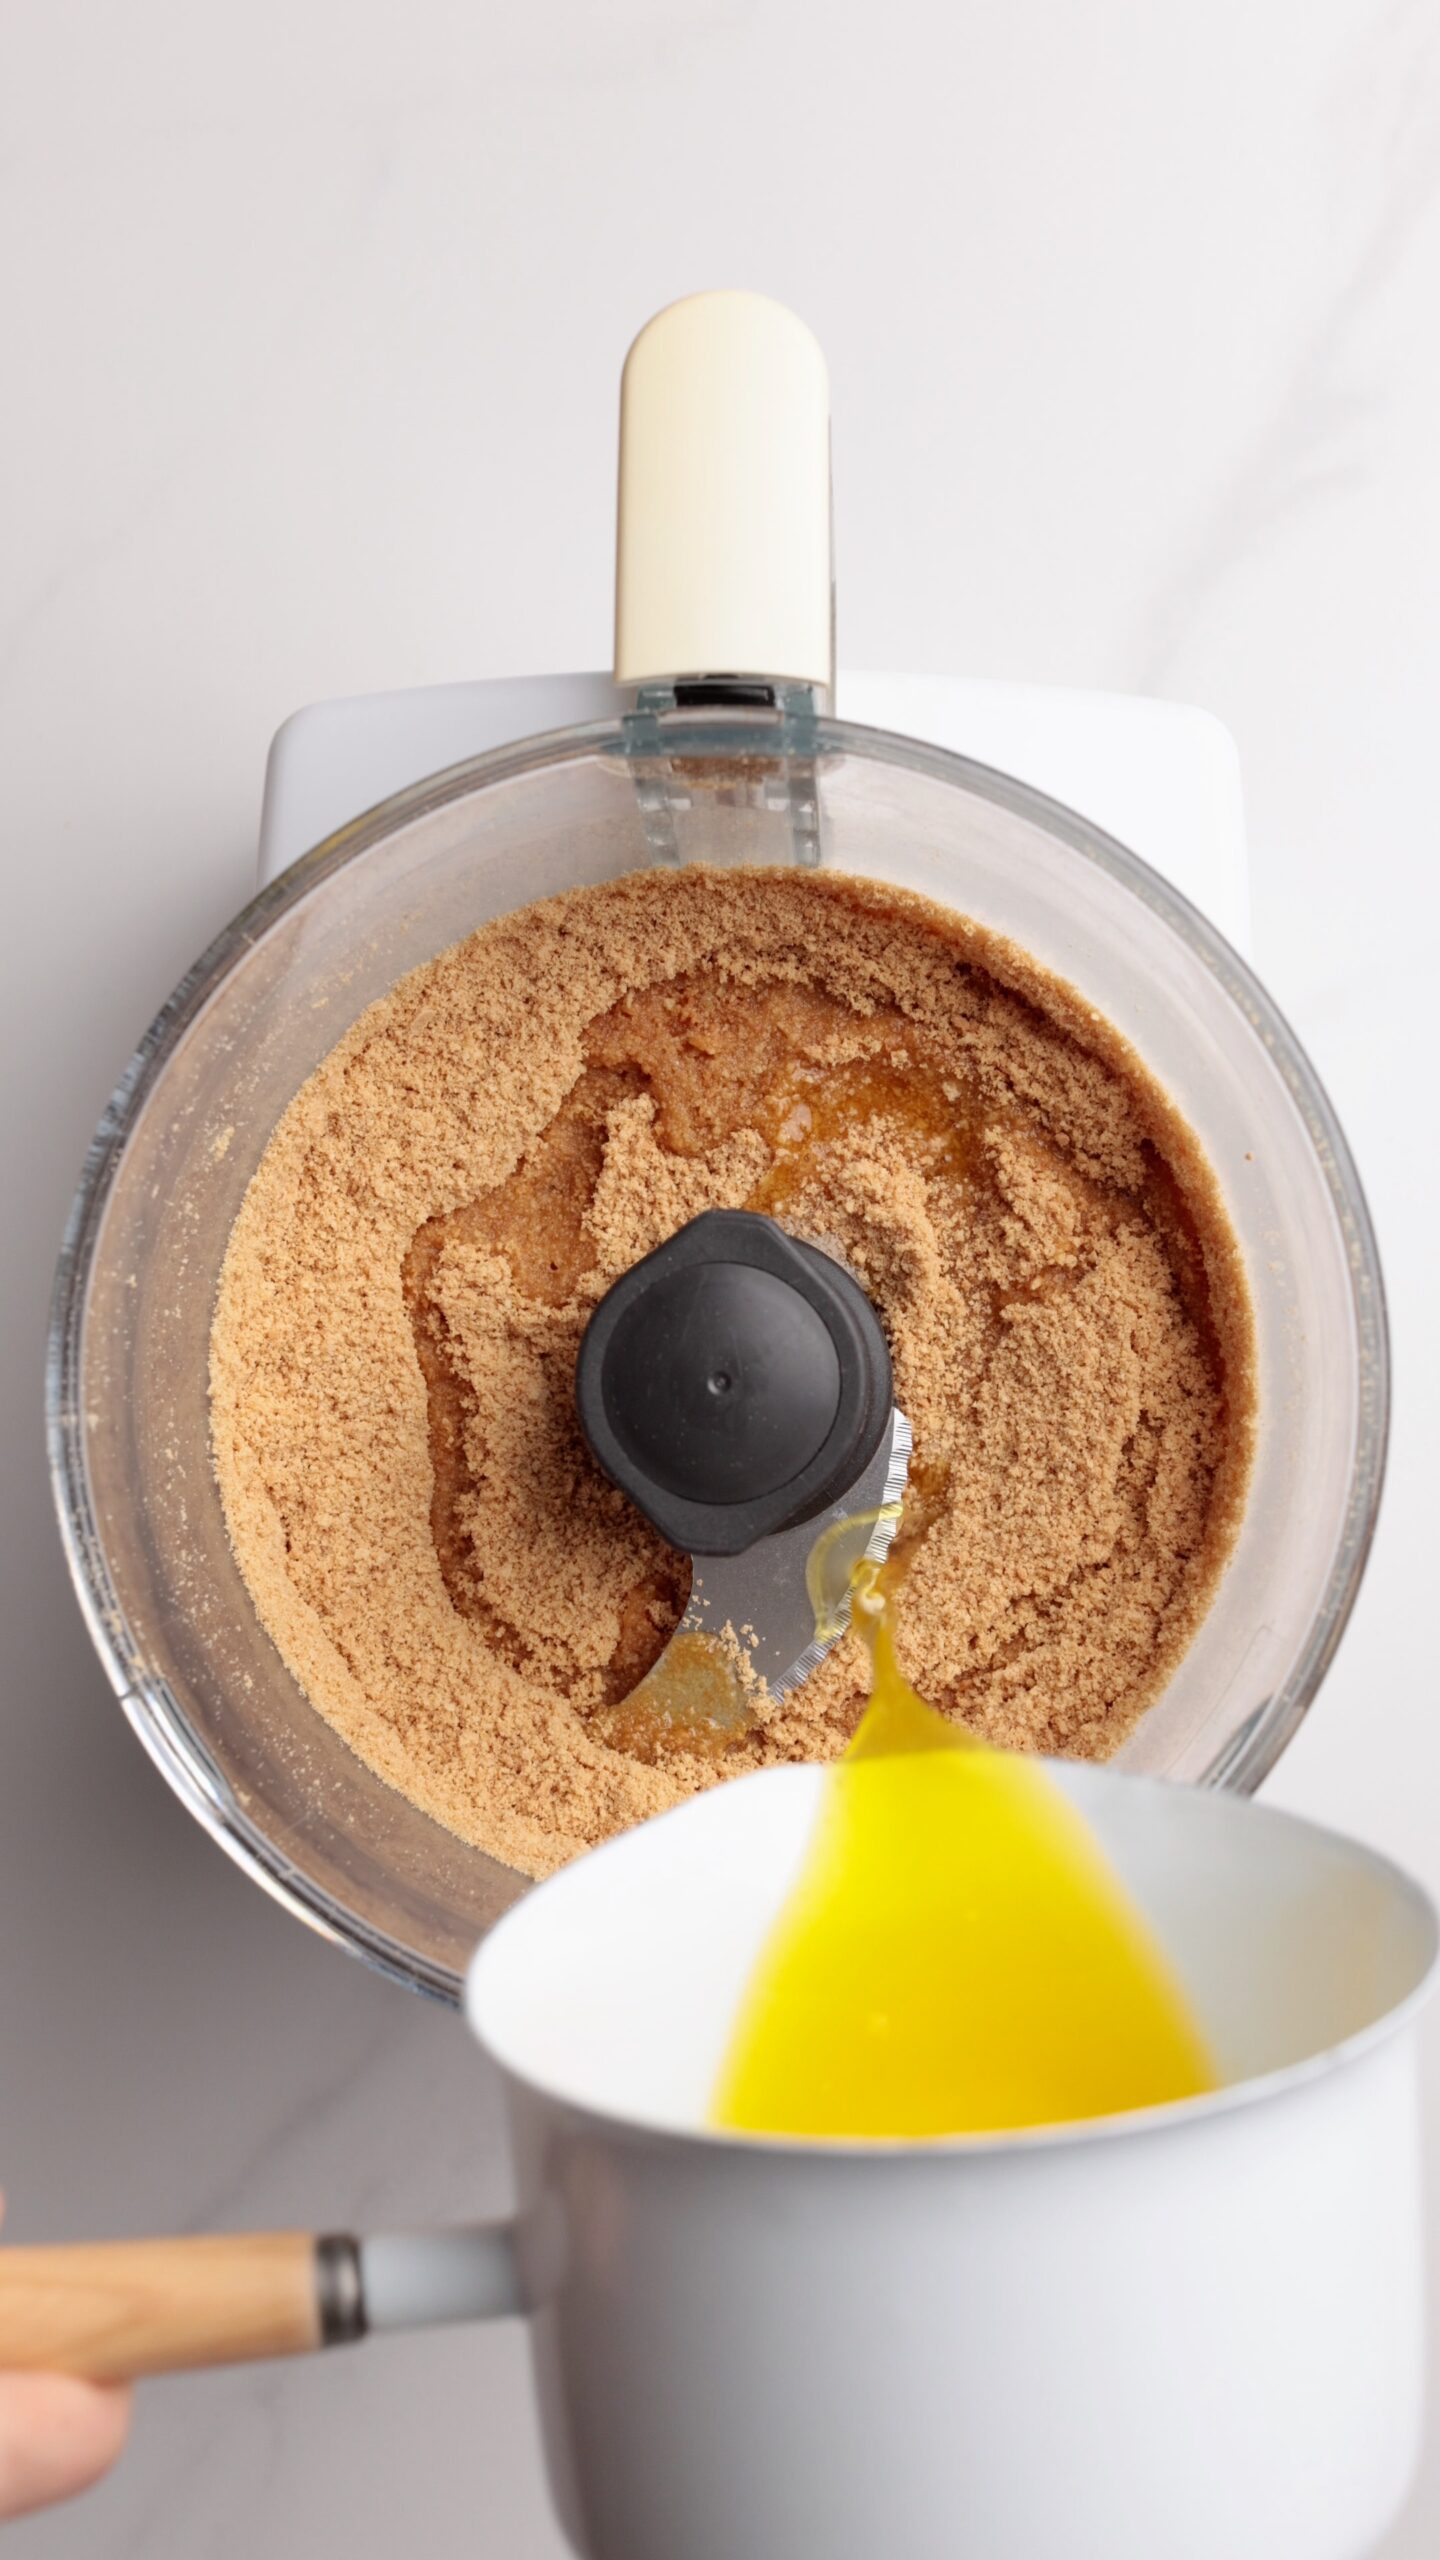
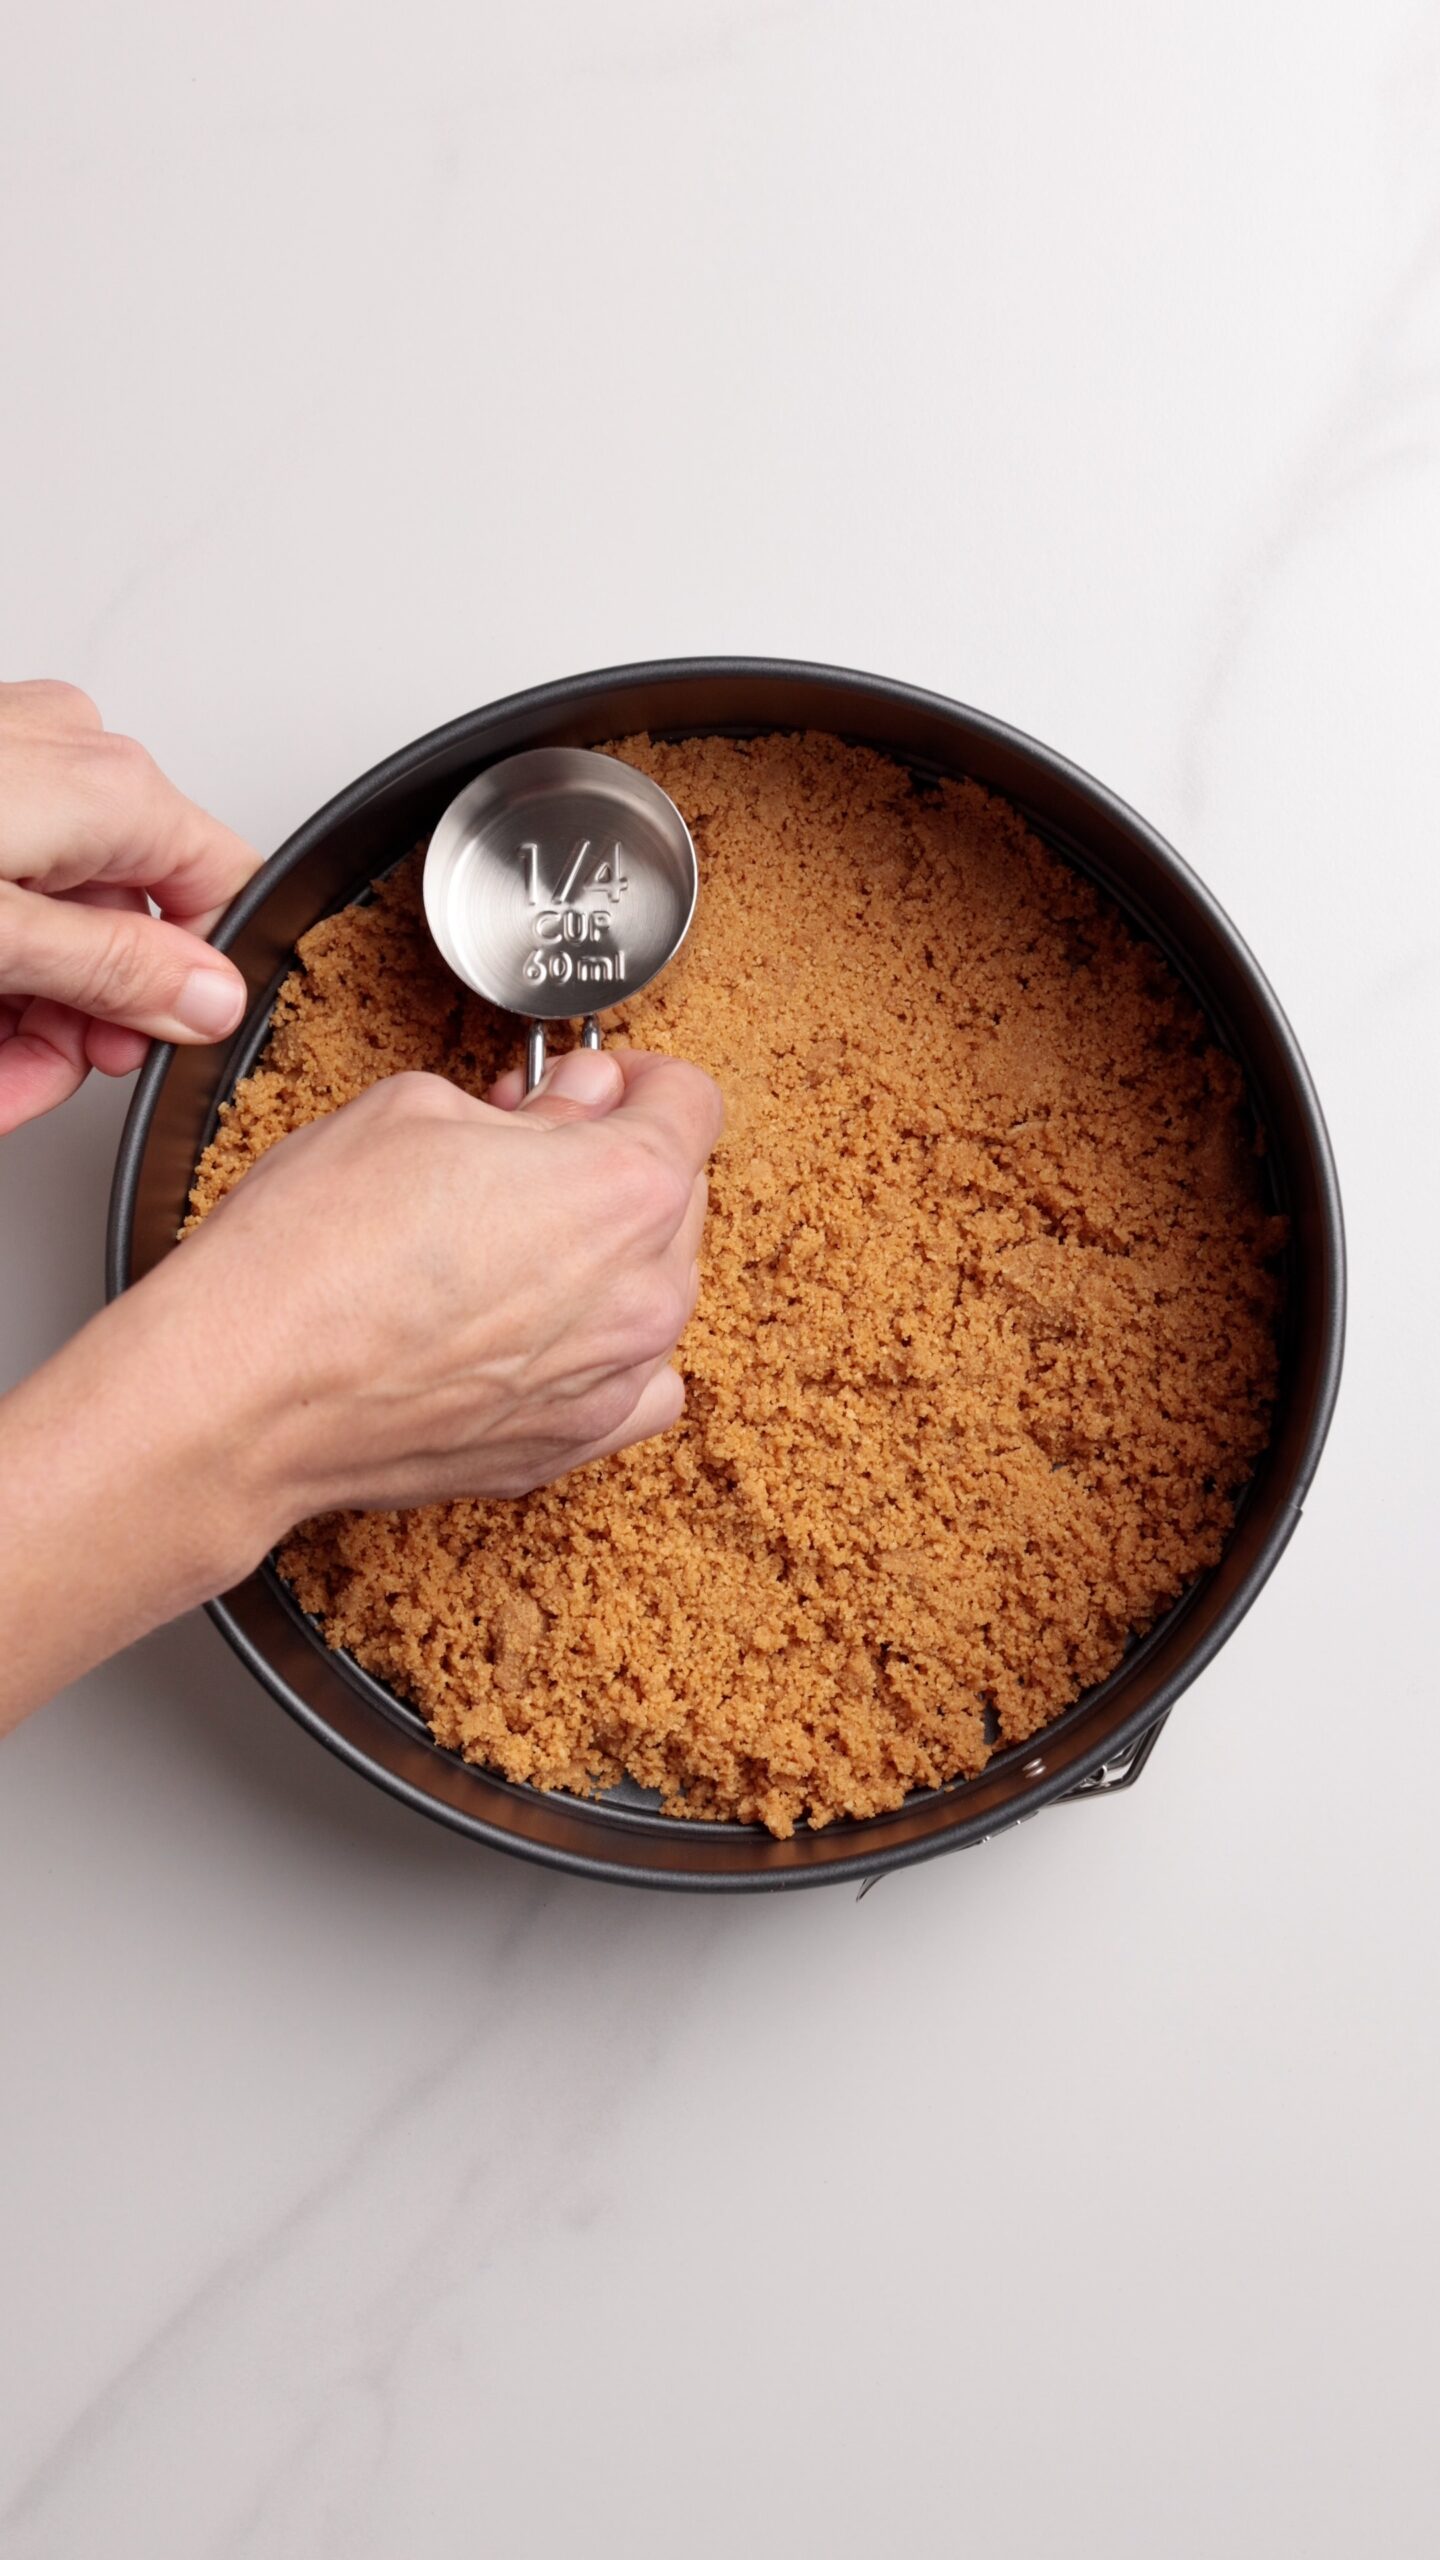
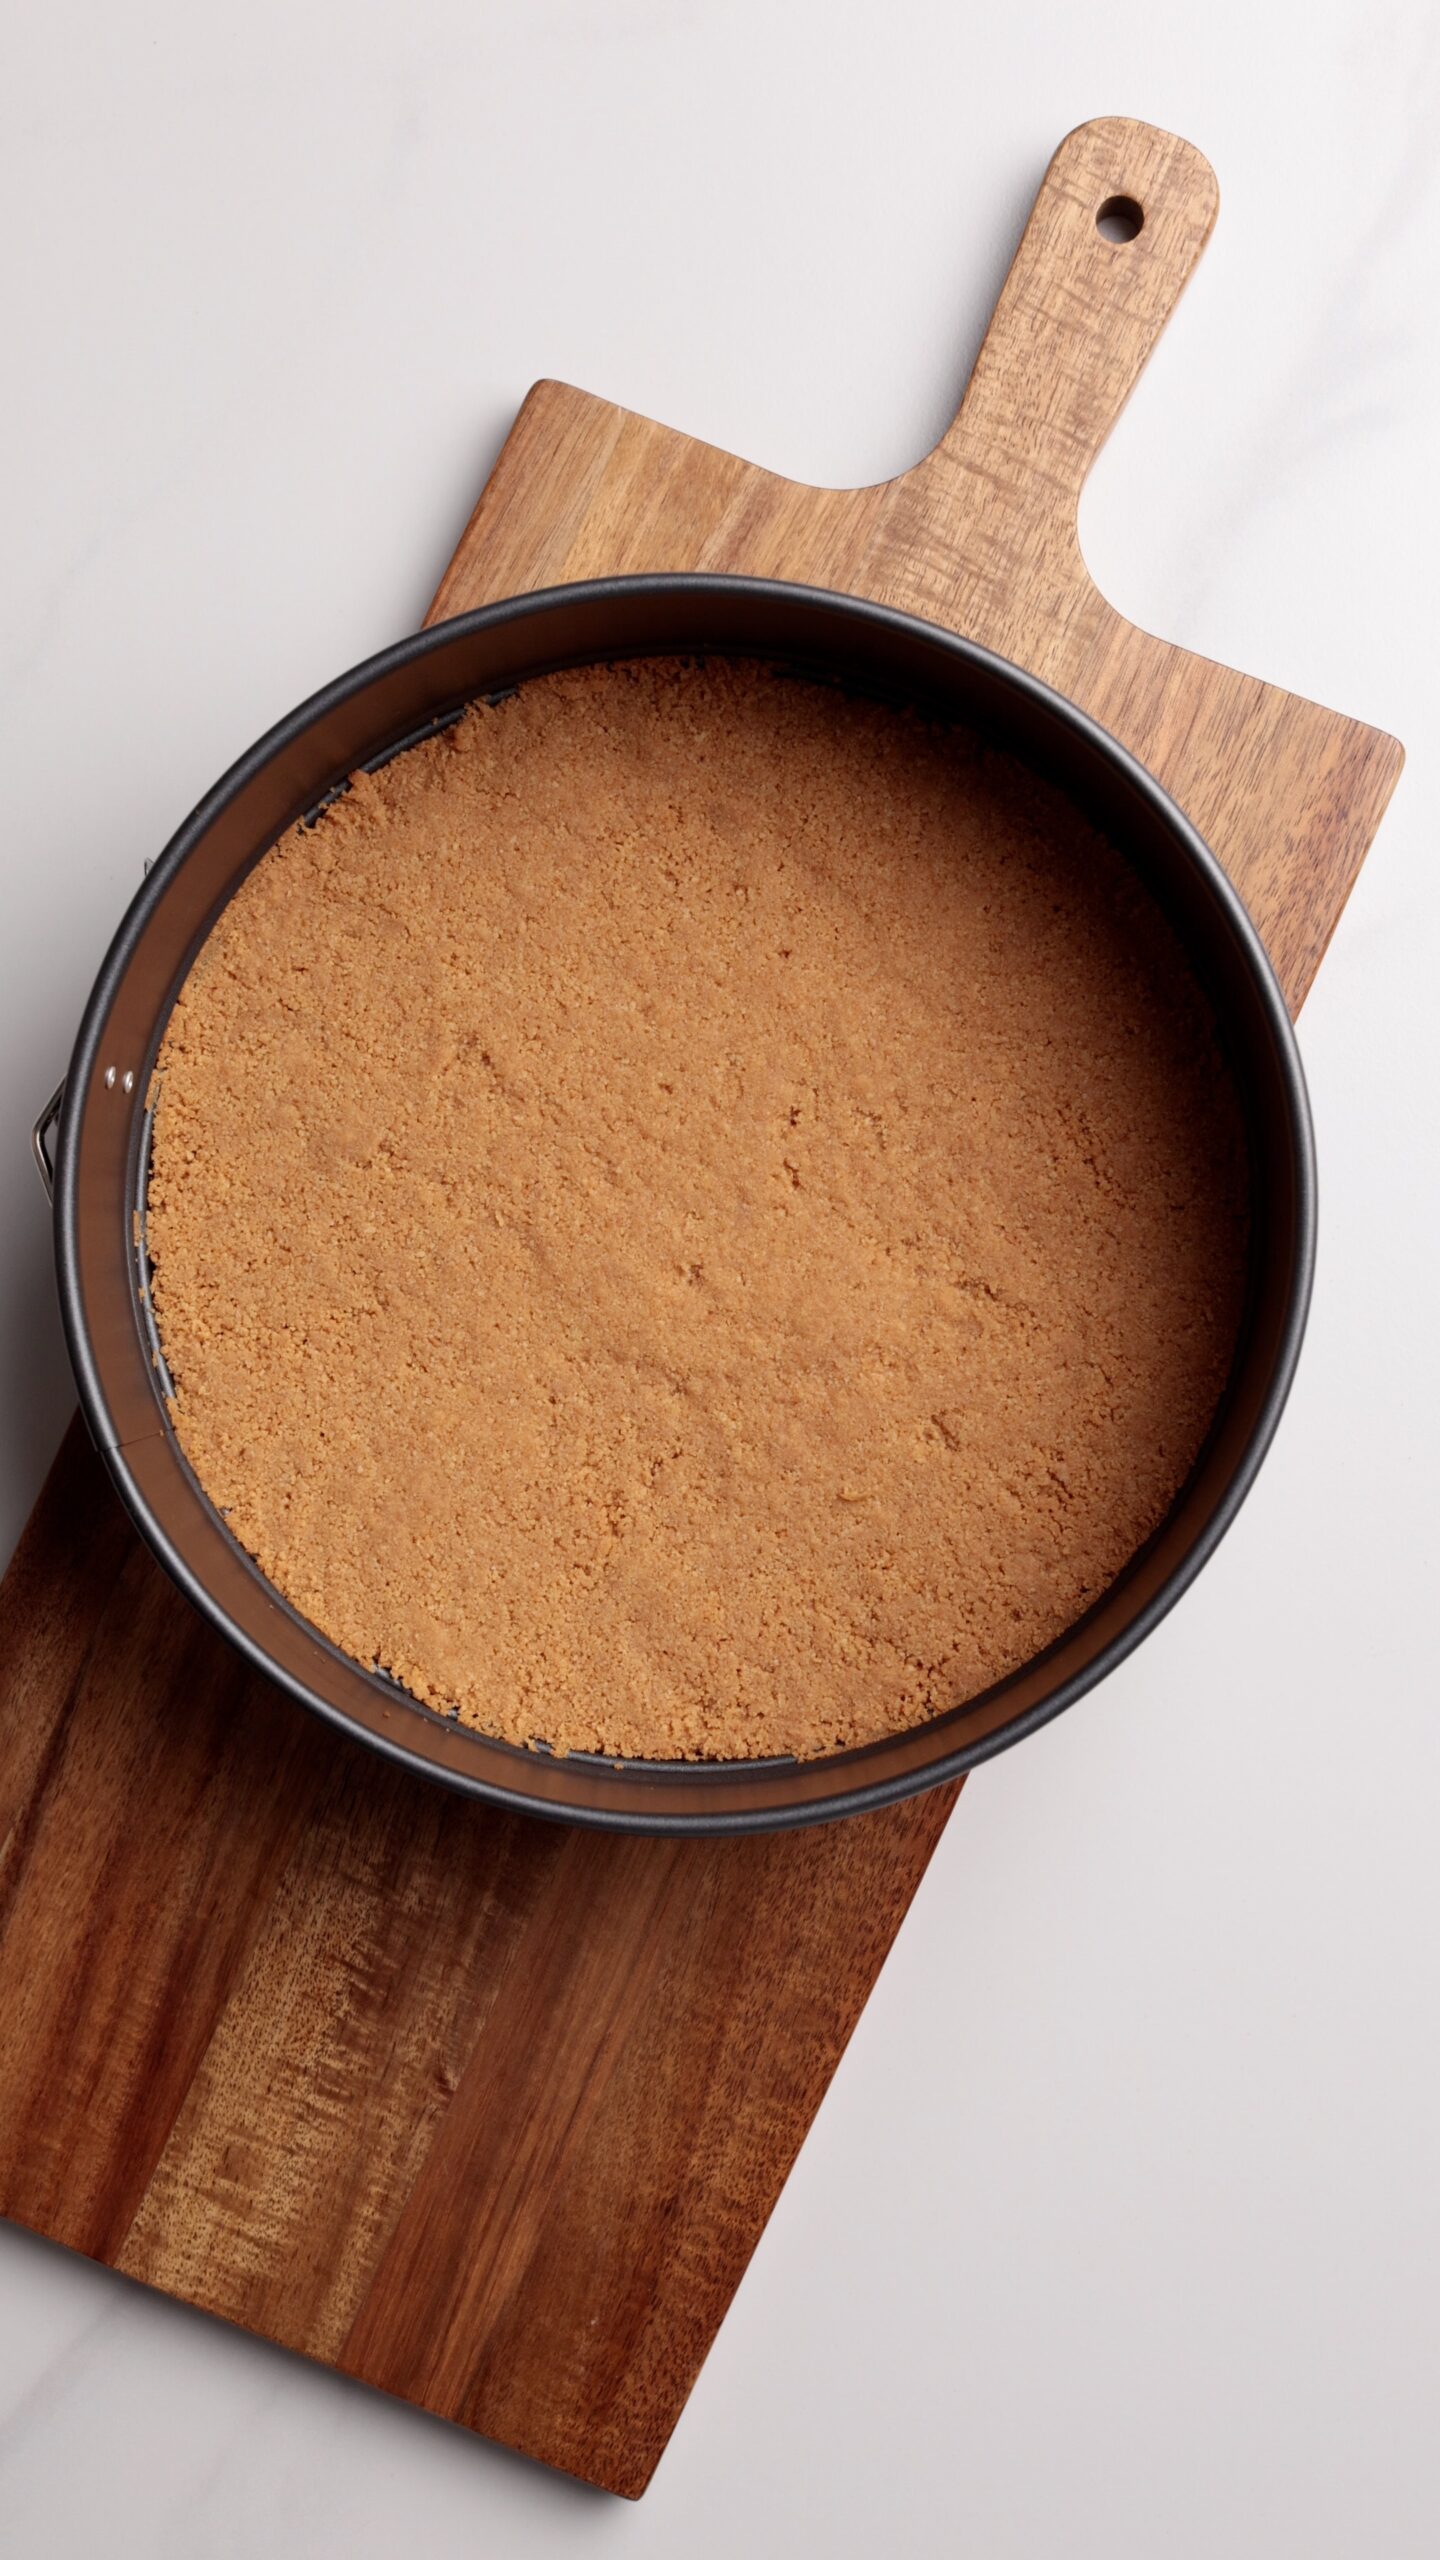
The secret to a sturdy cheesecake crust is getting the right texture. Crush the graham crackers into fine crumbs using a food processor, or place them in a zip-top bag and crush with a rolling pin.
Mix the crumbs with melted butter until evenly combined. The mixture should look like wet sand and hold together when pressed between your fingers. If it feels too dry or crumbly, add 1 tablespoon of milk to help it bind.
Press the crust firmly into the bottom of the springform pan using your hands, the bottom of a glass, or a measuring cup. Bake for 7–8 minutes before adding the cheesecake filling. This helps set the crust and keeps it from falling apart when slicing.
How to Properly Brûlée Sugar
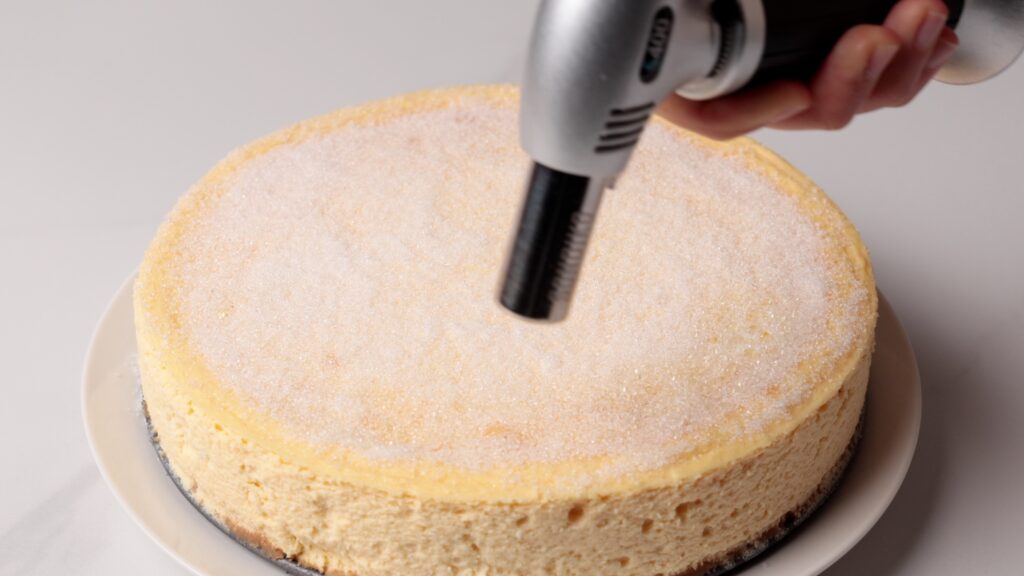
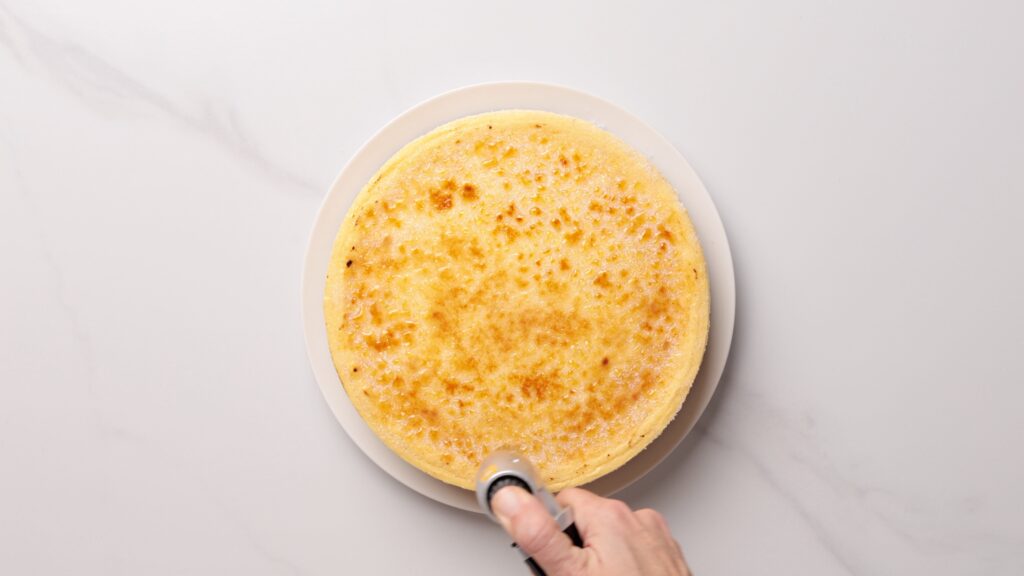
For the perfect crackly crème brûlée topping, make sure the cheesecake is fully chilled before adding the sugar. Gently blot away any moisture from the surface, then sprinkle a thin, even layer of sugar over the top.
Using a Kitchen Torch – Hold the torch a few inches away from the cheesecake and move constantly in small circles until the sugar melts and turns golden amber. Avoid holding the flame in one spot for too long to prevent burning. Let the topping cool for 1–2 minutes until the caramel hardens before slicing.
Broiler Method – If you don’t have a kitchen torch, place the chilled cheesecake under a preheated broiler for 1–3 minutes, watching carefully. Rotate if needed and remove once the sugar is melted and caramelized.
Pro Tips – Regular granulated sugar works well, but superfine or caster sugar melts more evenly and creates a thinner, more delicate crunchy layer. For the crispiest topping, brûlée the cheesecake shortly before serving. The caramelized sugar layer will gradually soften as it sits in the refrigerator.
Water Bath is Key
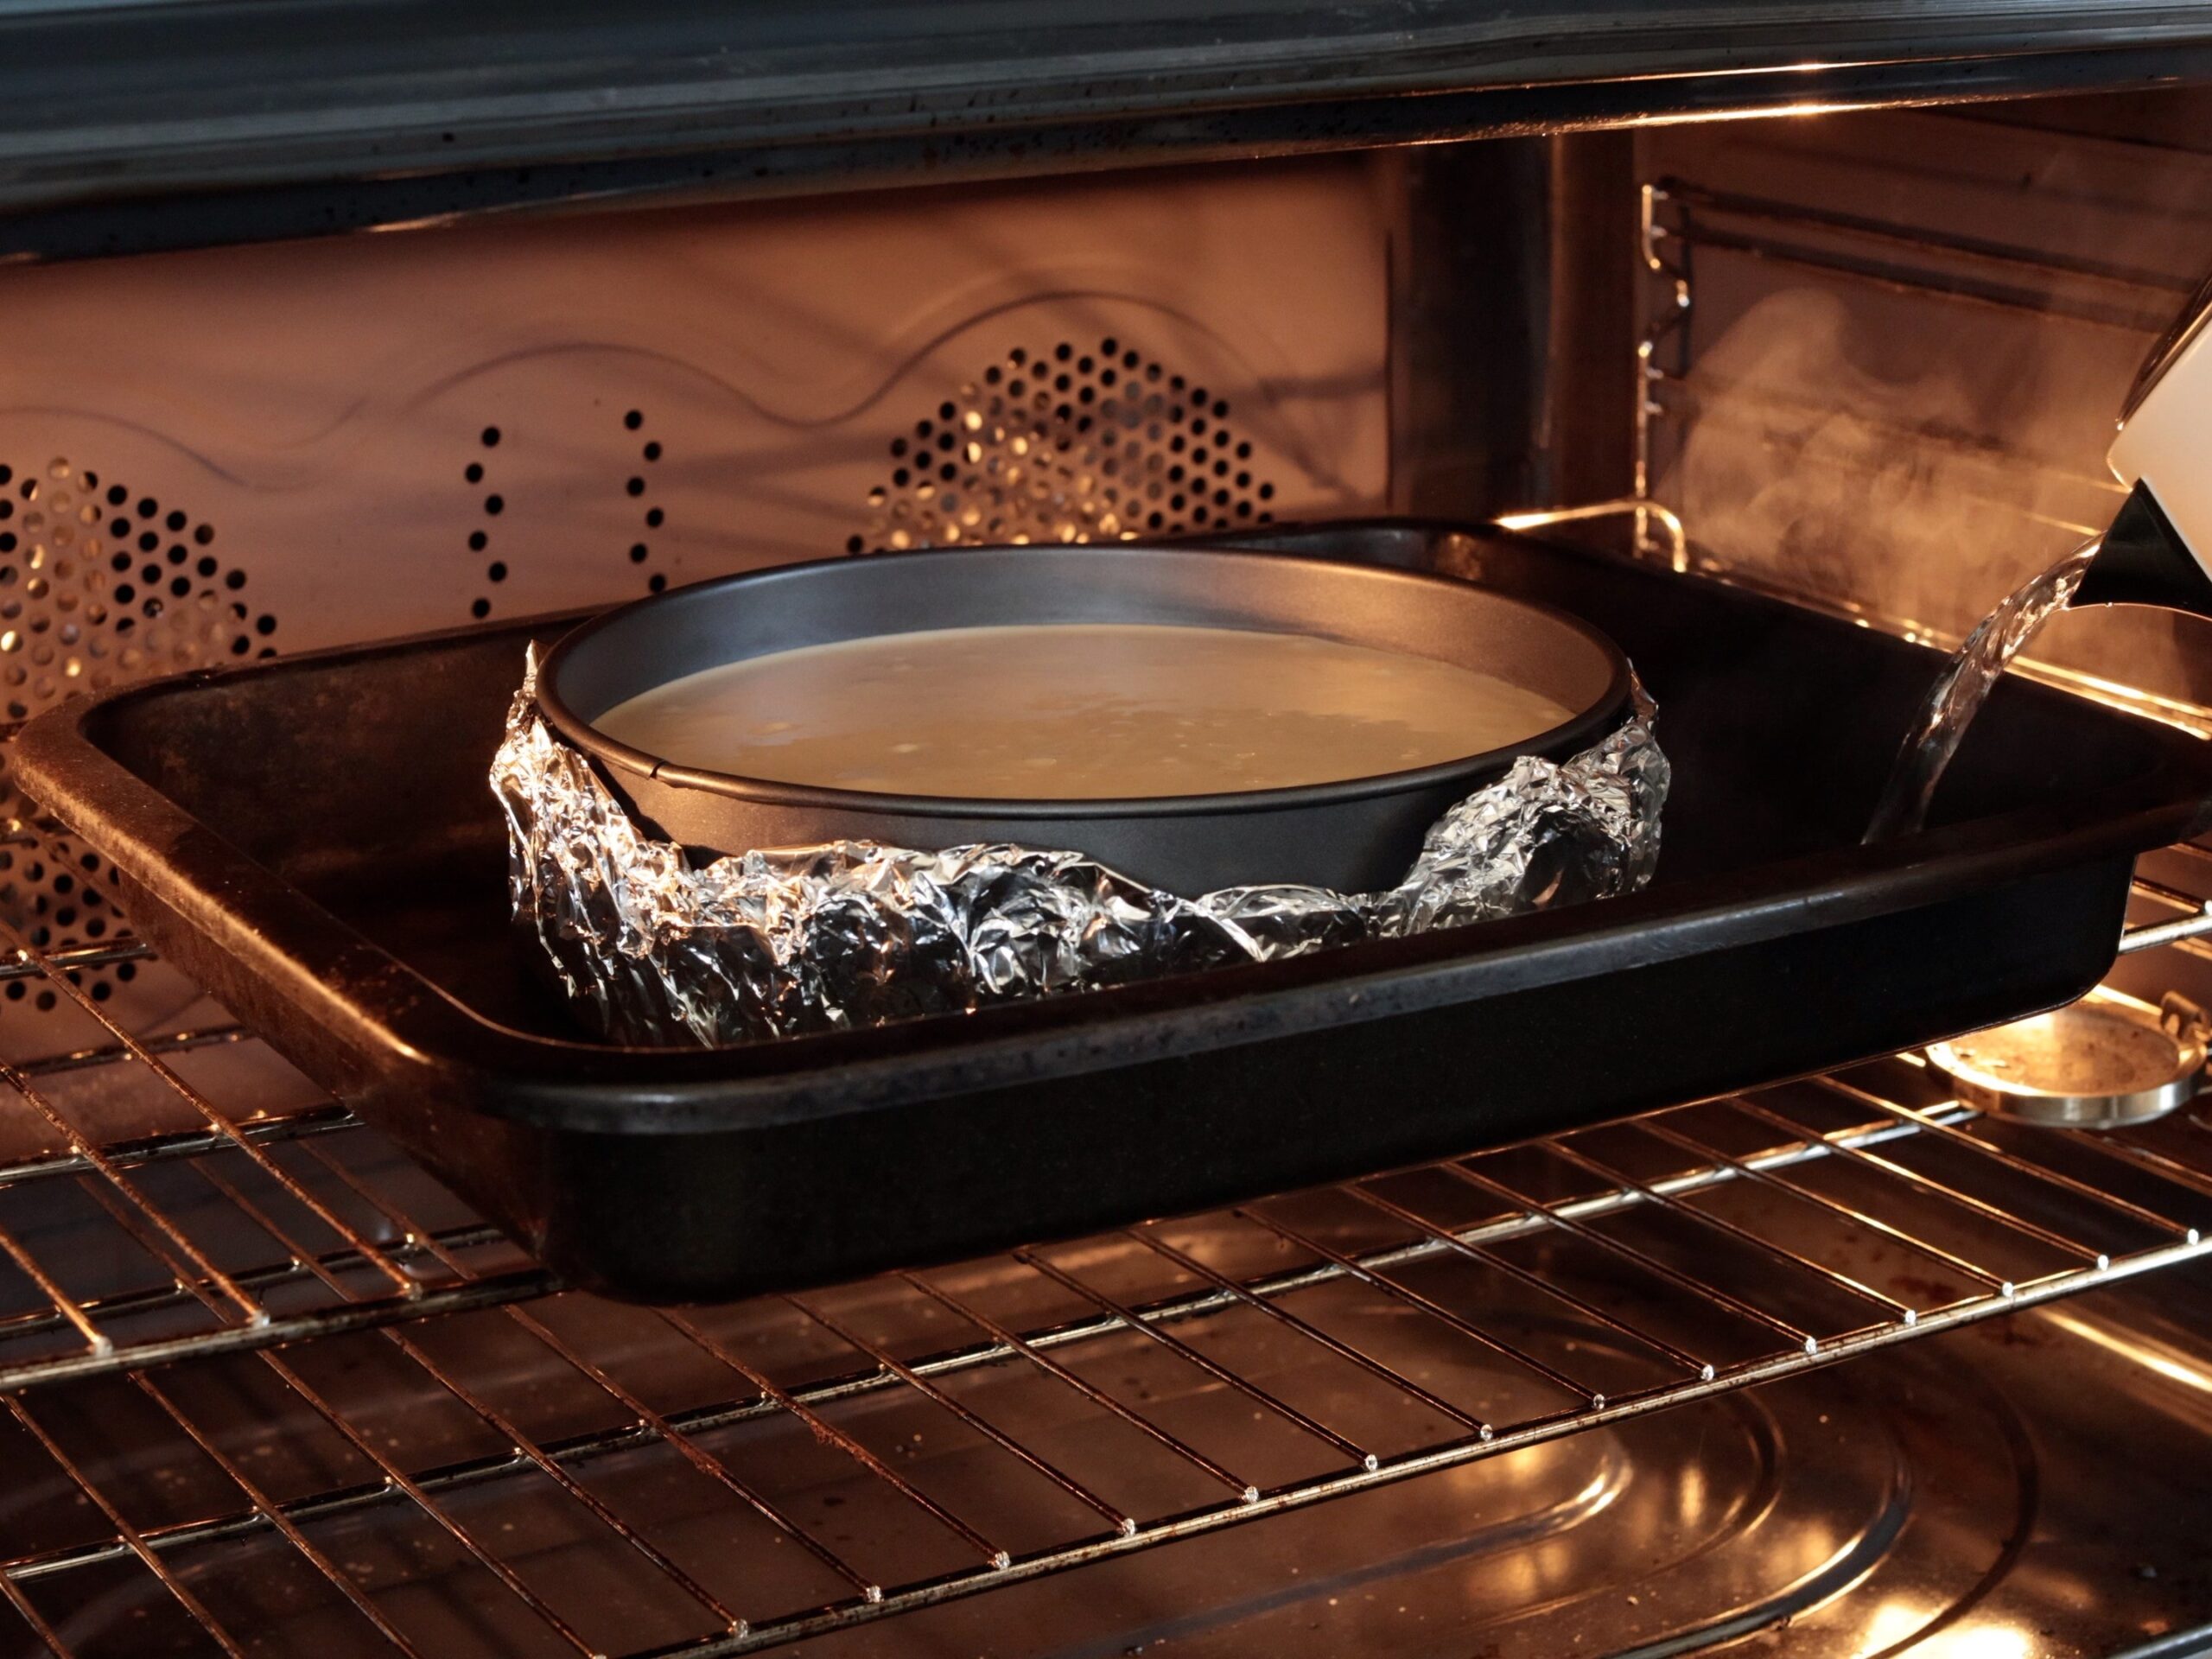
Bake your cheesecake in a water bath (bain-marie) to ensure gentle, even heat. Wrap the springform pan tightly in heavy-duty aluminum foil to prevent leaks, then place it in a larger roasting pan filled with about 1 inch of hot water. This creates a humid environment that prevents cracks and promotes creamy texture.
Expert Tips & Tricks
- Don’t Overmix – Mix the filling just until combined and smooth. Overbeating incorporates too much air, which leads to cracks and a puffy, soufflé-like texture that deflates as it cools. Use low speed on your mixer and scrape down the bowl frequently.
- Low and Slow Baking – Cheesecake needs gentle heat to set properly without curdling. Bake at a lower temperature and watch for the telltale jiggle. Every oven is different. Start checking the cheesecake around the 50-minute mark. The edges should be set while the center remains slightly wobbly, about 2-3 inches in diameter. It will firm up as it cools.
- Cool Gradually – Sudden temperature changes cause cracks. Once baking is complete, turn off the oven, crack the door open, and let the cheesecake cool inside for 1 hour. Then transfer it to the counter to cool completely before refrigerating.
- Chill Overnight – Patience pays off! Refrigerate your cheesecake for at least 6 hours, but ideally overnight. This allows the flavors to meld and the texture to set to that perfect creamy consistency.
- Dry the Surface Before Brûléeing – Any moisture on top will prevent even caramelization. Gently blot the surface with a paper towel right before adding your sugar layer.
Optional Variations & Dietary Adaptations
- Gluten-Free – Swap the graham crackers for gluten-free graham crackers or use crushed gluten-free gingersnaps, vanilla wafers, or biscuits.
- Espresso Creme Brulee Cheesecake – Add 1-2 tablespoons of instant espresso powder dissolved in a teaspoon of hot water to the filling for a sophisticated coffee flavor that pairs beautifully with the caramelized sugar.
- Citrus Twist – Stir in the zest of one lemon, lime, or orange into the filling for a bright, refreshing variation. The citrus cuts through the richness and adds aromatic complexity.
- Spiced Creme Brulee Cheesecake – Mix ½ teaspoon of cinnamon, a pinch of nutmeg, or a dash of cardamom into the filling for warm, cozy spice notes. Pair with a gingersnap or speculoos cookie crust for extra flavor.
How to Store Creme Brulee Cheesecake
- Refrigerator – Store creme brulee cheesecake covered in the refrigerator for up to 5 days. If you haven’t brûléed the top yet, cover the cheesecake tightly with plastic wrap or aluminum foil. If already brûléed, tent the foil loosely over the top to avoid sticking, though the sugar crust will soften over time. For best results, brûlée individual slices just before serving rather than the entire cheesecake at once.
- Freezer – Creme brulee cheesecake freezes beautifully for up to 3 months, but only freeze it before adding the sugar topping. Wrap the cooled cheesecake tightly in plastic wrap, then again in aluminum foil or place in an airtight freezer-safe container to prevent freezer burn. For easier portioning, slice the cheesecake first and freeze individual pieces separated by parchment paper.
- Thawing – Transfer the frozen cheesecake to the refrigerator and let it thaw slowly overnight, about 8-12 hours. Never thaw at room temperature, as this can compromise the texture and food safety. Once thawed, pat the surface dry with a paper towel to remove any condensation before sprinkling with sugar and brûléeing.
- Brûléed Storage – If you’ve already caramelized the sugar top, the crust will remain crispy for only 1-2 hours before moisture from the cheesecake begins to soften it. Store any leftover brûléed slices in the refrigerator, but expect the topping to lose its signature crunch. You can re-torch the sugar briefly to restore some crispness, though it won’t be quite as perfect as the first time.
- Make-Ahead Tip – Creme Brulee Cheesecake is an excellent make-ahead dessert. Bake and chill it up to 3 days in advance, keeping it covered in the refrigerator. Wait to add the sugar and brûlée the top until just before serving for an impressive crackly finish your guests will love.
More Cheesecake Recipes
Crème Brûlée Cheesecake
Equipment
- Large roasting pan for the water bath
Ingredients
For the crust:
- 6⅓ oz (180 g) Graham crackers or other plain biscuits, crushed (see notes)
- 6 tablespoons (90 g) Unsalted butter melted
- 1 tablespoon (15 ml) Milk if needed (see notes)
For the cheesecake:
- 4 cups (900 g) Cream cheese softened
- 1 cup (200 g) Granulated sugar
- ¾ cup (172 g) Sour cream room temperature
- 2 teaspoons Vanilla bean paste
- 4 Eggs large , room temperature
For the Crème Brûlée Topping:
- ¼ cup (50 g) Granulated sugar
Instructions
- Prepare the Crust: Preheat the oven to 325°F (160°C).
- Place the graham crackers in a food processor and pulse into fine crumbs. Alternatively, place them in a zip-top bag and crush with a rolling pin. Add the melted butter and mix until the crumbs resemble wet sand. If the mixture feels too dry and doesn’t hold together when pressed, add up to 1 tablespoon milk.
- Press the crumb mixture firmly into the bottom of a 9-inch (23cm) springform pan. Bake for 7–8 minutes, then remove from the oven and let cool slightly.
- Make the Cheesecake Filling: In a large bowl, beat the cream cheese and sugar until completely smooth and creamy, about 2 minutes. Add the sour cream and vanilla bean paste and mix until fully combined, scraping down the sides of the bowl as needed.
- Add the eggs, one at a time, mixing on low speed just until incorporated after each addition. Avoid overmixing.
- Prepare the Water Bath: Wrap the outside of the springform pan tightly with 2–3 layers of heavy-duty aluminum foil to prevent water from seeping into the crust. Place the springform pan inside a large roasting pan.
- Pour the cheesecake batter over the prepared crust and smooth the top. Transfer the roasting pan to the oven and carefully pour hot water into the roasting pan until it reaches about halfway up the sides of the springform pan.
- Bake: Bake for 50–60 minutes, or until the edges are set but the center still has a slight jiggle when gently shaken.
- Chill: Turn off the oven and crack the door open slightly. Let the cheesecake cool in the oven for 1 hour. Remove from the oven and let cool at room temperature for another 1 hour. Cover and refrigerate for at least 4 hours, preferably overnight.
- Brûlée the Top: Once fully chilled, remove the cheesecake from the refrigerator and carefully release it from the springform pan.
- Sprinkle the sugar evenly over the surface of the cheesecake in a thin, even layer. Using a kitchen torch, caramelize the sugar until deep golden amber and crisp. Keep the torch moving in slow circular motions and avoid focusing on one spot for too long to ensure even caramelization.
- Allow the topping to cool for 1–2 minutes before slicing and serving.
Video
Notes
- Crust: Graham crackers are the classic choice, but digestive biscuits, tea biscuits, vanilla wafers, or other plain cookies work well too. If the crumb mixture feels dry, add 1 tablespoon of milk to help it bind. Press the crust firmly into the pan to prevent crumbling when slicing.
- Baking Time: Every oven is different. Start checking the cheesecake around the 50-minute mark. The edges should be set while the center should still have a slight wobble. The cheesecake will continue to set as it cools.
- Avoid Overmixing: Overmixing incorporates excess air into the batter, which can cause the cheesecake to rise, then sink or crack during cooling.
- Water Bath: A water bath helps the cheesecake bake gently and evenly, reducing the risk of cracks and creating an exceptionally creamy texture. Wrap the pan tightly in multiple layers of foil or use a reusable silicone cheesecake wrap to prevent leaks. Learn more about waterbath.
- Make ahead: This cheesecake is an excellent make-ahead dessert. Prepare the cheesecake up to 2 days in advance and keep it refrigerated. For the best crème brûlée experience, caramelize the sugar shortly before serving.
- Leftovers: The caramelized sugar topping will gradually soften in the refrigerator. To restore some of its crunch, lightly torch the surface again just before serving. While it won’t be quite as crisp as freshly brûléed, it still works surprisingly well.
Nutrition
FAQs
Yes. A kitchen torch gives the best and most even caramelized sugar topping, but you can use your oven broiler instead. Place the chilled cheesecake under the broiler for 1–3 minutes, watching carefully because the sugar can burn quickly.
Yes, but a water bath is recommended. It helps the cheesecake bake gently and evenly, creating a smoother texture and reducing the chance of cracks.
The edges should look set, but the center should still slightly jiggle when gently moved. The cheesecake will continue setting as it cools.



One of the best cheesecakes I’ve ever had. I think if you use pure vanilla bean paste, it makes a huge difference. Cheers!
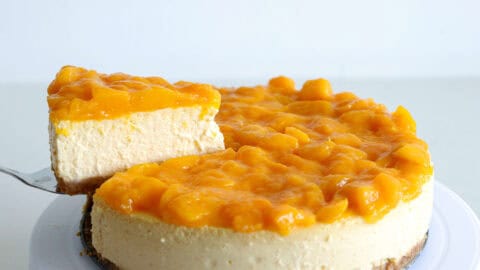
I don’t comment on food blogs very often, but I wanted to let you know that I’ve made so many of your cheesecakes already, and they’ve all been a big hit with my family. Our favorite is the mango cheesecake.
I haven’t tried this Creme Brulee cheesecake yet, but knowing your recipes, I already know it’s going to taste amazing.
Thank you for your great work!