Burnt Basque Cheesecake Recipe
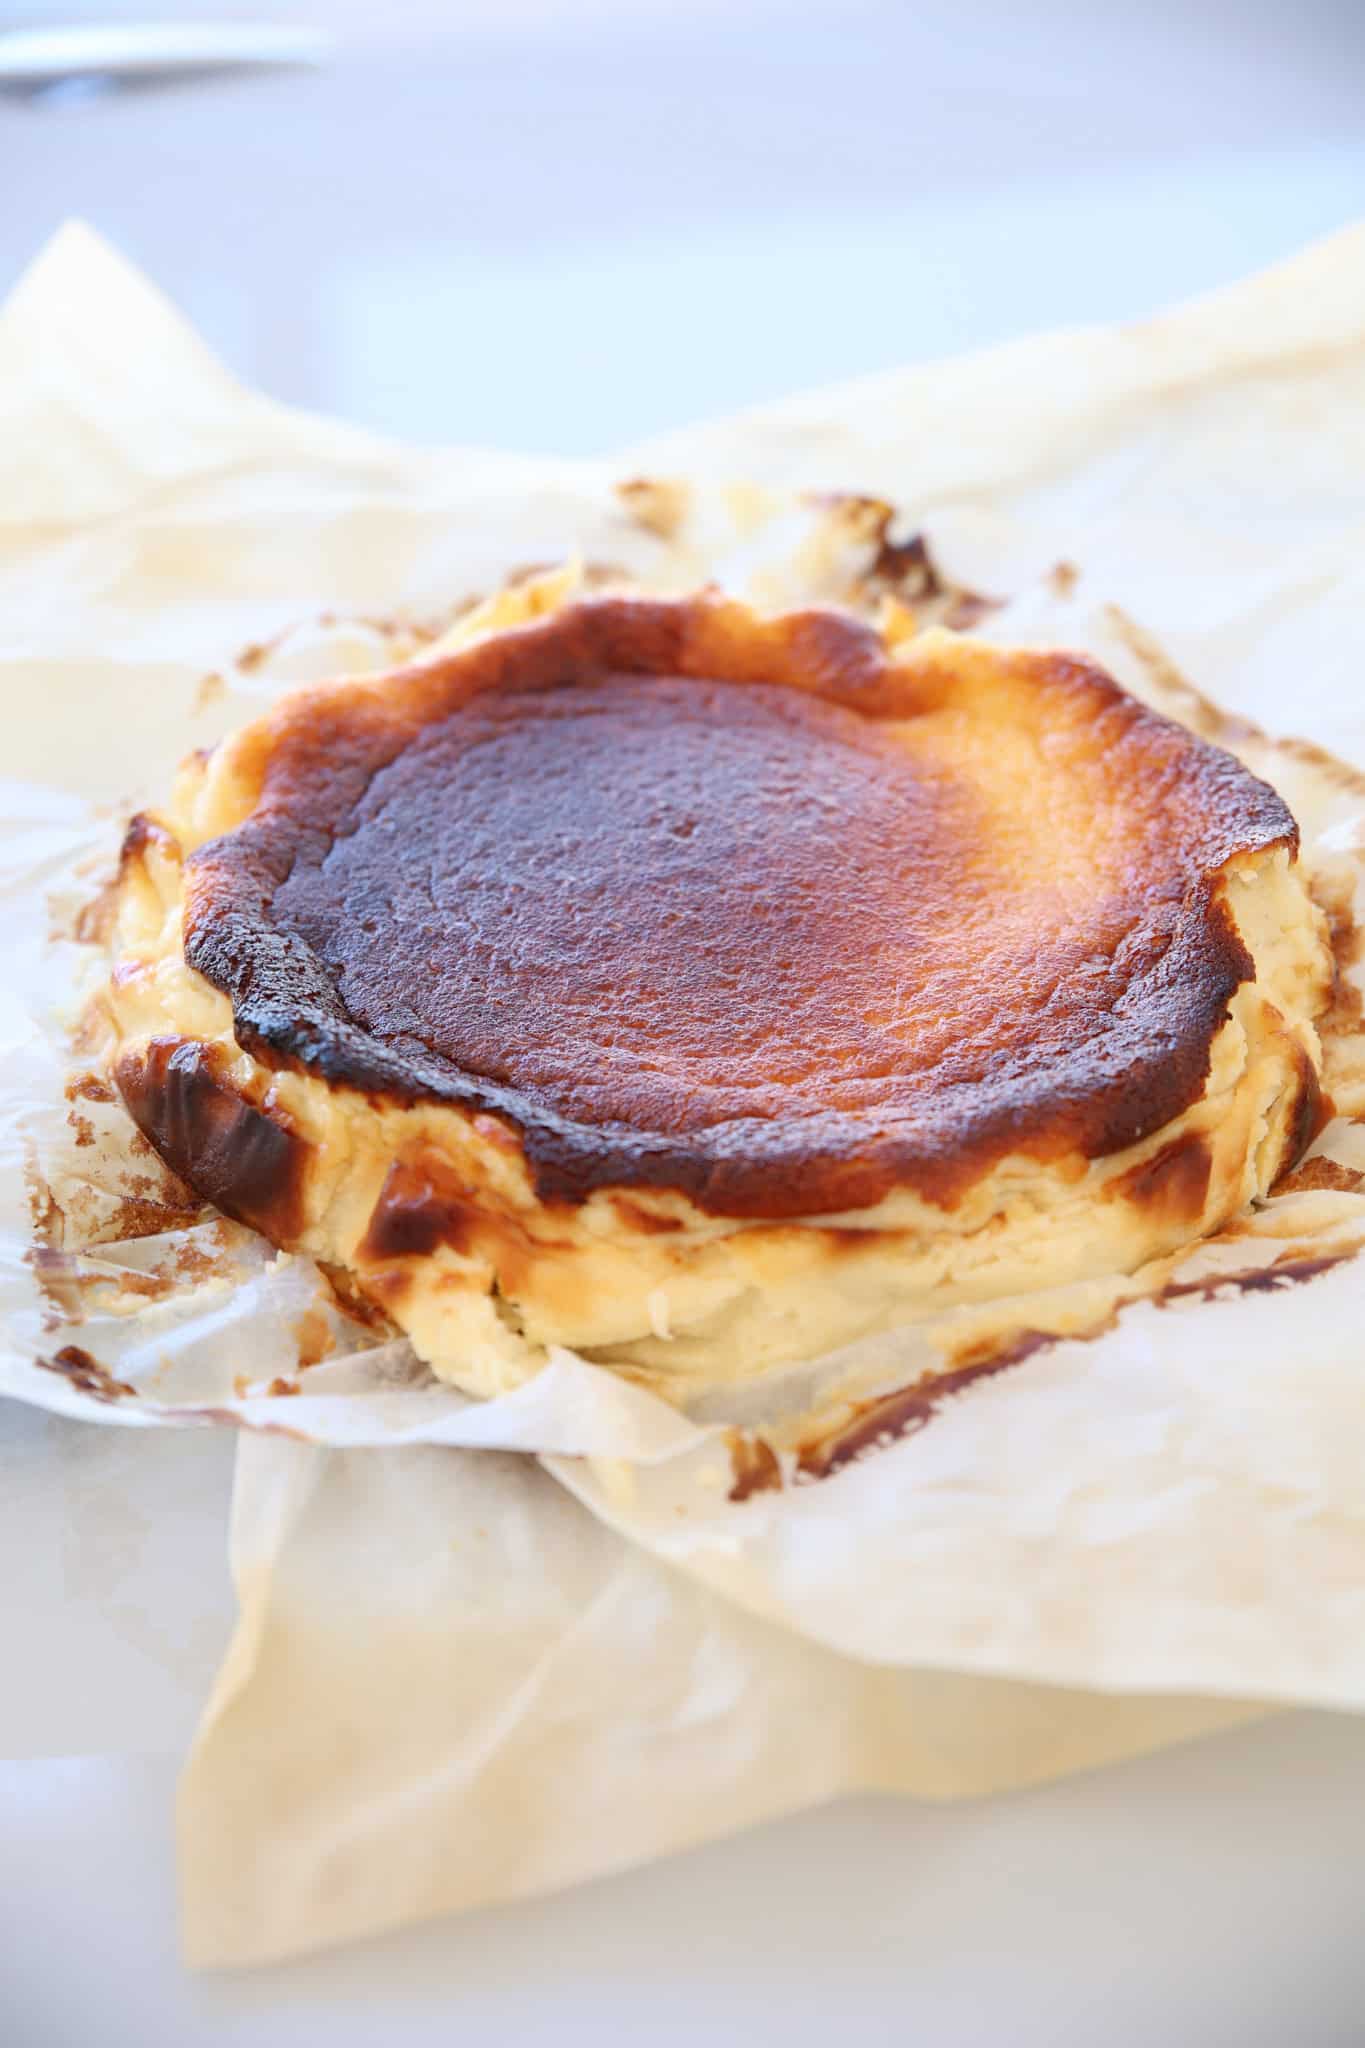
Five years after making my first Basque cheesecake, I’m excited to share this updated, and better version of the iconic dessert. This amazing cheesecake has burnt top with a creamy, custard-like interior. The famous rustic look combined with the rich, velvety texture makes it a blockbuster, perfect for any occasion. And the best part? It’s one of the easiest cheesecake recipes out there, you only need one bowl and no water bath needed.
What Is Basque Cheesecake?
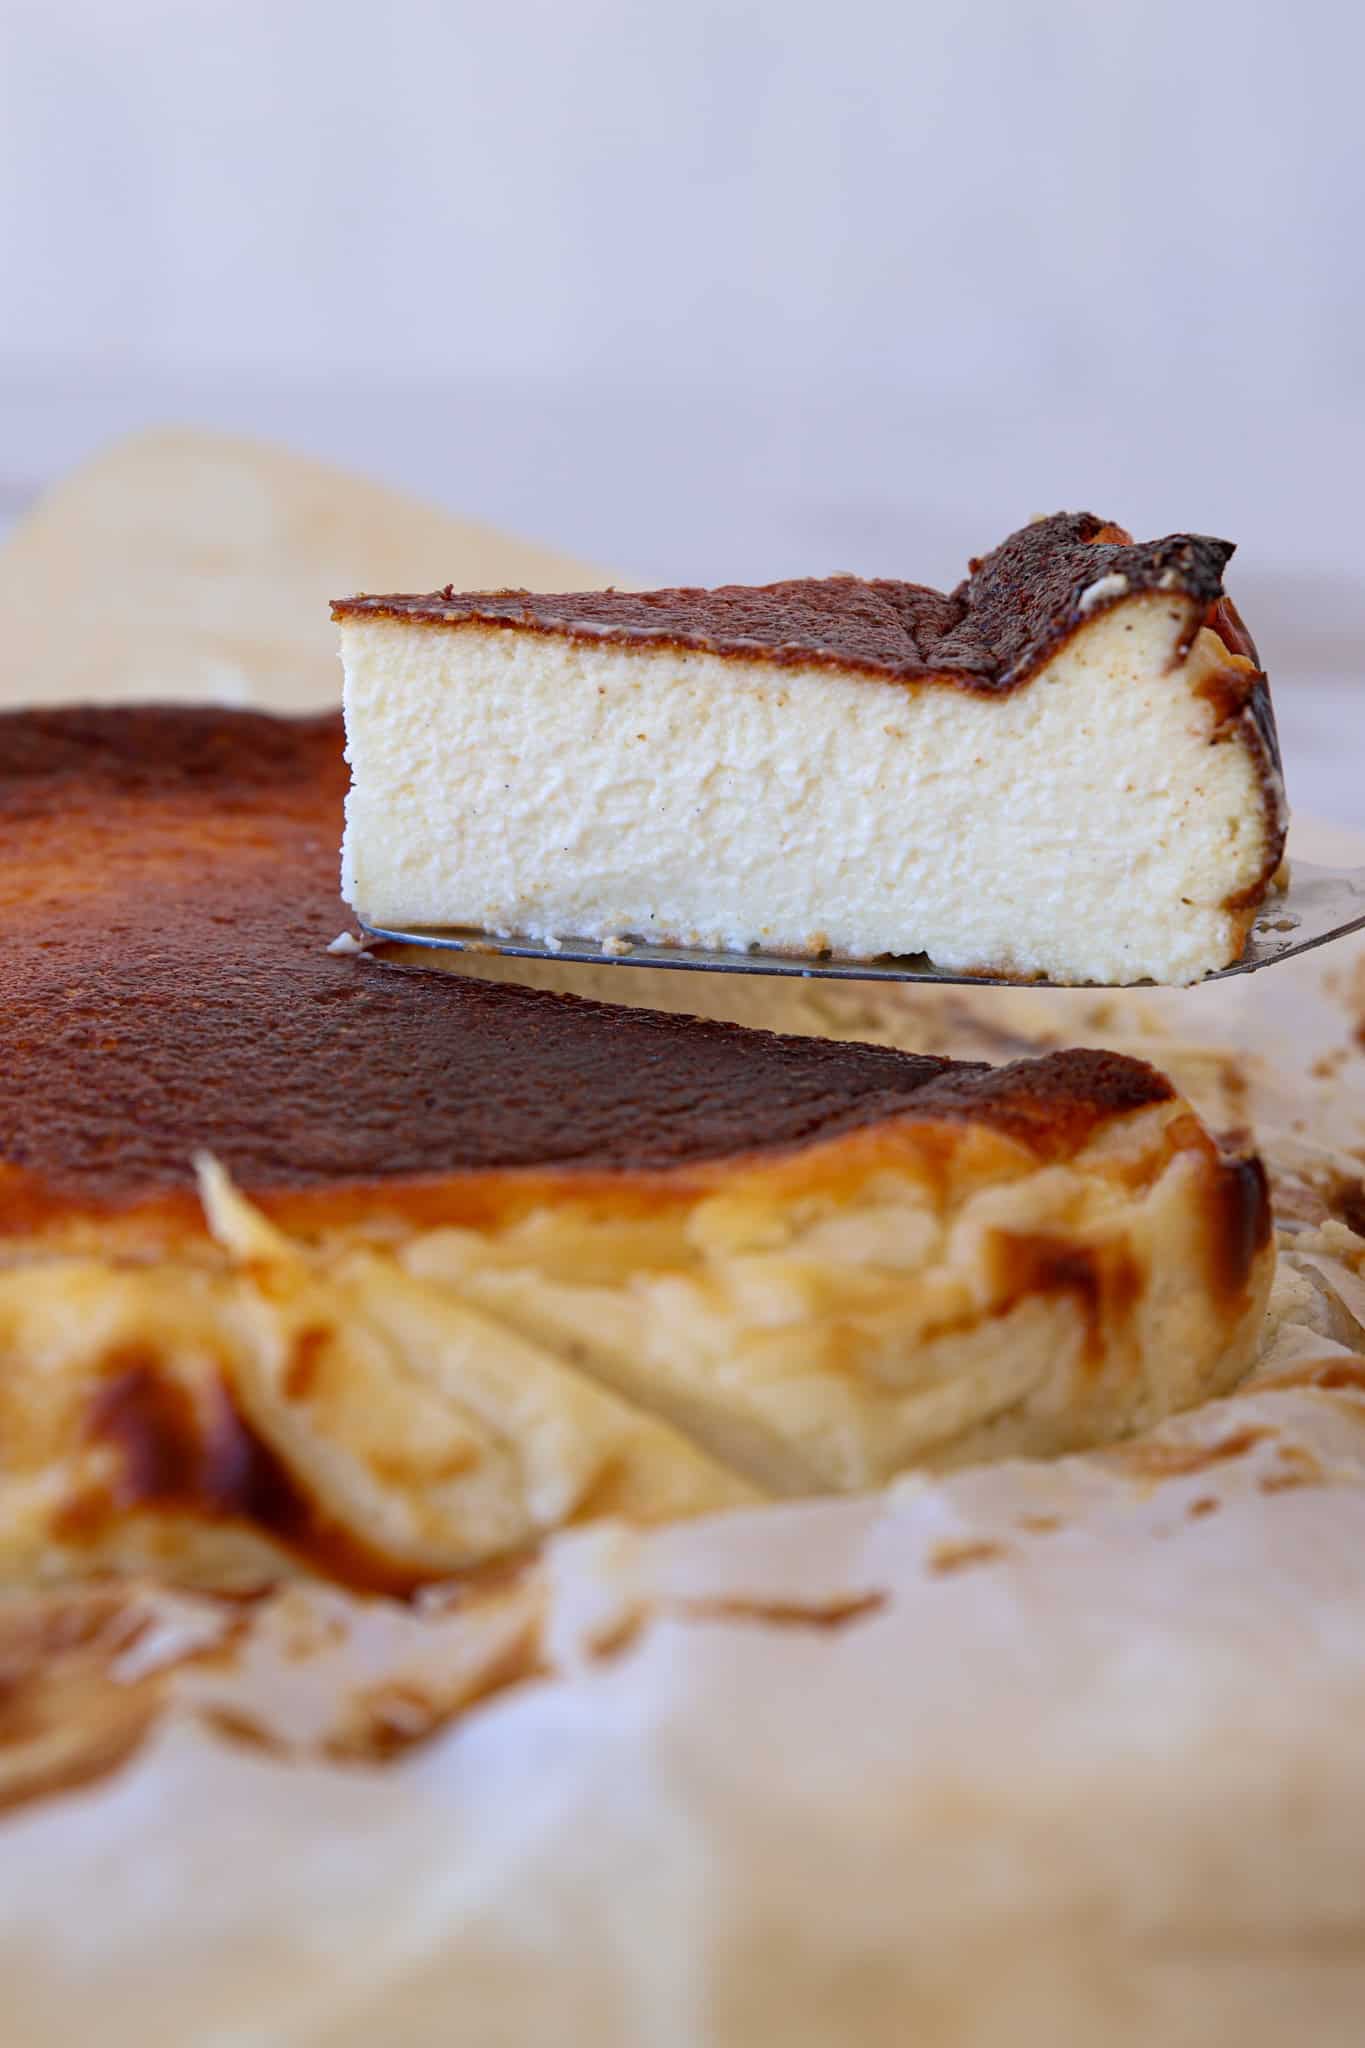
Basque cheesecake, also known as “Tarta de Queso,” is a rustic, crustless cheesecake that originated in the Basque region of Spain. was created in the 1990s by chef Santiago Rivera at La Viña, a small restaurant in San Sebastián, Spain.
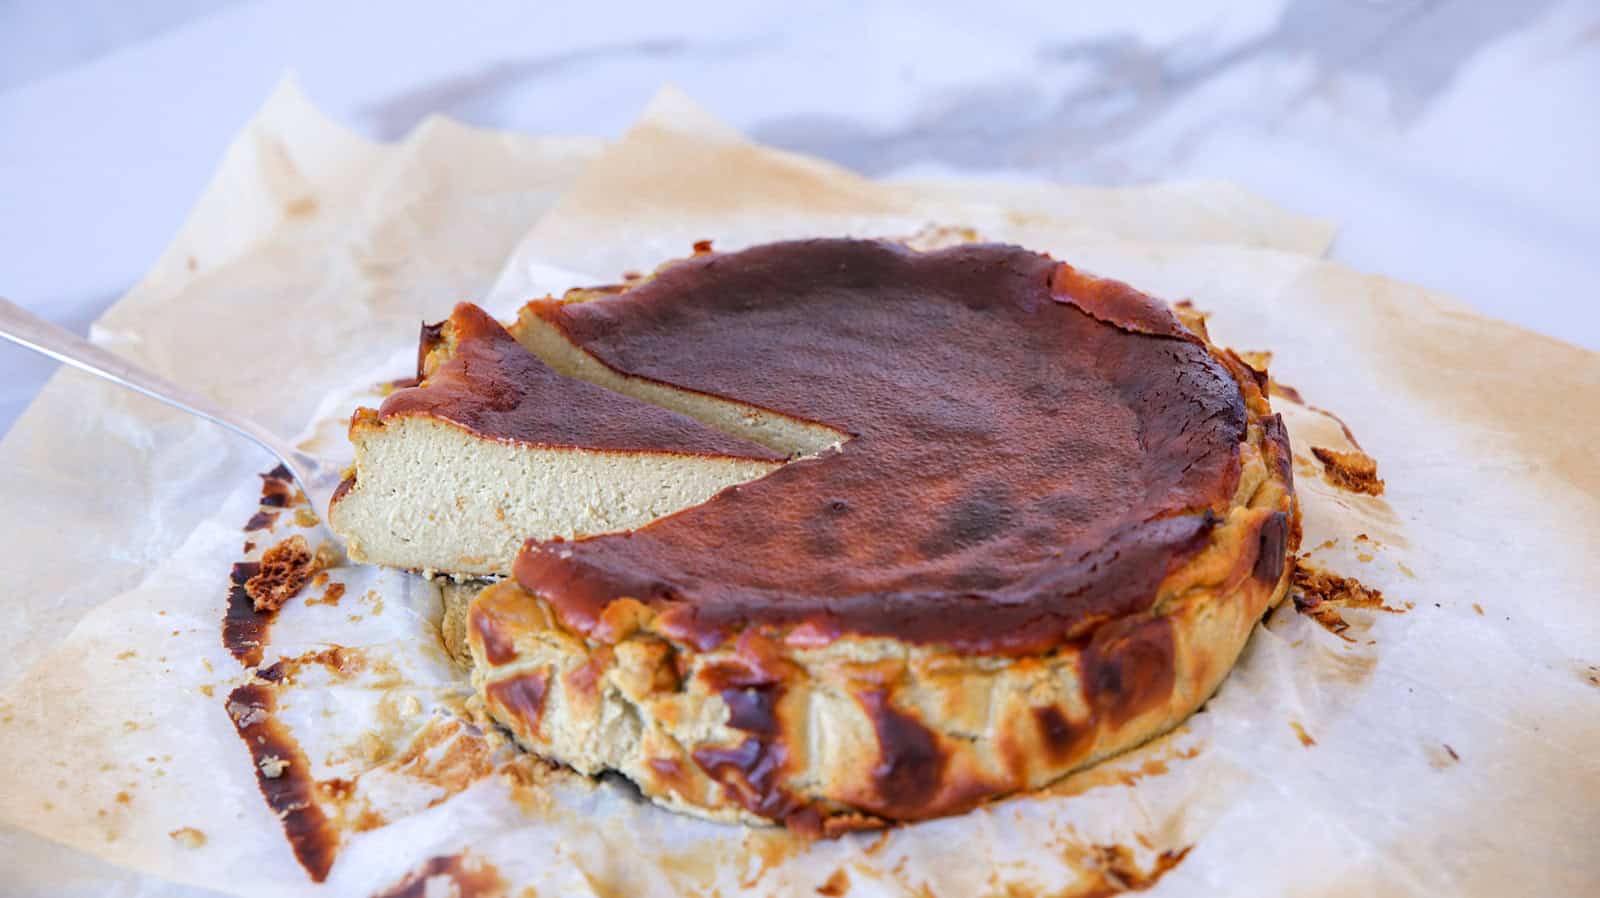
What sets this dessert apart is its intentionally burnt top, which gives it a distinct, caramelized flavor and a creamy, almost custard-like interior. It’s a simple yet indulgent dessert that has gained international fame. This summer, my family and I were planning a trip to the Basque Country, with one of the highlights being the chance to taste the famous cheesecake at its origin. I’ve made Basque cheesecake several times at home and tried it in restaurants, but I was eager to experience the real thing. Unfortunately, our trip was canceled, but instead of letting that stop me, I decided to create my own version of the Basque cheesecake at home. While it’s not the same as enjoying it in San Sebastián, this recipe brings me a step closer to that dream.
❤️ Why You’ll Love Burnt Basque Cheesecake
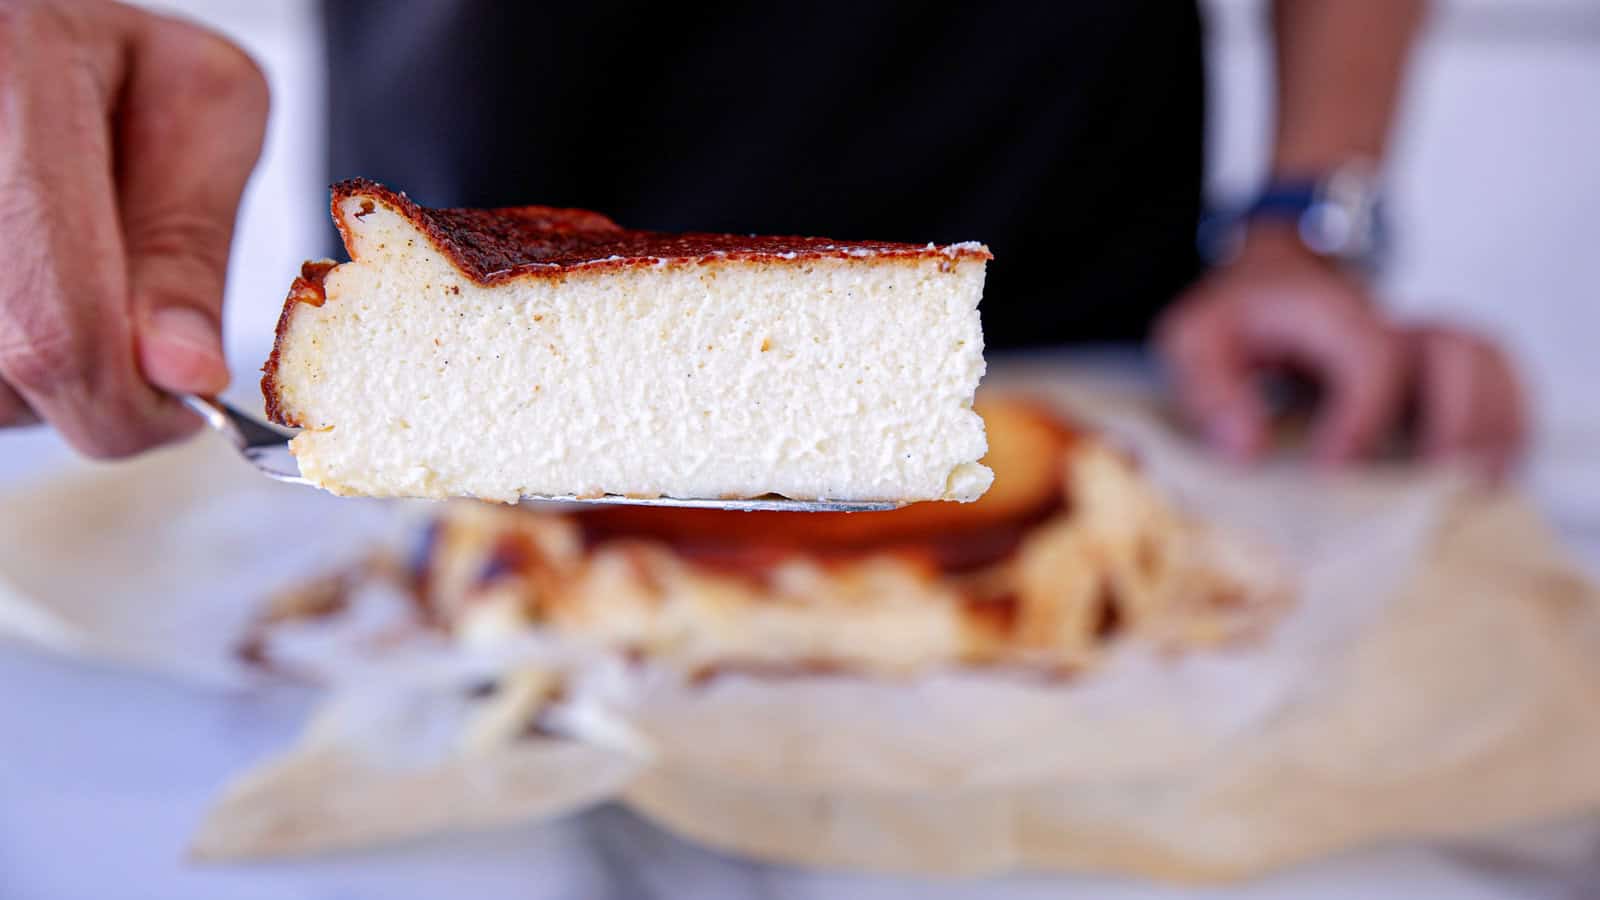
As a recipe developer, I’m always on the lookout for new cheesecake recipes that my audience will love, and after 7 years of creating in the kitchen, I know exactly what they want: easy-to-make recipes that taste absolutely amazing. This San Sebastián Burnt Cheesecake checks all the boxes! One of the best things about this Easy Basque Cheesecake is that it doesn’t require any complicated steps or special techniques. There’s no need for a water bath, and unlike traditional cheesecakes, this Basque Cheesecake with No Crust only requires one bowl to mix everything together.
The high baking temperature creates that signature burnt, caramelized top while keeping the inside irresistibly creamy. This is a perfect example of a dessert that looks impressive yet remains incredibly simple to make.
So here’s why you’ll love Basque cheesecake:
- Easy to prepare: You only need one bowl and 10 minutes of work. THAT’S IT!
- Creamy texture: This cheesecake is super creamy and rich.
- No water bath: It doesn’t require any special equipment or techniques, like baking with a water bath.
- No fear of burning the cheesecake: The beauty of this cheesecake is that it doesn’t need to be perfect. You don’t have to worry about burnt tops or cracks—imperfection is perfection here.
- No crust: Basque cheesecake doesn’t have a crust.
🛒 Ingredients for Basque Cheesecake

- Cream Cheese: The main ingredient, providing the rich, creamy texture and tangy flavor that defines the cheesecake.
- Sugar: Sweetens the cheesecake and helps create the caramelized, burnt top during baking.
- Eggs: Acts as a binding agent, giving the cheesecake structure and adding to its creamy, custard-like consistency.
- Vanilla Bean Paste: Adds a deep, aromatic flavor that enhances the overall taste of the cheesecake.
- Heavy Cream: Contributes to the smooth, luxurious texture and richness of the cheesecake.
- Flour: Helps to slightly thicken the batter and stabilize the cheesecake without making it dense.
- Salt: Balances the sweetness and enhances the flavors of the other ingredients.
🤌 How to Make The Best Basque Cheesecake
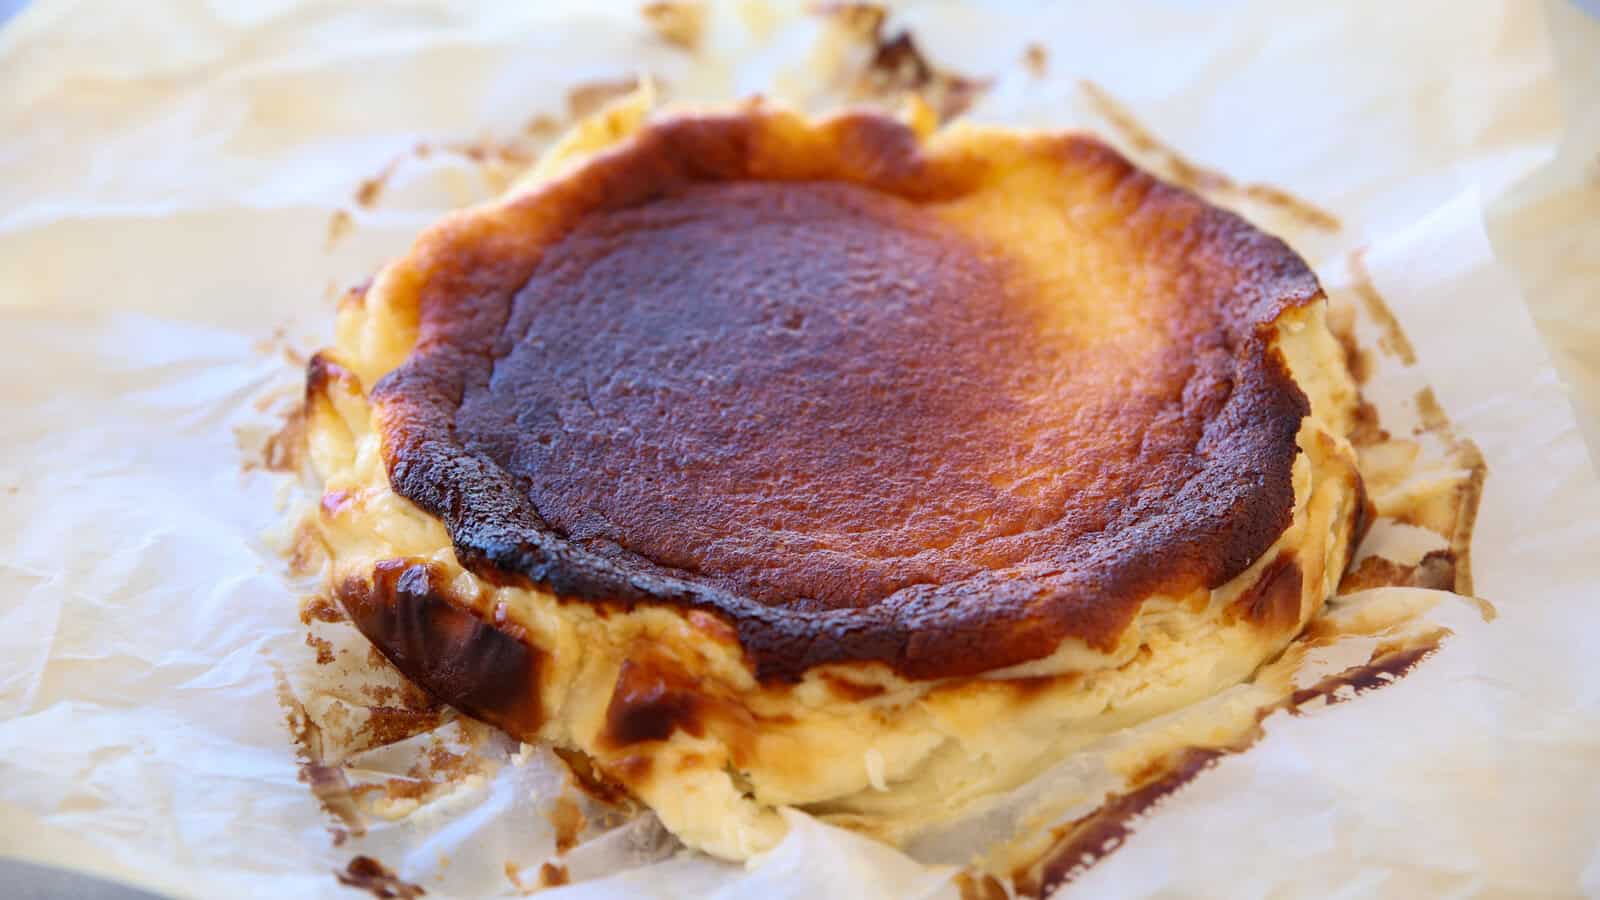
Follow these simple steps to create the Perfect Basque Cheesecake. With just one bowl and no complicated techniques, you’ll have an Easy Basque Cheesecake ready in no time!
1. Preparing the Pan
To get that iconic rustic look, start by preheating your oven to 410°F (210°C). Grease a 9-inch (23cm) springform pan and line it with parchment paper, making sure the paper extends about 2 inches (5cm) above the edge. This will help create the signature uneven, burnt edges and give the cheesecake its classic appearance.
2. Preparing the Filling in One Bowl
In a large mixing bowl, beat the cream cheese and sugar together until smooth and fluffy. Add the eggs one at a time, mixing well after each addition. Then pour in the heavy cream, vanilla bean paste, and salt. Beat until the mixture is creamy and smooth. Finally, sift in the flour and mix on low speed just until combined. You only need one bowl for the entire filling—easy and efficient!
3. Baking
Pour the loose batter into the prepared pan. Don’t worry if it seems runny—that’s how it should be! Place the pan in the preheated oven and bake for 45-60 minutes. You’ll know it’s done when the top is deeply golden brown, and the center still jiggles slightly. The burnt top and wobbly center are what make this Perfect Basque Cheesecake unique.
4. Chilling
Once baked, allow the cheesecake to cool at room temperature in the pan. As it cools, the cheesecake will deflate slightly, which is totally normal. Once cooled, refrigerate the cheesecake for at least 4 hours, preferably overnight, to fully set. Chilling ensures the perfect creamy texture that everyone loves in a Basque Cheesecake.
🪄 Tips and Tricks
Here are some helpful tips to ensure your Basque Cheesecake turns out perfectly every time:
- Room Temperature Ingredients: Make sure the cream cheese and eggs are at room temperature before starting. This helps create a smooth and lump-free batter.
- Don’t Overmix: When adding the flour, mix just until it’s combined. Overmixing can result in a denser cheesecake instead of the desired creamy texture.
- No Water Bath Needed: One of the best things about this cheesecake is that it doesn’t require a water bath, unlike traditional cheesecakes. The high temperature creates the signature burnt top and keeps the inside rich and creamy.
- Control the Burnt Top: If you prefer a lighter or darker burnt top, adjust the baking time accordingly. Bake for less time if you want a more lightly golden top, or leave it in a bit longer for a darker, more caramelized finish.
- Jiggly Center is Key: The center of the cheesecake should still jiggle slightly when you take it out of the oven. Don’t worry—it will set as it cools, creating that perfect creamy texture inside.
- Let it Cool and Chill: Cooling the cheesecake at room temperature first helps it set properly. After that, be sure to refrigerate it for at least 4 hours (overnight is even better) for the best results.
- Rustic Look: Don’t worry about the cheesecake cracking or looking imperfect—this is part of its charm! The beauty of Basque Cheesecake is its rustic, burnt appearance, so embrace the imperfections.
- Custom Toppings: Serve with fresh berries, whipped cream, or a drizzle of honey to complement the rich, creamy cheesecake. The options are endless!
🗒 Variations
If you are tired of the classic Basque cheesecake, there are endless ways to put your own twist on the Perfect Basque Cheesecake. Here are a few fun variations to try:
- Chocolate Basque Cheesecake: For a rich chocolate version, melt 4 oz (115g) of dark chocolate and fold it into the batter before baking. This creates a deep, chocolatey flavor while keeping the same creamy texture.
- Basque Cheesecake with Berries: Add a swirl of raspberry or blueberry compote on top before baking. The tartness of the berries complements the creamy cheesecake beautifully.
- Citrus Basque Cheesecake: Add a fresh zing by incorporating the zest of one lemon or orange into the batter. This adds a subtle citrus flavor that lightens up the richness of the cheesecake.
- Coffee Basque Cheesecake: Dissolve 1 tablespoon of instant espresso powder in the heavy cream before adding it to the batter. The result is a cheesecake with a rich, bold coffee flavor, perfect for coffee lovers.
- Matcha Basque Cheesecake: For a unique twist, sift 1-2 tablespoons of matcha powder into the batter with the flour. The earthy matcha flavor pairs well with the sweetness and creaminess of the cheesecake.
- Salted Caramel Basque Cheesecake: Drizzle salted caramel sauce over the cheesecake before or after baking for a sweet and salty variation that adds extra indulgence to every bite.
- Gluten-Free Basque Cheesecake: Simply replace the flour with an equal amount of cornstarch or a gluten-free flour blend. You’ll still get the same creamy texture without compromising on flavor.
Why is Basque Cheesecake Burnt?
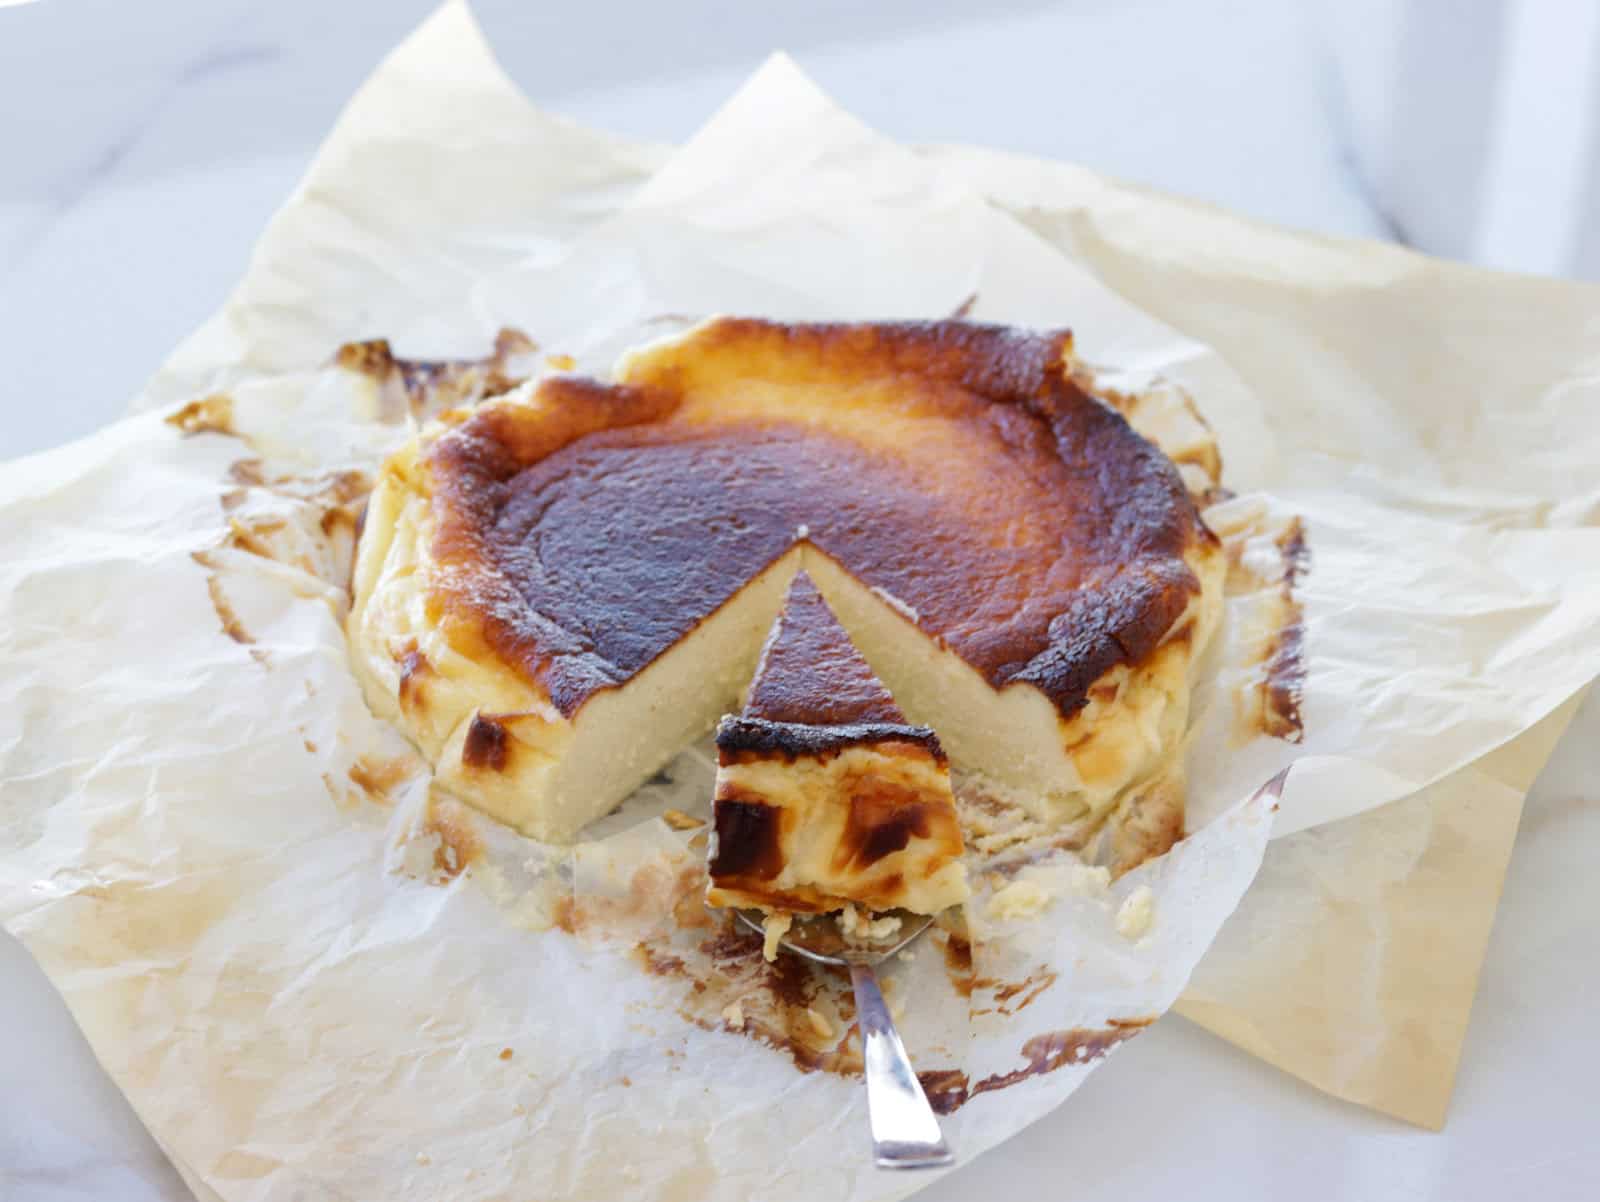
The signature burnt top of Basque Cheesecake is not only intentional but essential to its unique flavor and texture. Unlike classic cheesecakes, which are typically baked at lower temperatures to avoid browning, Basque Cheesecake is baked at a high temperature (around 410°F/210°C) to intentionally create a caramelized, burnt crust on the outside. This high heat gives the cheesecake its distinctive deep golden, almost blackened top.
But why burn it? The burnt exterior adds a subtle, smoky bitterness that perfectly contrasts with the creamy, rich interior. This combination creates a balanced flavor profile that’s both bold and indulgent. The burnt top also adds a slightly firm texture that gives way to a custard-like center.
Plus, the rustic, cracked appearance of the burnt top is part of the charm. You don’t need to worry about achieving a perfectly smooth cheesecake, as the imperfections are what make *Basque Cheesecake* so inviting and unique.
🗒 Best served with
Basque Cheesecake is incredibly versatile and pairs beautifully with a variety of accompaniments. Here are some of the best ways to serve it:
- Sherry Wine: Traditionally, Basque Cheesecake is served with a glass of sherry wine. The slightly sweet, nutty flavors of the sherry beautifully complement the caramelized top and creamy interior of the cheesecake, making it a perfect pairing.
- Fresh Berries: Raspberries, blueberries, or strawberries offer a fresh, slightly tart contrast to the rich, creamy texture of the cheesecake.
- Honey Drizzle: A drizzle of honey enhances the caramelized flavor of the burnt top and adds a sweet touch.
- Fruit Compote: Serve with a warm fruit compote—berries, cherries, or even apples—for a sweet and tangy complement to the cheesecake.
- Salted Caramel Sauce: A drizzle of salted caramel sauce brings a luxurious sweet and salty combination to each bite.
- Espresso or Coffee: A rich cup of coffee or a shot of espresso pairs perfectly with the sweetness of the cheesecake, balancing the flavors.
👝 How to Store Leftovers
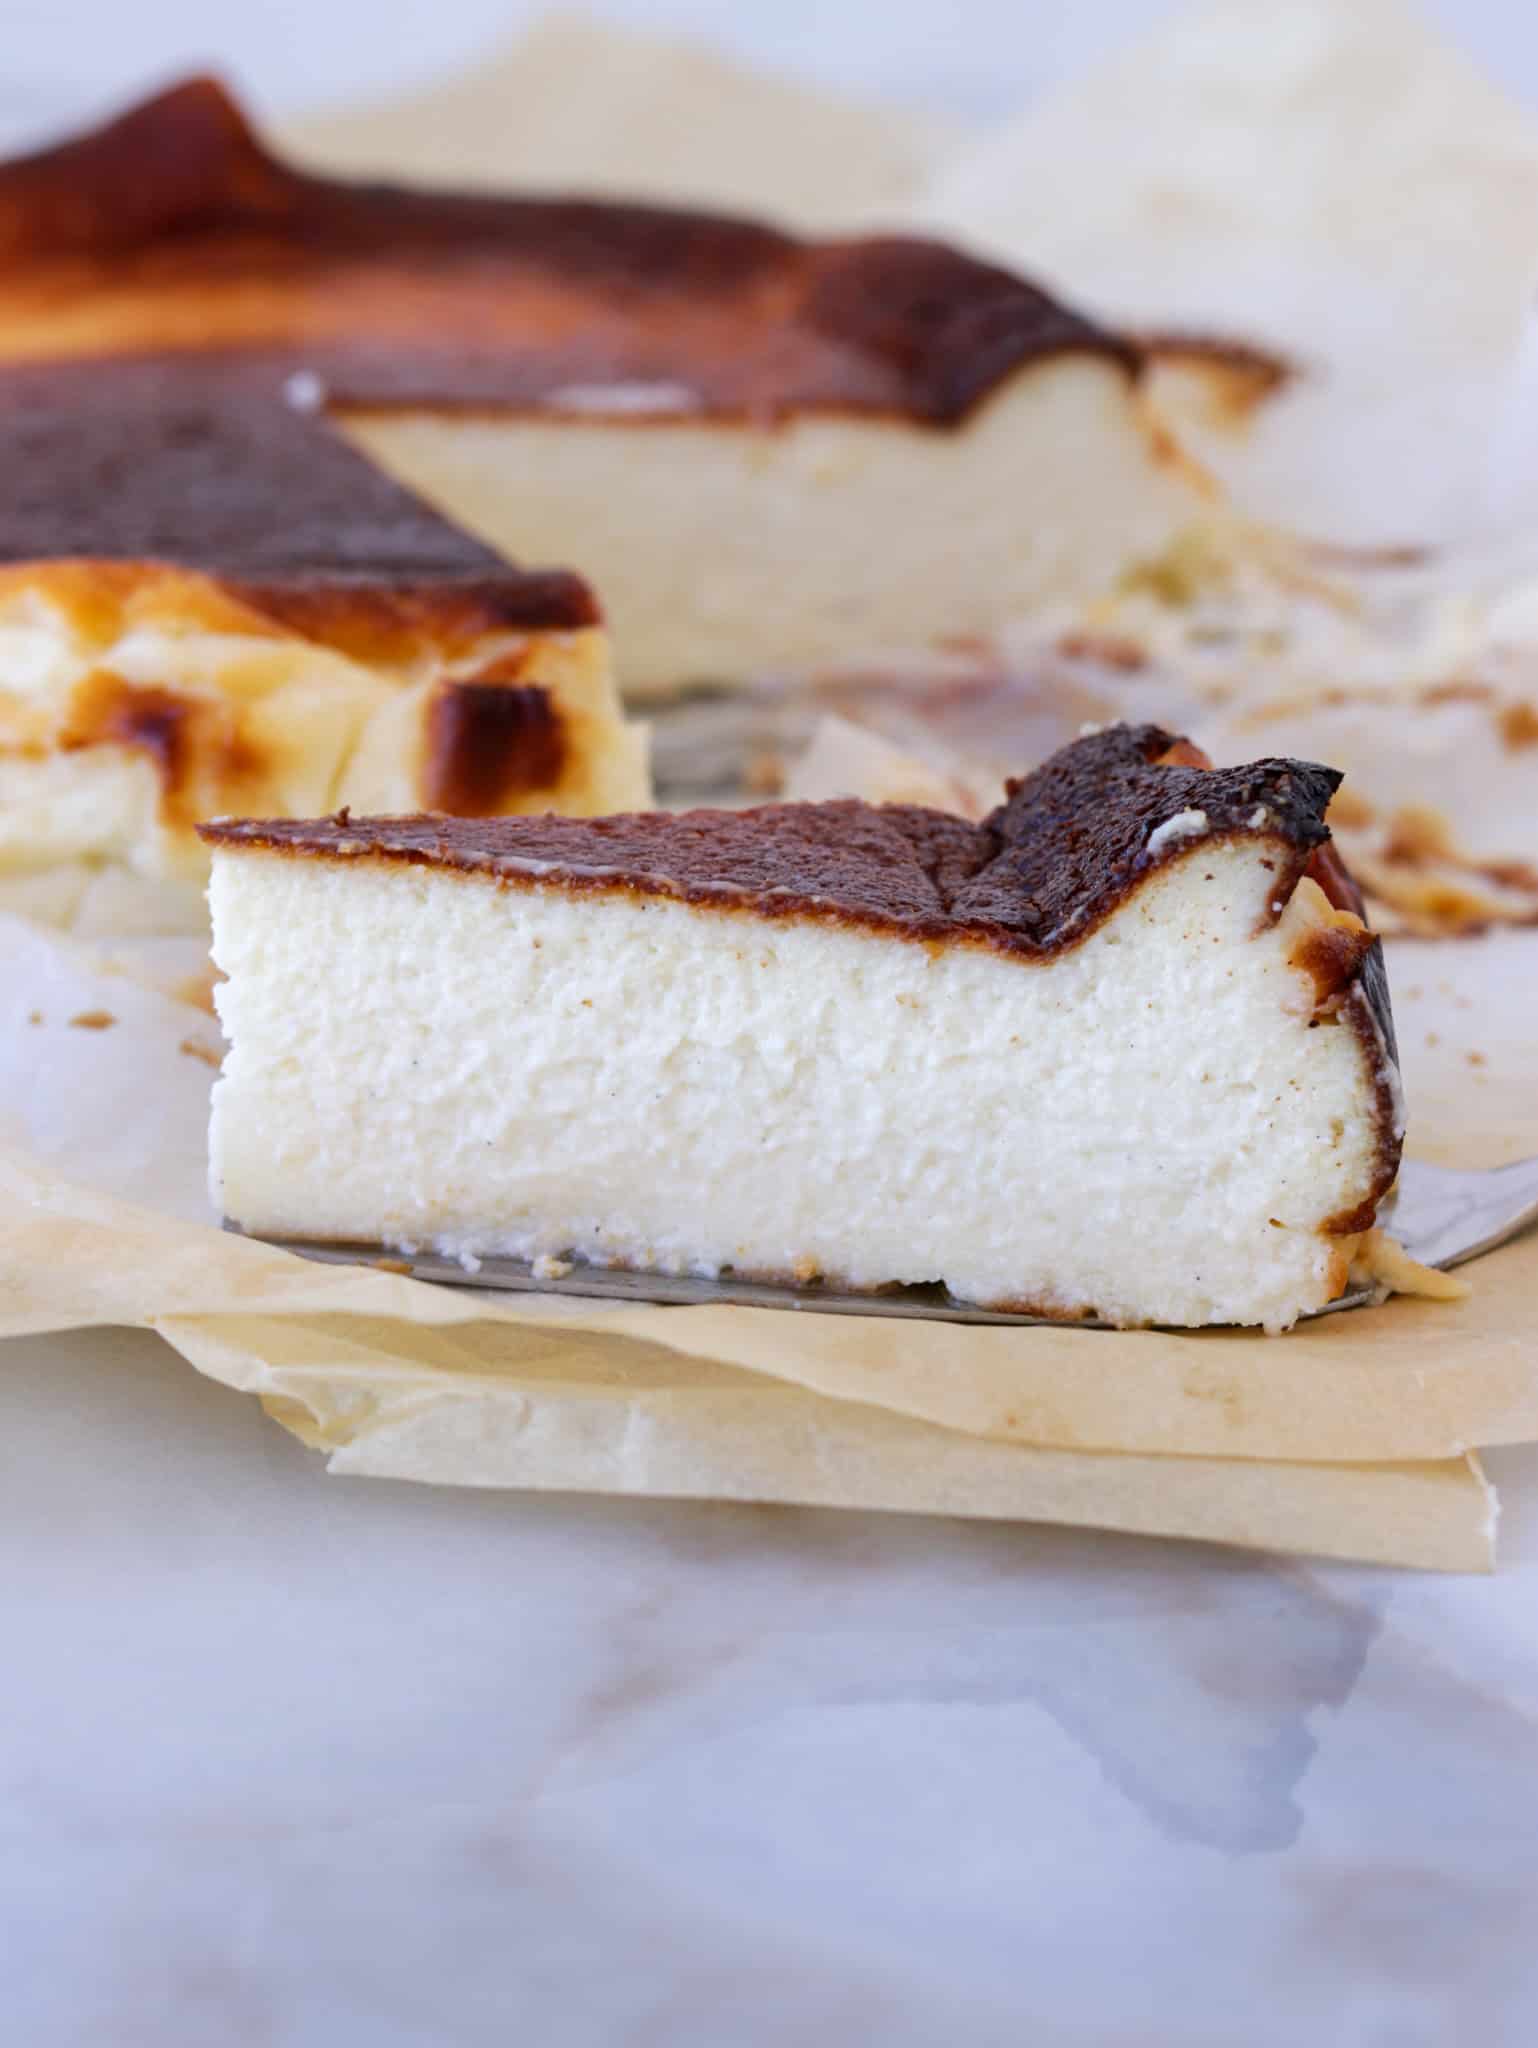
If you have any leftover Basque Cheesecake (if that’s even possible!), here’s how to store it to maintain its creamy texture and flavor:
- Refrigeration: Store the cheesecake in an airtight container in the refrigerator for up to 3-4 days. The burnt top will remain intact, and the cheesecake will stay rich and creamy.
- Freezing: If you want to store it for longer, you can freeze the cheesecake. First, wrap individual slices tightly in plastic wrap, then place them in an airtight container or freezer bag. It can be frozen for up to 3 months. When ready to eat, thaw the slices in the refrigerator overnight for the best texture.
- Avoid Room Temperature Storage: Since Basque Cheesecake contains cream cheese and eggs, it’s important not to leave it out at room temperature for more than 2 hours to avoid spoilage.
More Cheesecake Recipes
If you’re a cheesecake lover like me, you won’t be satisfied with just one cheesecake, so here are some more cheesecake recipes you might like:
- Pistachio Cheesecake
- Blueberry Cheesecake
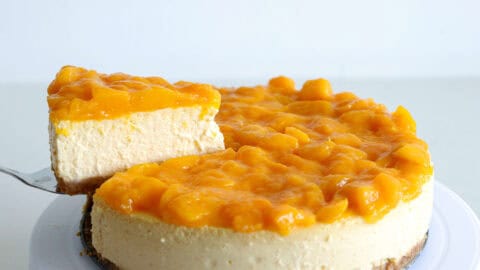
- Mango Cheesecake
- Carrot Cake Cheesecake
- No-Bake Cocolate Cheesecake
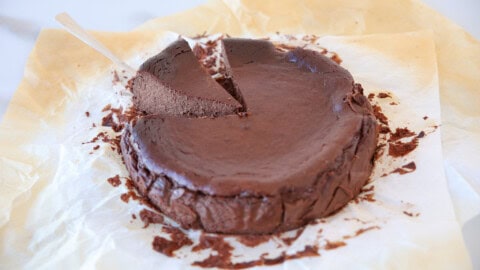
- Chocolate Basque Cheesecake
🤔 Common Questions
Yes, you can make Basque Cheesecake in advance! In fact, it’s recommended to chill the cheesecake for at least 4 hours or overnight to allow it to fully set and develop its flavors. This makes it an excellent dessert to prepare a day ahead for gatherings or events.
The burnt top is a signature characteristic of Basque Cheesecake. It’s baked at a high temperature to intentionally create a deeply caramelized, almost charred exterior, which contrasts beautifully with the creamy, custard-like interior. The burnt top adds a unique flavor and rustic appearance that makes this cheesecake stand out.
If your cheesecake is runny, it might not have been baked long enough. The center should still jiggle slightly when you take it out of the oven, but it should firm up as it cools and sets in the fridge. If it’s too runny, try baking it for a few more minutes next time or chilling it for a longer period to help it set.
Yes, Basque Cheesecake can be frozen. To freeze, wrap the cheesecake or individual slices tightly in plastic wrap and place them in an airtight container. It will keep in the freezer for up to 3 months. When you’re ready to enjoy it, thaw the cheesecake in the refrigerator overnight for the best texture.
Basque Cheesecake has a rich, creamy, and custard-like texture with a unique flavor combination. The caramelized, burnt top adds a slightly smoky, bitter edge that contrasts beautifully with the sweet, smooth interior. It’s less sweet than traditional cheesecakes, with a more complex flavor profile.
A slightly jiggly center is normal for Basque Cheesecake. It should jiggle when it comes out of the oven, but not be runny. As the cheesecake cools and sets in the fridge, the center will firm up, creating that perfect creamy texture. If the center is too jiggly or runny, it may need a bit more baking time.
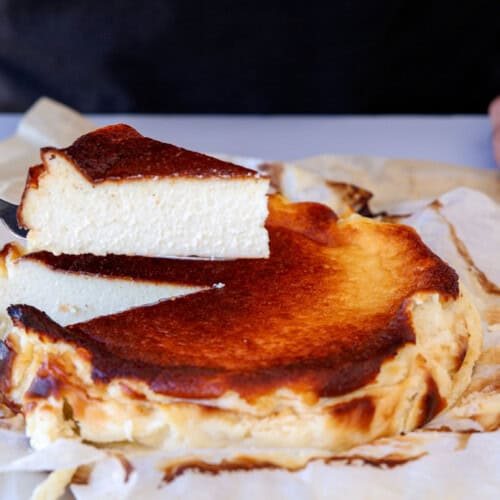
Basque Cheesecake Recipe
Ingredients
- 3½ cups (787 g) Cream cheese, room temperature
- 1¼ cups (250 g) Sugar
- ¼ teaspoon Salt
- 5 Eggs large
- 1 teaspoon Vanilla bean paste
- 1¼ cup (300 ml) Heavy cream
- 3 tablespoons (24 g) Flour
Instructions
- Preheat your oven to 410°F (210°C). Grease a 9-inch (23cm) springform pan and line it with parchment paper, leaving the edges overhanging the pan by about 2 inches (5cm). This gives the cheesecake its signature rustic look.
- Cream the cream cheese and sugar together in a large mixing bowl using a hand mixer or stand mixer on medium speed. Mix for about 2-3 minutes until smooth and fluffy.
- Add the eggs one at a time, beating after each addition until fully incorporated. Scrape down the sides of the bowl to ensure everything is mixed evenly.
- Pour in the heavy cream, vanilla extract, and salt. Continue to beat until smooth and creamy.
- Sift in the flour and mix on low speed just until combined. You don’t want to overmix.
- Pour the batter into the prepared pan. The batter will be quite loose, but that’s okay—it will set during baking.
- Bake the cheesecake in the preheated oven for about 50-60 minutes until the top is deeply golden brown and the center is still slightly jiggly. The burnt top is characteristic of a Basque cheesecake, so don’t worry if it looks darker than a regular cheesecake.
- Cool at room temperature in the pan. The cheesecake will deflate a bit and continue to set as it cools.
- Chill the cheesecake in the fridge for at least 4 hours, or preferably overnight, to fully set.
- Serve: When ready to serve, remove the cheesecake from the pan and peel back the parchment paper. Slice and enjoy with fresh berries or a drizzle of honey.
Video

Notes
- Make sure the cream cheese is at room temperature to avoid lumps.
- For an extra creamy texture, avoid overbaking. The center should still be a little jiggly when you take it out of the oven.
- This cheesecake is known for its rustic appearance, so don’t worry if the edges are uneven or cracked—that’s part of its charm!




Brilliant recipe.