How (& Why) to Make a Water Bath for Cheesecake
This post may contain affiliate links.
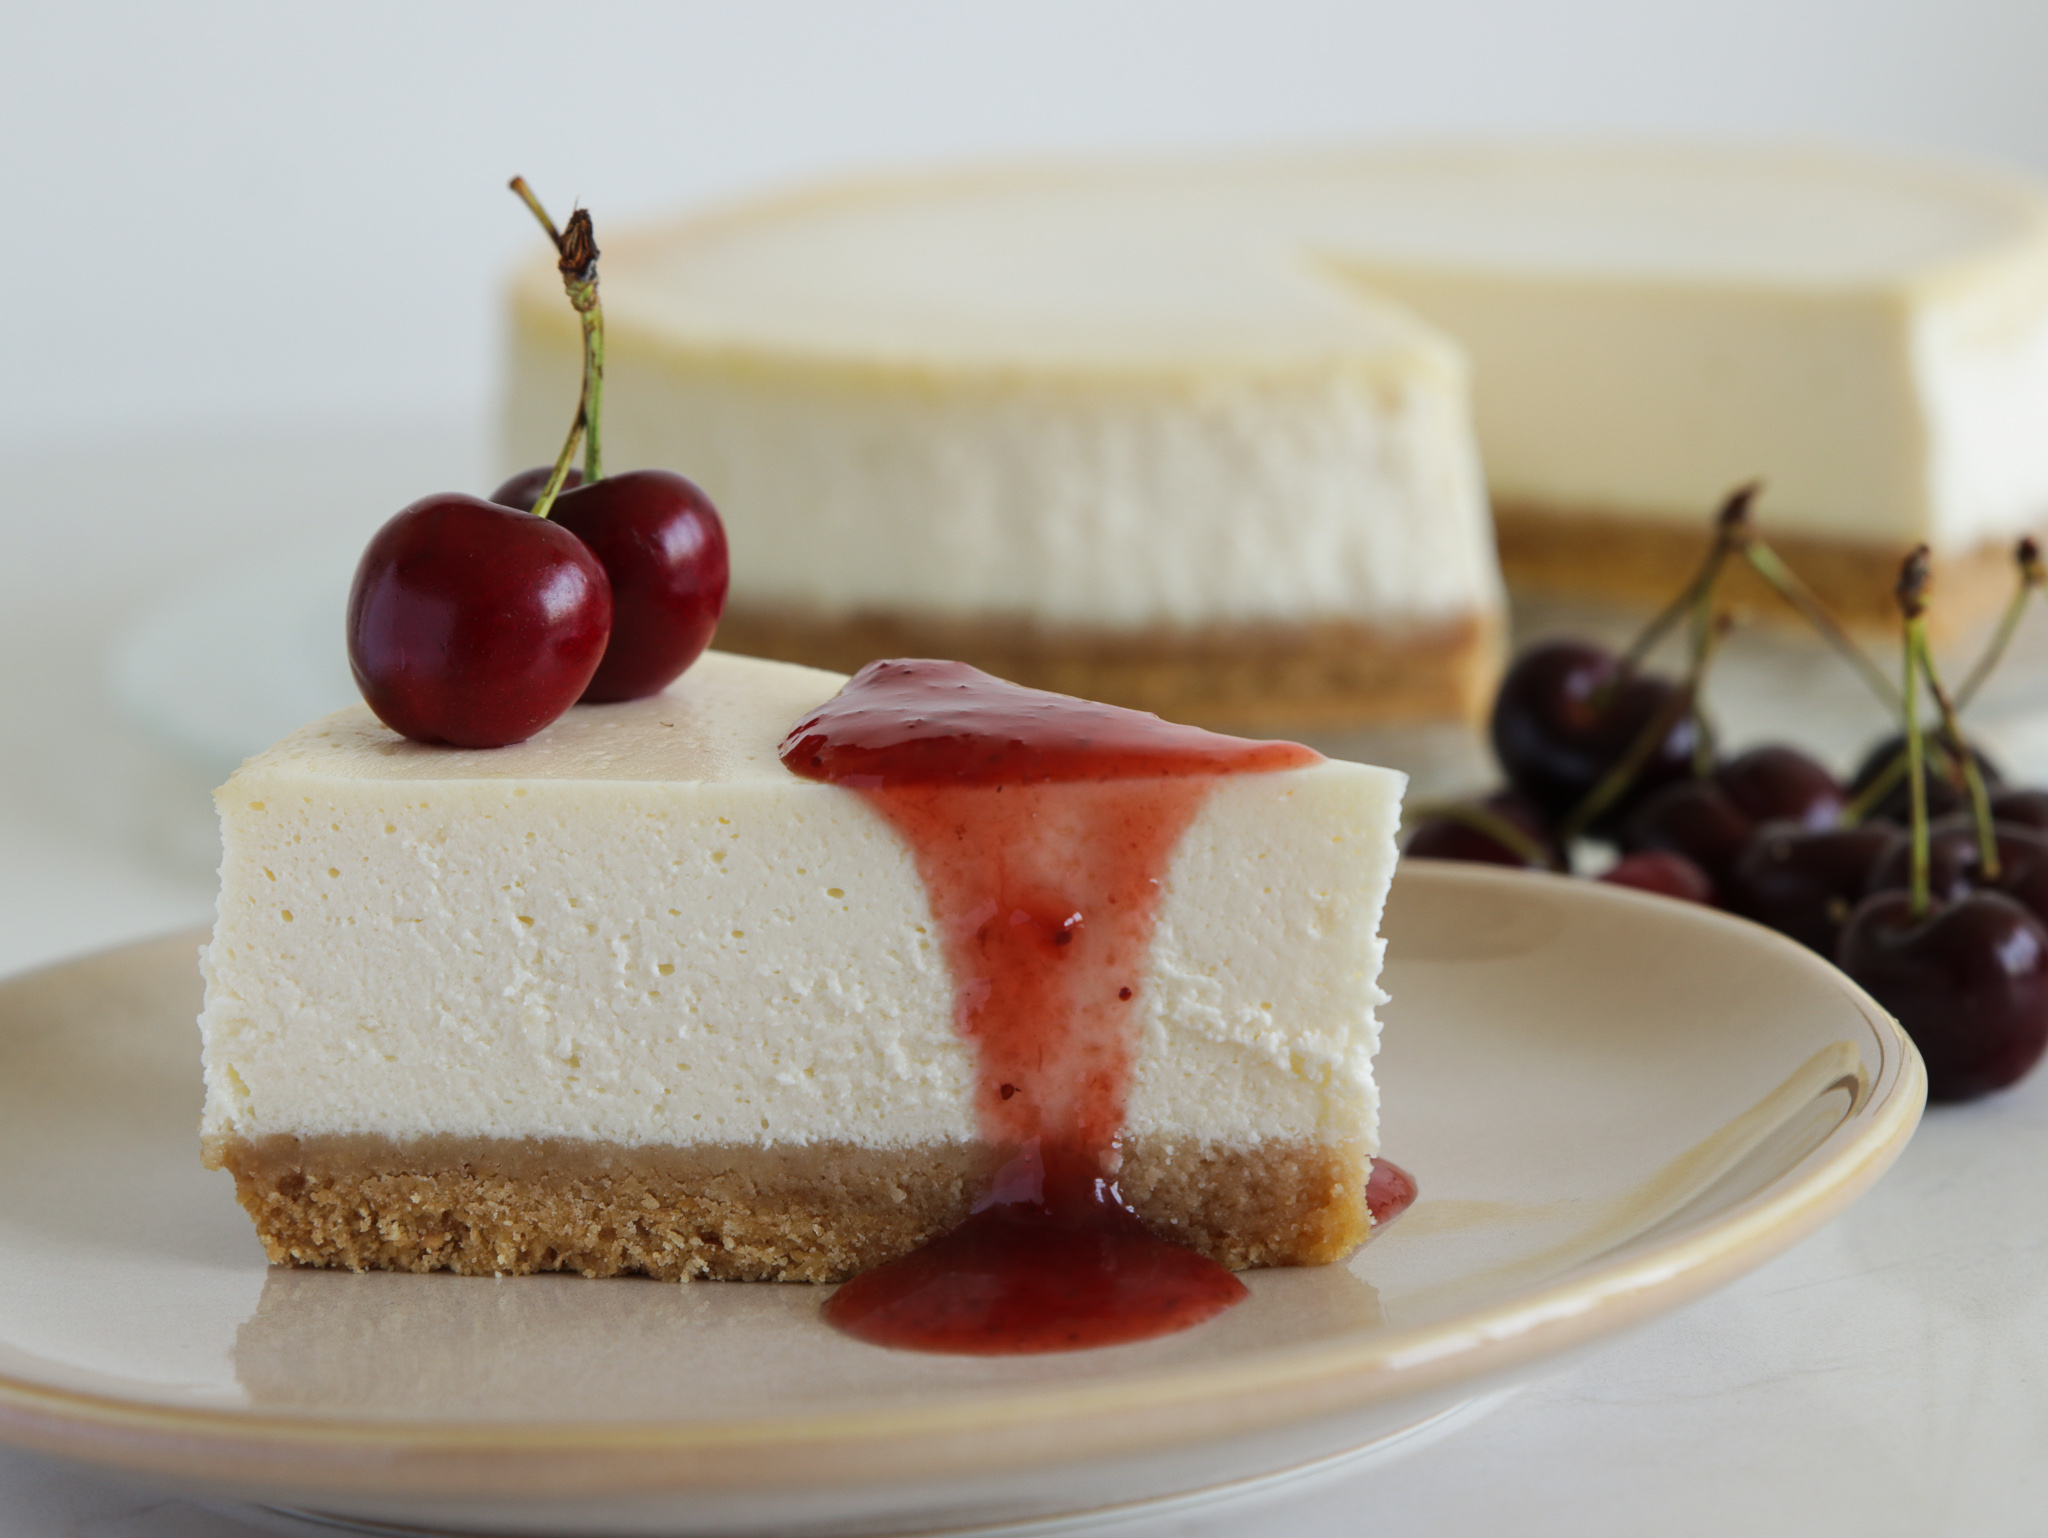
If you’ve ever wondered How to Make a Waterbath for Cheesecake (or why you should even bother), you’re in the right place! My foolproof method and clear step-by-step instructions will ensure every cheesecake you bake turns out perfectly wobbly and crack-free.
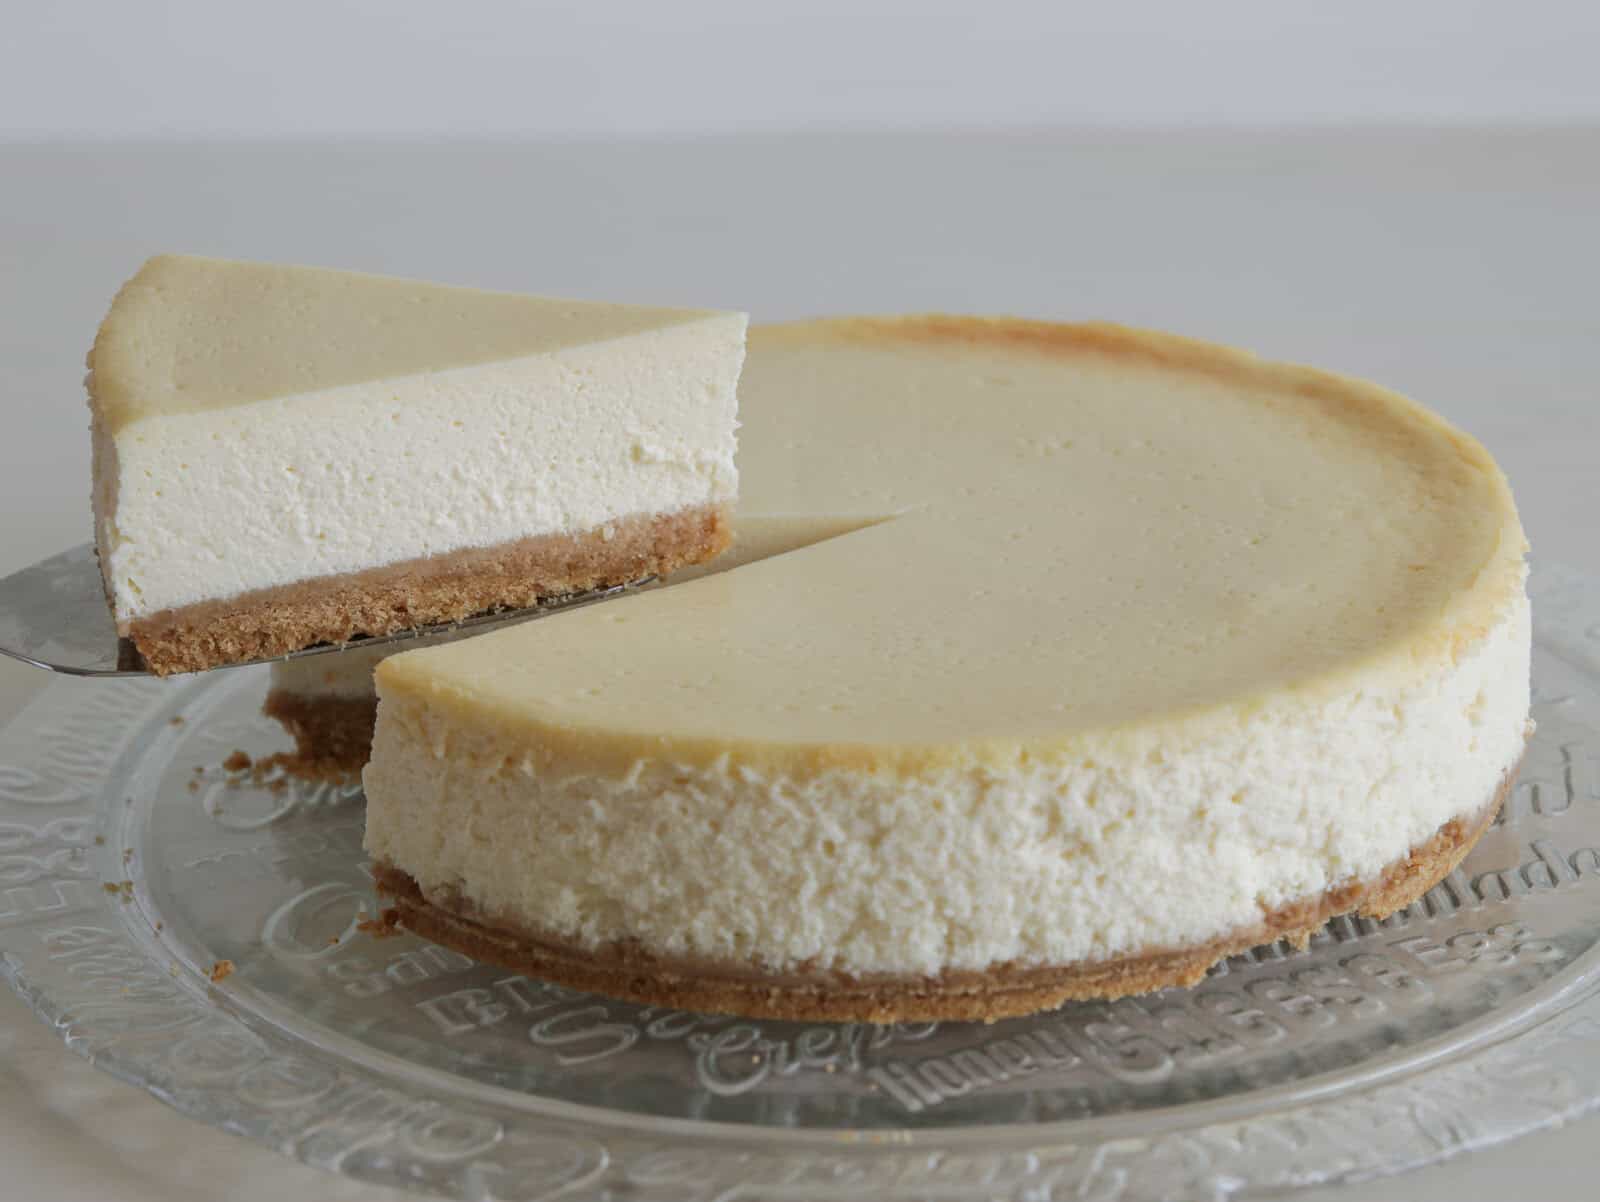
With over 3 dozen cheesecake recipes on my site, you could say I’m something of an expert. And, while it might seem fussy (it’s really not too bad), water baths are the way to go if you’re after the best cheesecake—it’s the best way to ensure a beautifully smooth, custardy consistency.
Why Use a Water Bath to Make Cheesecake?
If you’ve ever baked a cheesecake with cracks across the top, or one that’s overcooked on the edges but still jiggly in the center, you’re not alone. Cheesecake is a custard at heart, like classic crème brûlée, pistachio crème brûlée or classic flan, and it needs a delicate baking environment. That’s where a waterbath (also called a bain-marie) comes in.
A water bath acts as a buffer between your cheesecake filling and the harsh heat of the oven. By placing your springform pan inside a larger pan filled with hot water, you insulate it from sudden temperature spikes that can lead to curdling or rubbery textures. Additionally, the steam from the water keeps the oven nice and humid, which helps prevent cracking.
At the end of the day, what’s two extra minutes when it’ll make your dessert taste like it came from a professional bakery? It’s a little extra effort, yes—but the payoff of a cheesecake water bath is worth it.
Still not convinced? Check out my no-bake lemon cheesecake, no-bake coconut cheesecake or no-bake mocha cheesecake next!
Step-By-Step: Cooking Cheesecake in a Water Bath
Setting up a bain marie might sound fancy, but it’s actually super simple. Here’s how to do it, step-by-step:
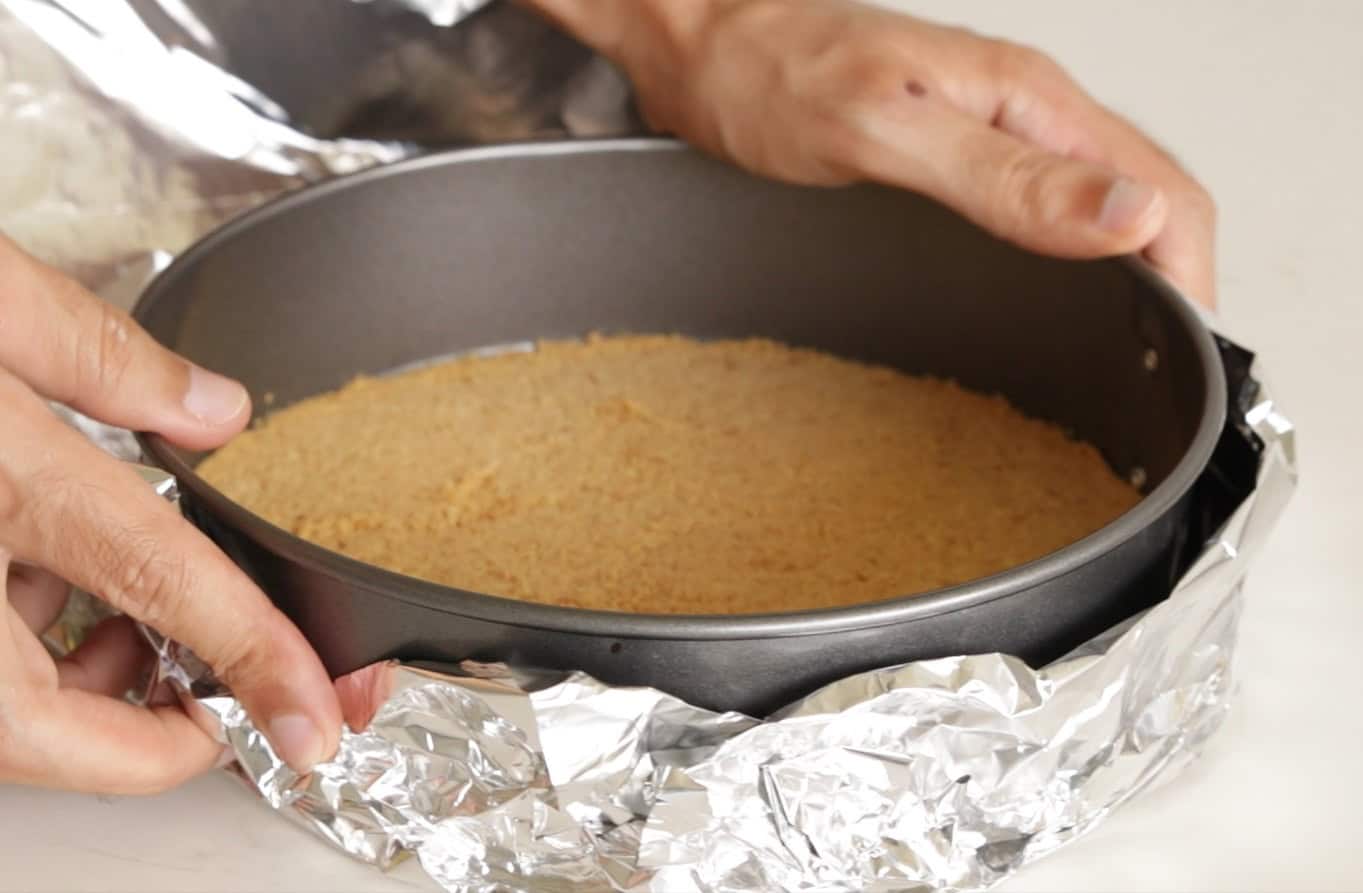
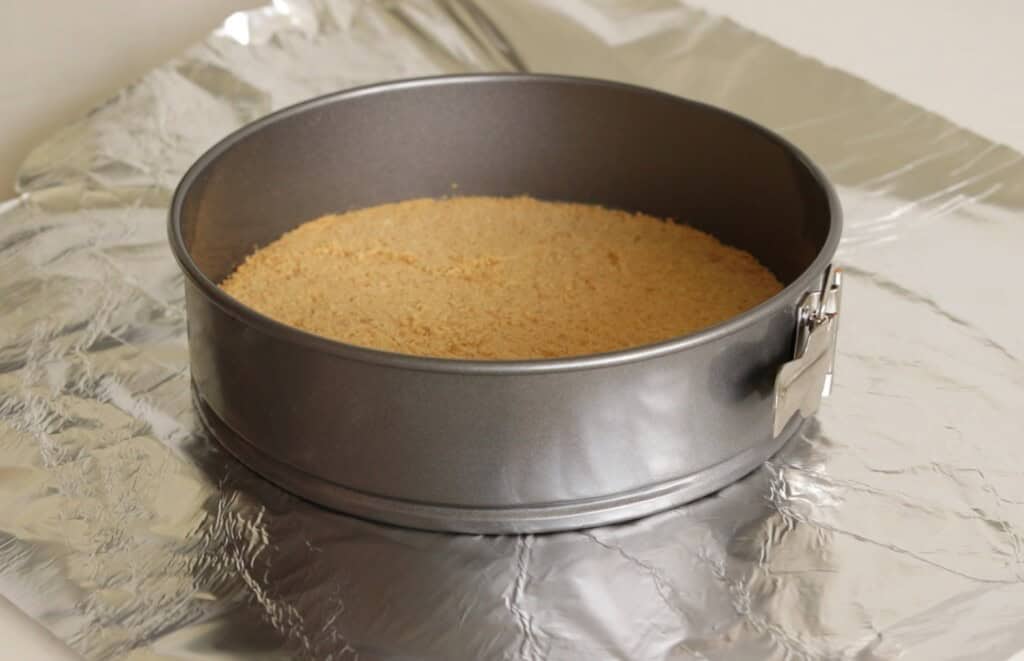
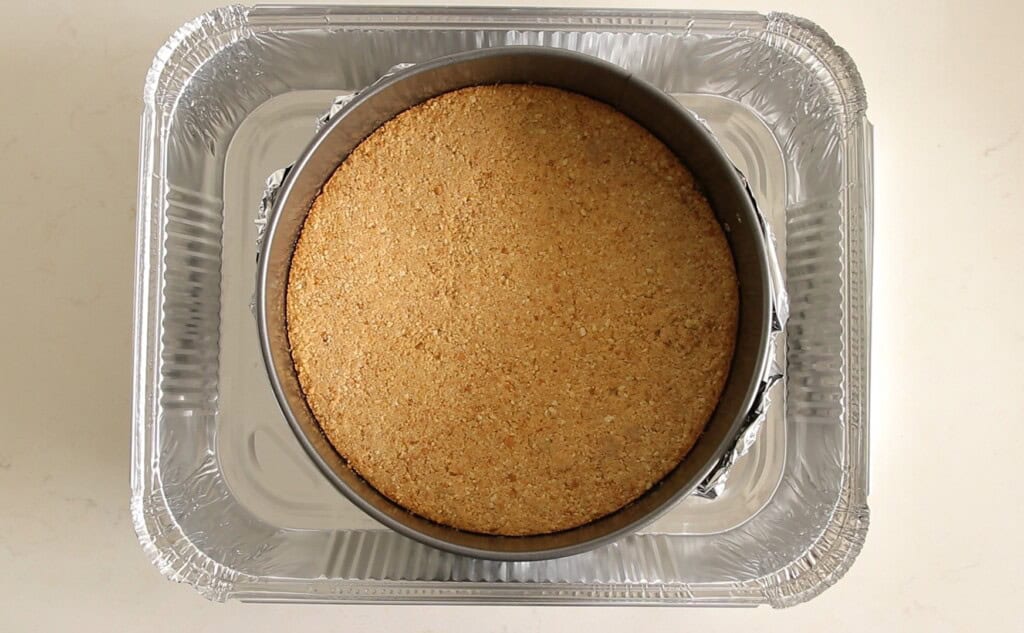
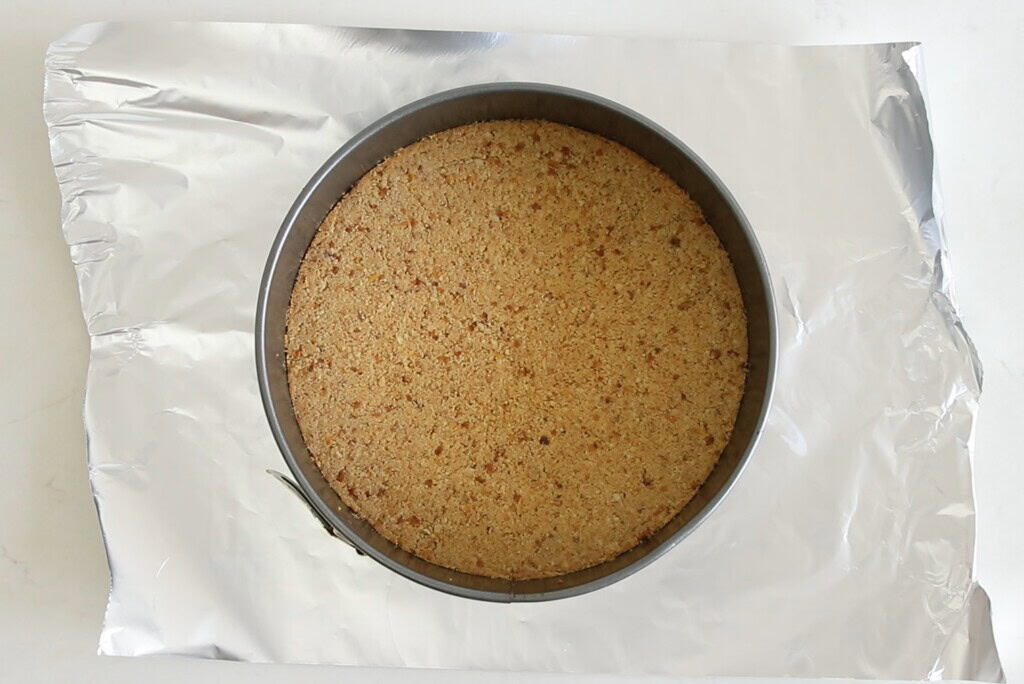
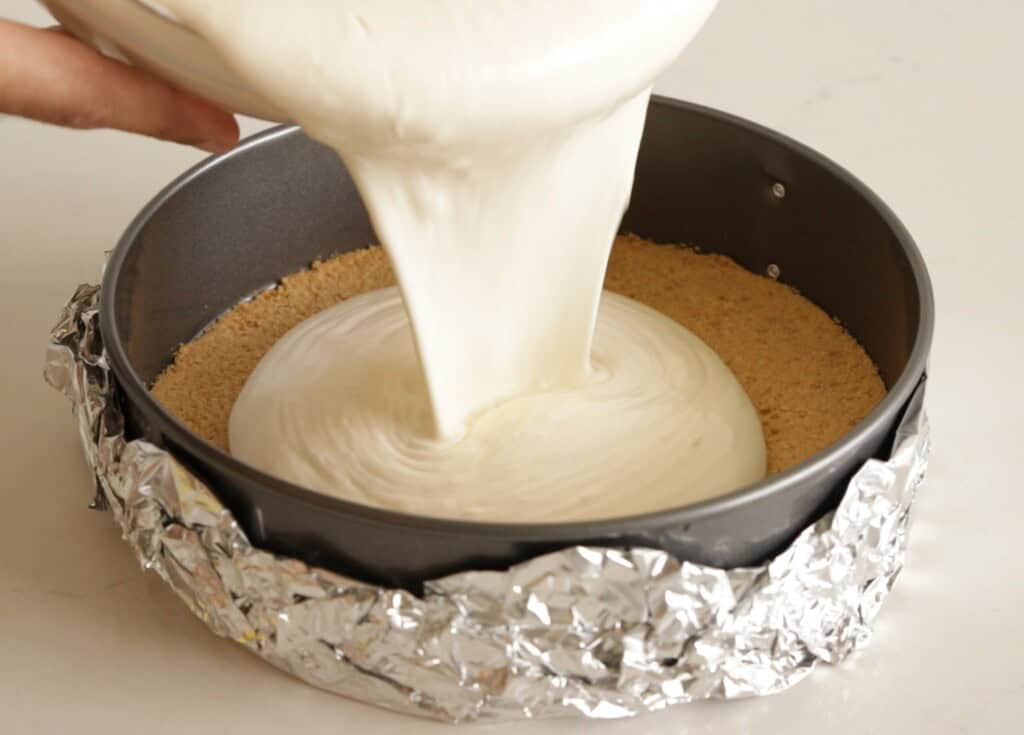
Step 1: Wrap your springform pan in foil. Springform pans are great for getting a perfectly smooth crust, but they aren’t always watertight. Wrap the bottom and sides of your pan in a few layers of heavy-duty aluminum foil to keep water from sneaking in. You’re welcome to do this before assembling your cheesecake, or after the raw cheesecake is assembled.
Step 2: Place the foil-wrapped pan in a larger roasting pan. You’ll want a pan that’s big enough to fit your cheesecake with a few inches of space around the edges. A turkey roaster is my go-to, but you can use any oven-proof deep dish that can handle your pan.
Step 3: Boil Water. Heat a kettle or saucepan of water until it’s just about boiling. Don’t pour cold tap water into the roasting pan—cold water will inhibit the base from cooking while the top starts to cook. Hot water will bring the oven back up to temp more quickly and ensure the cheesecake starts baking in the right environment.
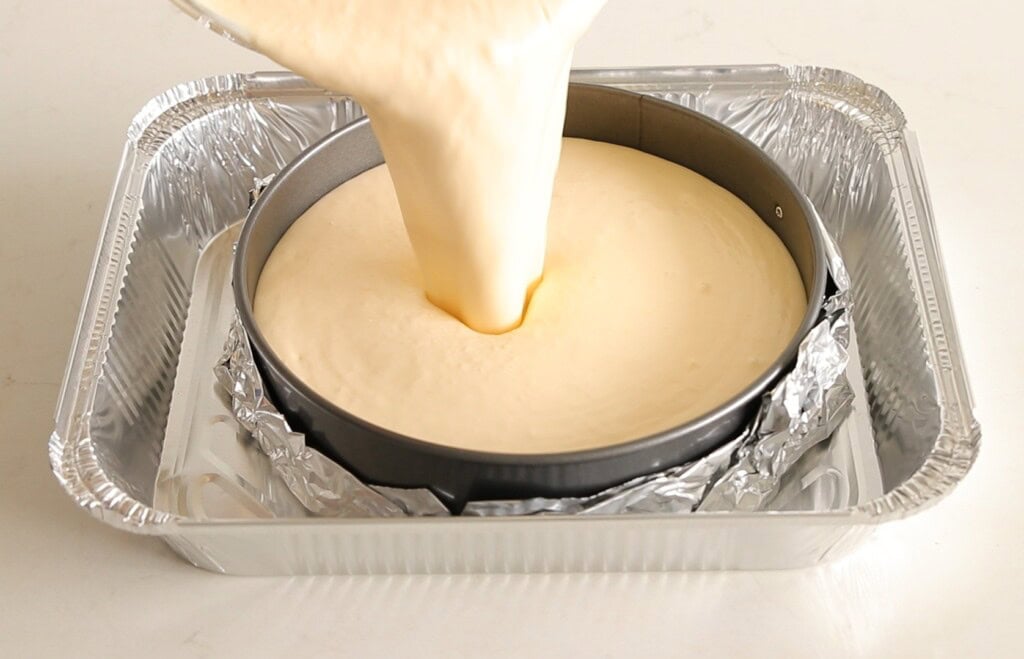
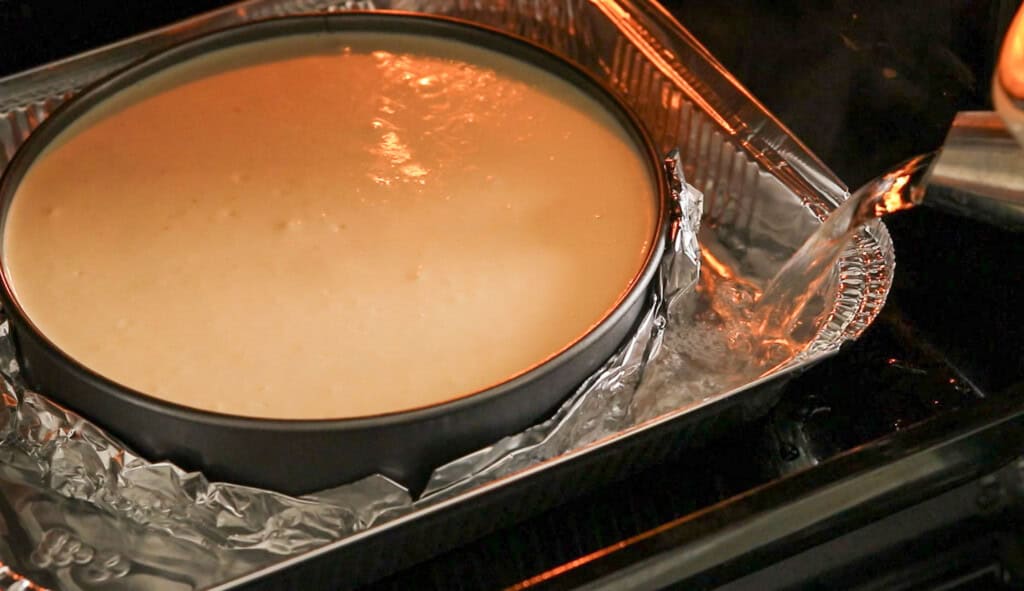
Step 4: Pour the hot water into the roasting pan. Once your cheesecake is in position, carefully pour the hot water into the outer pan, until it reaches about halfway up the sides of your springform pan. Be gentle—no splashing on the cheesecake!
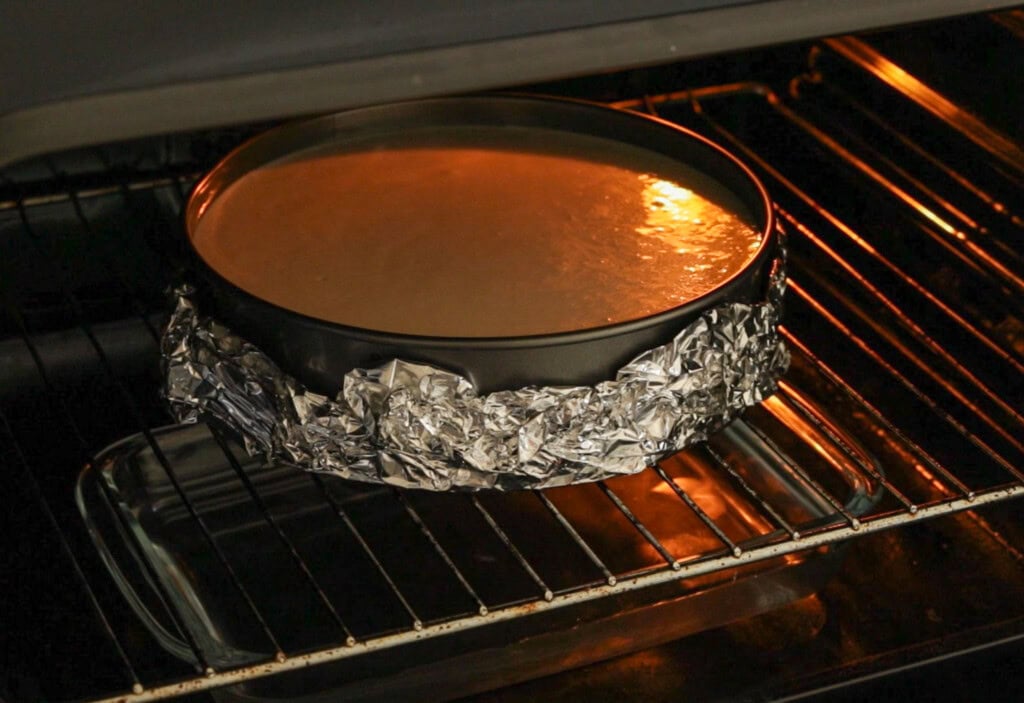
Step 5: Bake as directed. The waterbath will help the cheesecake bake low and slow, preventing cracks and keeping the texture luxuriously smooth. One last tip—once the cheesecake is baked to perfection (with a little wobble left in the center and a fully set top), turn off the oven, crack the door, and let it cool in the water bath in the oven for about an hour before removing the cheesecake to a wire rack.
What to Use Instead of a Waterbath
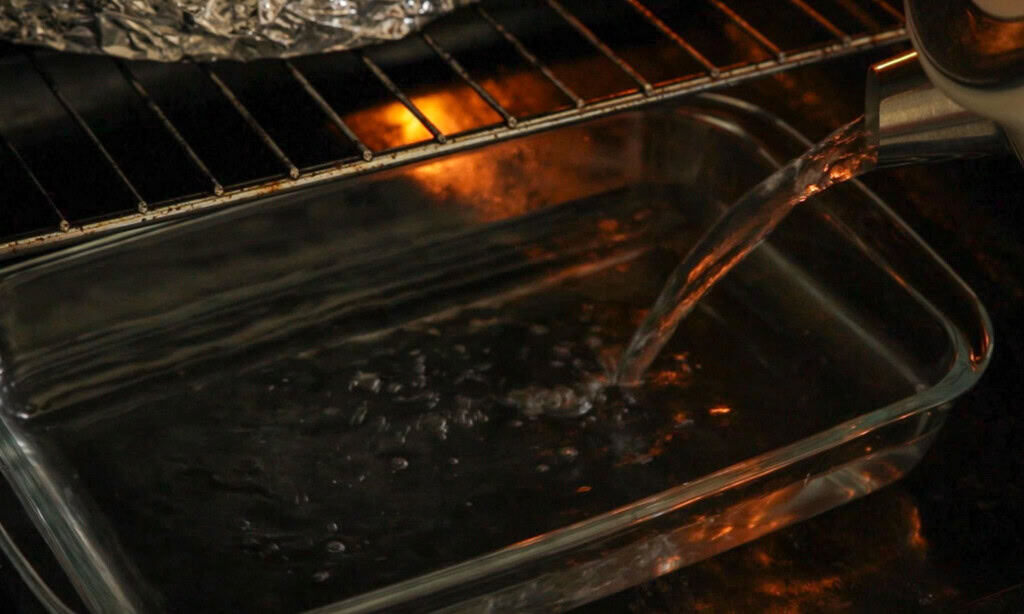
Don’t have a pan large enough for a proper waterbath? Don’t worry—there’s a simple workaround. Just fill a metal or ceramic baking dish (like an 8×8 or 9×13) with hot water and place it on the oven rack directly underneath your cheesecake. It won’t surround the pan like a true bain-marie, but it’ll still add moisture to the oven and help prevent cracking and overbaking.
Think of it like creating a mini steam room for your cheesecake. It’s not quite the same as a full soak in the hot tub, but it’s definitely better than going dry!
Expert Tips & Tricks
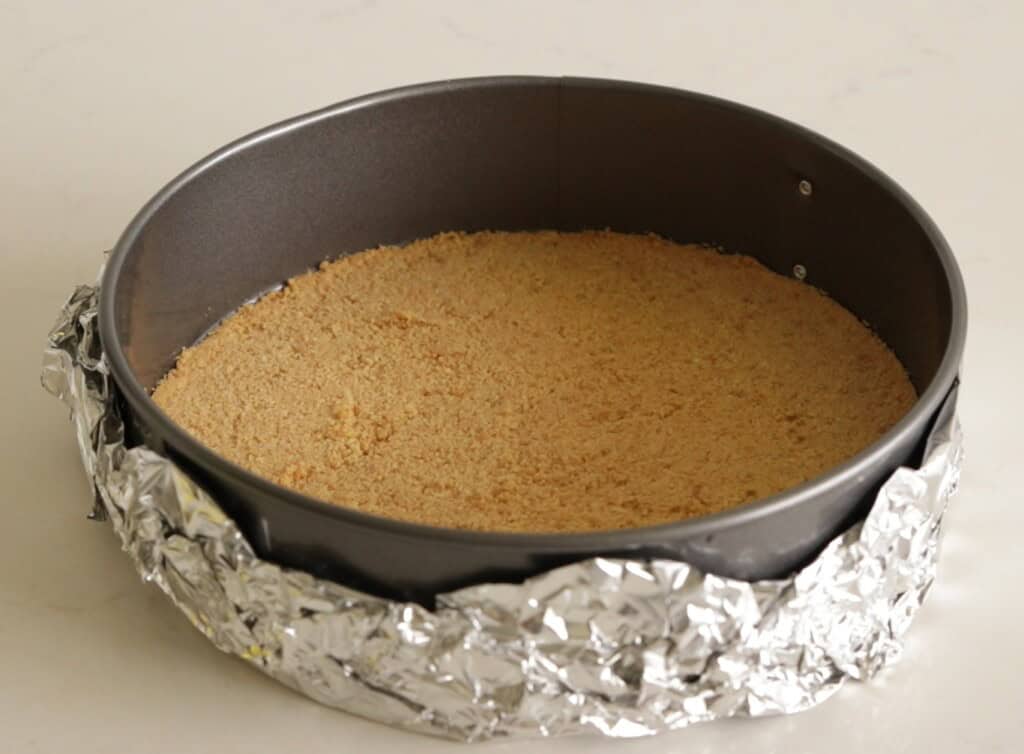
- Use heavy-duty foil (and lots of it). Regular foil can tear easily, especially when you’re wrapping the pan tightly. Go for the heavy-duty stuff, and don’t be shy—two or even three overlapping layers will help keep water out and your crust from getting soggy. (As a plus, heavy duty foil is usually strong enough to reuse a few times—just let it dry well before folding up neatly and storing.)
- Wrap the pan all the way up the sides and check for holes. Water can sneak in through even the tiniest openings. Make sure your foil comes up at least a few inches, preferably to the top edge of your springform pan, and is pressed snugly against the sides.
- Use a roasting bag for extra protection. Still worried about leaks? Slide the foil-wrapped pan into an oven-safe roasting bag (the kind used for turkey). Just leave the top open—it’s not for sealing, just an added splash guard.
- Place the roasting pan in the oven first, then add water. Carrying a sloshing pan full of hot water from your countertop to the oven is a recipe for disaster (and burns). Instead, place the whole setup on the oven rack, then carefully pour in the hot water using a kettle or pitcher.
- Check your oven rack position. You’ll want the cheesecake centered in the oven—too high and it’ll brown too quickly, too low and it may overcook the base. If using a steaming pan, place it on the rack below the cheesecake to keep the moisture close without direct contact.
- Let the water in the waterbath cool before removing it from the oven. The wide opening and relatively shallow sides of the roasting pan make it easy to slosh when you’re grabbing it, and you don’t want to spill boiling water on yourself!
FAQs
This method involves baking your cheesecake in a “bath” of water (also known as a bain marie) to moderate how quickly and evenly it bakes.
Yes, a water bath helps prevent cheesecake from cracking by creating a moist, gentle heat that allows the custard to bake evenly without drying out. However, it’s not a guaranteed fix. Cracks can also form from overmixing the batter, baking at too high a temperature, or cooling the cheesecake too quickly. A water bath reduces the risk, but using proper technique throughout the process matters, too.
Most baked cheesecake recipes are made in springform pans, so in order to bake a cheesecake in a waterbath, the answer is yes—but with a caveat. Springform pans aren’t watertight, so you’ll need to wrap the bottom and sides to keep water from seeping in. Nobody wants a soggy bottom! For extra protection, place the wrapped pan inside a slow cooker liner or oven bag (left open at the top) before setting it in the water bath. This is not a necessary step, but a nice precaution.
Baked Cheesecake Recipes Using A Waterbath
How to Make a Water Bath For Cheesecake
Equipment
- Kettle or pot (to boil water)
Instructions
- Wrap your pan: Tightly wrap the bottom and sides of your springform pan with at least two layers of heavy-duty aluminum foil to prevent water from leaking in.
- Place in roasting pan: Set the wrapped cheesecake pan inside a large roasting pan or baking dish. Make sure there’s enough room on all sides for water.
- Boil water: Bring water to a boil (use a kettle or saucepan). You’ll need enough to go halfway up the sides of the springform pan.
- Add water to roasting pan: Carefully pour the hot water into the roasting pan, around the cheesecake pan, not inside it! Do this after placing the pan on the oven rack for safer pouring.
- Bake as directed: Bake your cheesecake in the water bath according to your recipe. The water creates a gentle and moist heat, helping prevent cracks and overbaking.
- Cool gradually: When baking time is over, turn off the oven, crack the door, and let the cheesecake sit for 30–60 minutes. Then remove from the oven and carefully lift the springform pan from the water. Let cool completely before refrigerating.
Video
Notes
- Avoid soggy bottoms: Double or triple wrap your pan with foil and avoid pouring water too high.
- Use oven bags: Placing the wrapped springform pan inside a turkey/oven bag adds an extra leak-proof layer.
- Don’t pour water directly on the rack: Place the roasting pan in the oven first, then pour in the boiling water using a kettle or pitcher.
- Alternative method: Place a separate pan of boiling water on the lower oven rack; this creates steam without the pan sitting in water, but it’s slightly less effective.

")

")


This recipe looks awesome and I am already giving it 5 stars before creating it because you do such a great job with your helpful tips and videos, I know it will be amazing! Question: can I replace the cornstarch with tapioca starch AND can I replace the sour cream with plain unsweetened Greek yogurt? Thank you for all your recipes!
Thank you so much for the kind words! 😊 Yes, you can replace cornstarch with tapioca starch in the same amount, and plain unsweetened Greek yogurt works as a substitute for sour cream—just expect a slightly tangier taste. Let me know how it turns out!
Very useful tips, I am going to make your mango cheesecake today. Thank you so much, love all your cheesecake and cake recipes.