The Best Tools for Making Homemade Ice Cream
This post may contain affiliate links.
So you want to make your own ice cream—now what? Beyond just dreaming up flavors (though that’s half the fun), you might be wondering: what tools do you need to make homemade ice cream? The good news is, you probably already have most of what you need. And with just a few smart additions, you’ll be churning, scooping, and serving up frozen treats like a pro.
Kitchen Basics
Homemade ice cream often starts with a custard base or fruit purée, so your everyday kitchen tools are more essential than you might think. Even if you’re skipping a machine entirely, these tools will help you nail the texture and flavor of your frozen desserts.
- Saucepans – A medium-sized (~4-quart), heavy-bottomed saucepan is key for heating cream, milk, and sugar without scorching or boiling over.
- Mixing Bowls – Make sure you have at least one large mixing bowl (preferably heat-safe) for tempering eggs and another for combining ingredients.
- Measuring Cups & Spoons – Use both dry and liquid measuring tools for accuracy. Ice cream is as much science as it is art.
- Balloon Whisk – Ideal for whisking egg yolks into sugar and getting a silky custard texture.
- Fine-Mesh Sieve – Essential for straining out any lumps or cooked egg bits from your base before chilling.
- Heat-Proof Silicone Spatulas – Great for scraping down sides of pans to get every last drop of ice cream base into your machine, or folding ingredients without melting or warping.
- Spoons – You’ll want plenty for taste-testing. Trust me, you’ll be doing a lot of that. I know, I know—it’s tough work, but somebody’s gotta do it!
- Blender – Crucial for fruit-based ice creams that start with purées, homemade nut milks or nut butter, or emulsifying stubborn mixtures.
- Apron – Optional, but recommended. Splashes happen!
- Zip-Top Bags – Handy for infusing mix-ins, storing leftovers, or making “ice cream in a bag” (yes, that’s really a thing!).
- Hand or Stand Mixer – Perfect for whipping cream in no-churn ice cream recipes or prepping mix-in components like meringue, whipped yolks, or marshmallow swirls.
Ice Cream Makers
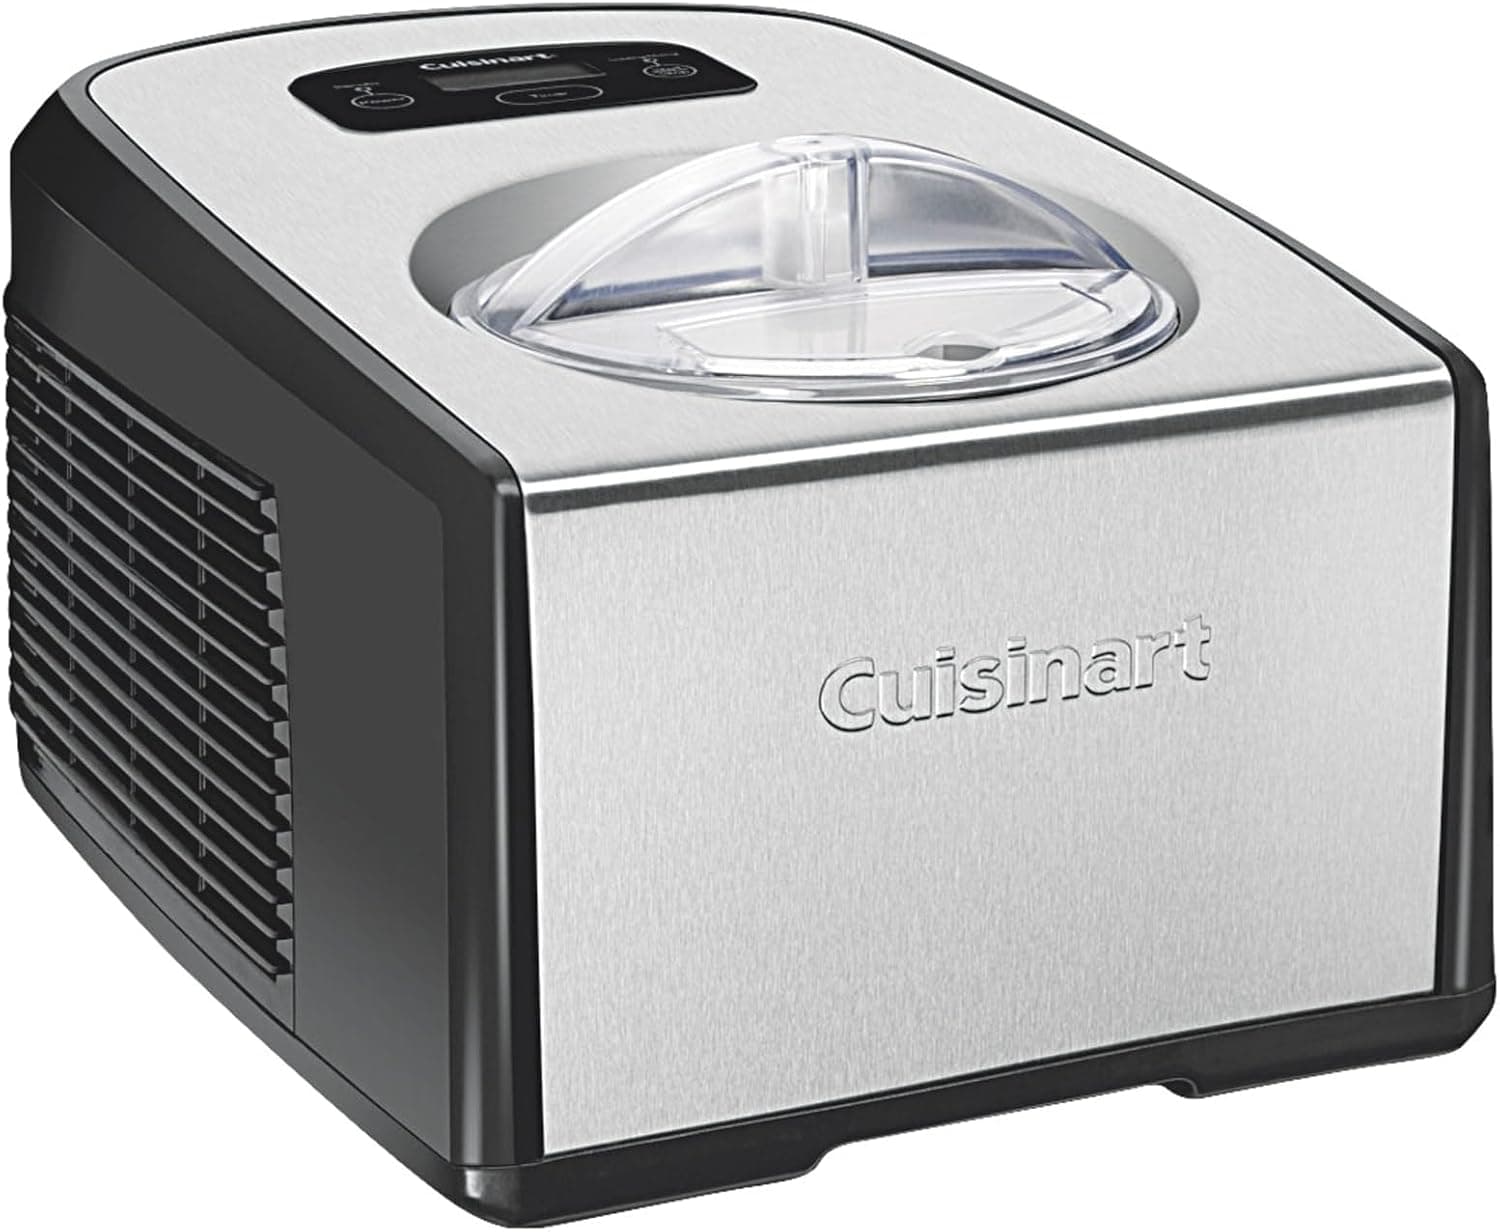
While not required, an ice cream maker can take your frozen treats to the next level. There are three main types: freezer bowl models, salt-and-ice churners, and compressor machines. Each has pros and cons depending on your space, budget, and how often you plan to use it. I dive deeper into all of this in my post on How to Pick an Ice Cream Maker, and if you’re ready to shop, I’ve rounded up the Best Ice Cream Makers of 2025 to help you choose.
Ice Cream Scoops
A good scoop should glide through frozen ice cream with minimal effort and release the perfect scoop into your cone or bowl. Here are a few types to consider:
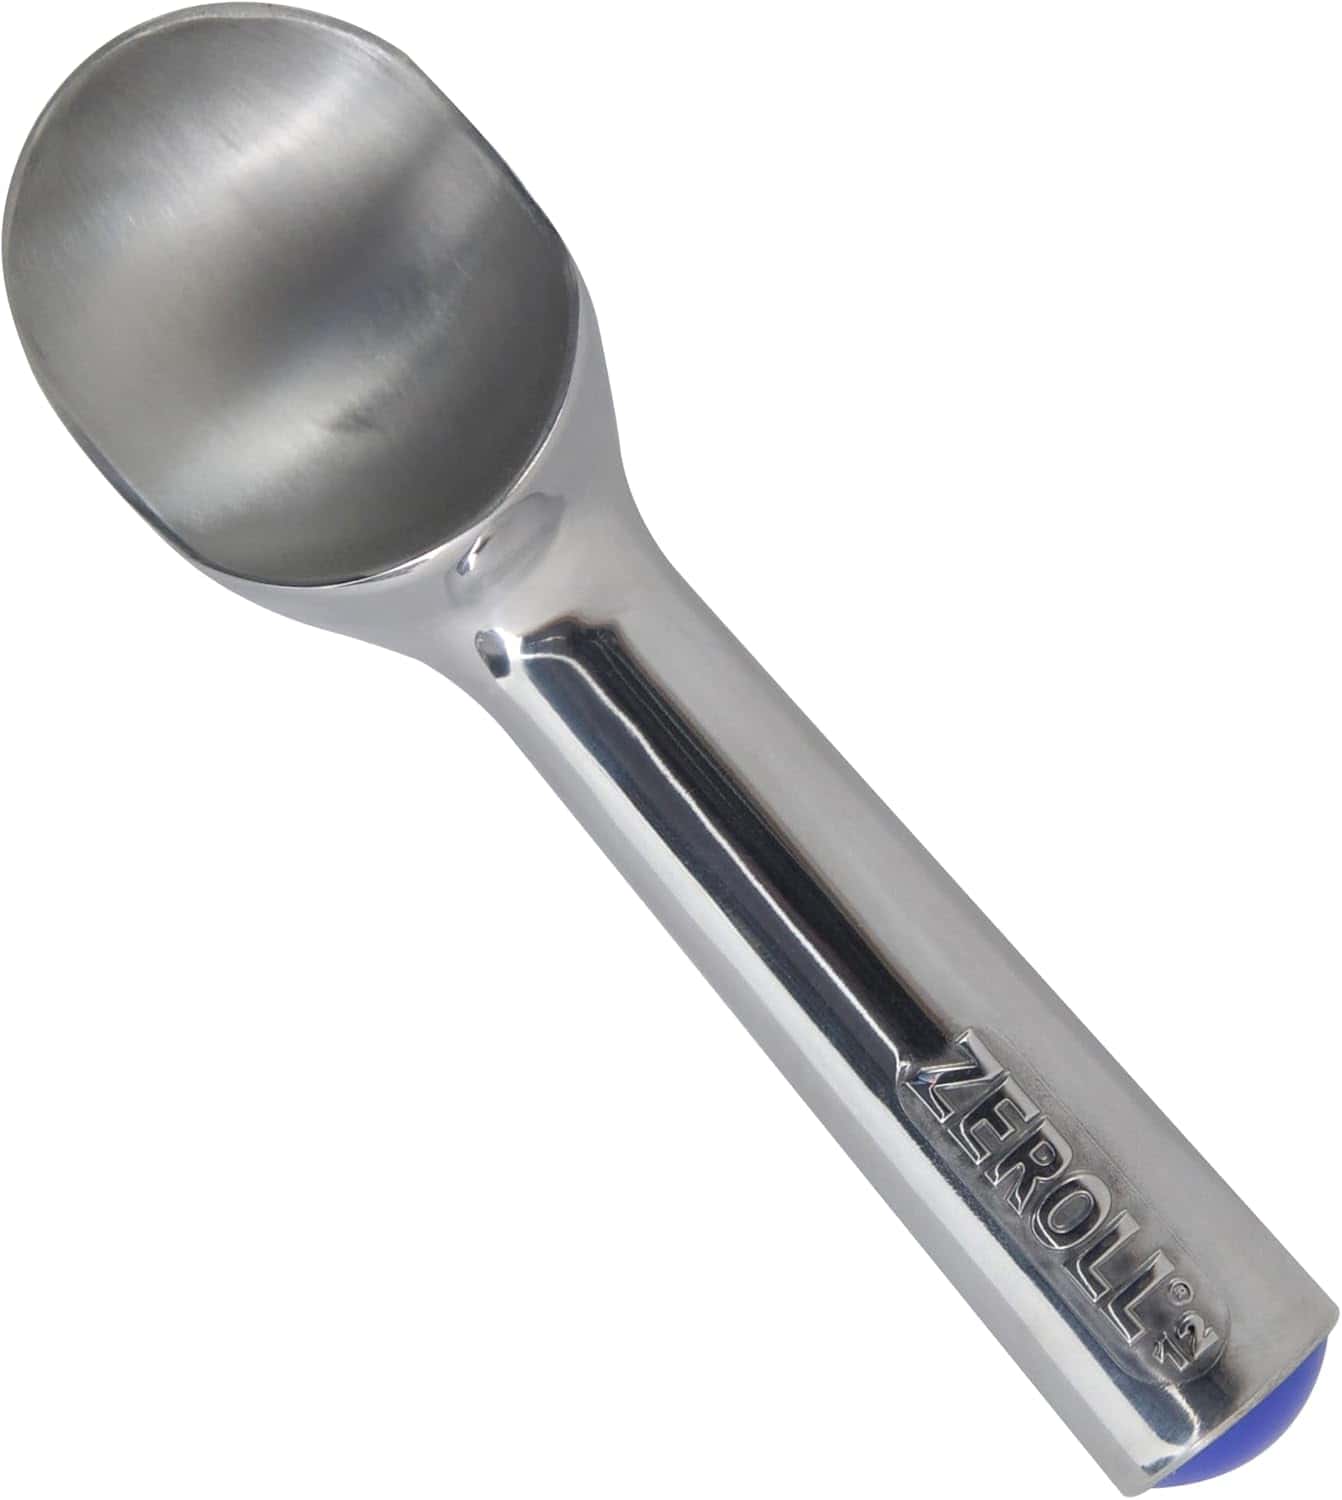
- Spring-Loaded Scoops – These have a trigger that helps release ice cream with a squeeze. They’re great for portioning and perfectly round scoops, but the mechanism can clog or break over time. If you prefer this style, I love the Zeroll spring-loaded model that can be used for both lefties and righties.
- Spade-Style Scoops – Think diner-style flat scoops with a somewhat sharp edge. These are sturdy and perfect for dense, hard-packed ice cream, but they don’t give you the classic round scoop.
- Heat-Conductive Scoops – Made with aluminum and filled with liquid that uses your body heat to help slice through frozen dessert, this Zeroll original is worth the splurge. While it’s the smoothest and most effective scooper of them all, these types of scoops are usually not dishwasher safe and often pricier.
- Two Large, Sturdy Spoons – If you prefer a fancier, egg-shaped quenelle scoop (like the kind you’d see at a Michelin-starred French restaurant), all you need are a couple of large, sturdy, and preferably pointy tablespoons.
What to look for: A comfortable grip, sturdy construction, and the right shape for your serving style. If you host parties or serve up sundaes regularly, having two types on hand (like a spade and a spring-loaded) can be helpful. Also, consider how much drawer space you have—some are chunky and harder to store.
Ice Cream Cone Presses: DIY Cones and Bowls
Why stop at scoops when you can make your own waffle cones?
- Sheet Pans – You don’t need a specific ice cream cone press to make homemade cones, but you won’t get the cute indentations without one. Make sure to keep some parchment paper on hand and draw ~5-6-inch circles on it to help you spread the batter out in even shapes, or use a silicone baking mat and freehand it. If the cones cool too much on the mat before you can shape them, just pop them back in the oven for a minute or two to soften.
- Ice Cream Cone Presses – These are small, dedicated machines for pressing waffle cones and often come with a cone mold and a bowl mold. If you’re a frequent entertainer or ice cream cone devotee, they’re a fun upgrade. Just know that you can typically only make one cone at a time.
- Pizzelle Presses – A great multi-use alternative that Christmas cookie-lovers may already have on hand. As a bonus, you can often make two cones at a time. These don’t come with cone or bowl molds, but there are easy workarounds:
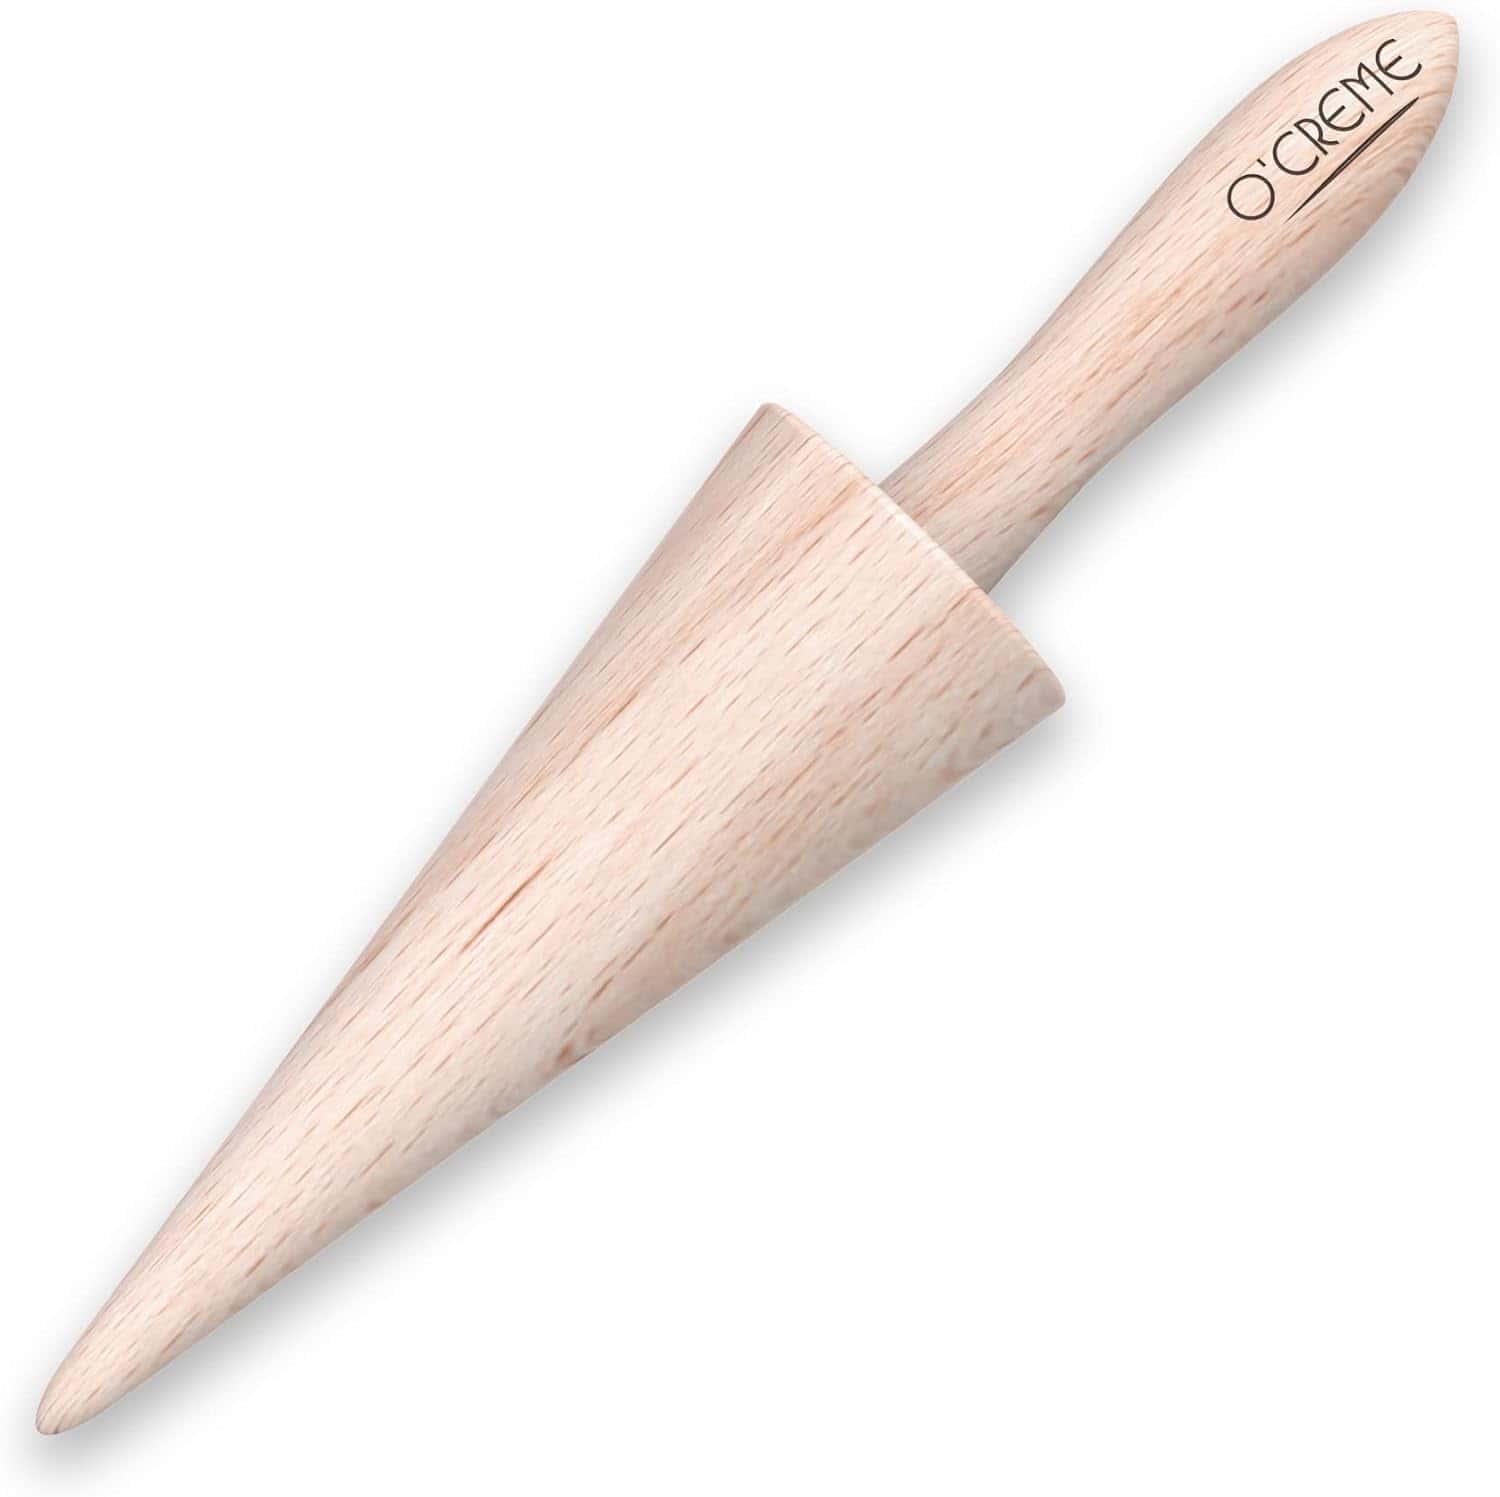
- Wooden Cone Molds – If you want something with staying power, these handsome molds are the way to go.
- Homemade Molds – You can DIY a cone mold by rolling up heavy cardstock (or a leftover paper towel roll holder) into a cone and wrapping it in foil.
- Drinking Glasses – Press warm waffle cookie rounds over the bottom of an inverted drinking glass or bowl to create edible bowls. If you’re serving little kids who don’t have great motor skills, or want to serve your homemade ice cream at a dinner party, bowls are easier and less messy than cones!
Ice Cream Storage: Keeping It Fresh and Scoopable
Proper storage matters more than you might think. It keeps your hard work fresh, helps prevent freezer burn, and makes scooping easier. So, what is the best container for homemade ice cream? You have some options:
- Loaf Tins – Classic, multi-tasking, and affordable, these metal pans chill quickly and are perfect for freezing no-churn recipes. Just cover tightly with several layers of plastic wrap or foil and eat within 2 weeks to prevent freezer burn.
- Freezer-Safe Ice Cream Containers – Look for BPA-free plastic or silicone containers with tight-fitting lids to keep the freshness in. Choose shapes that fit your freezer well, and remember that shallow containers freeze faster and more evenly.
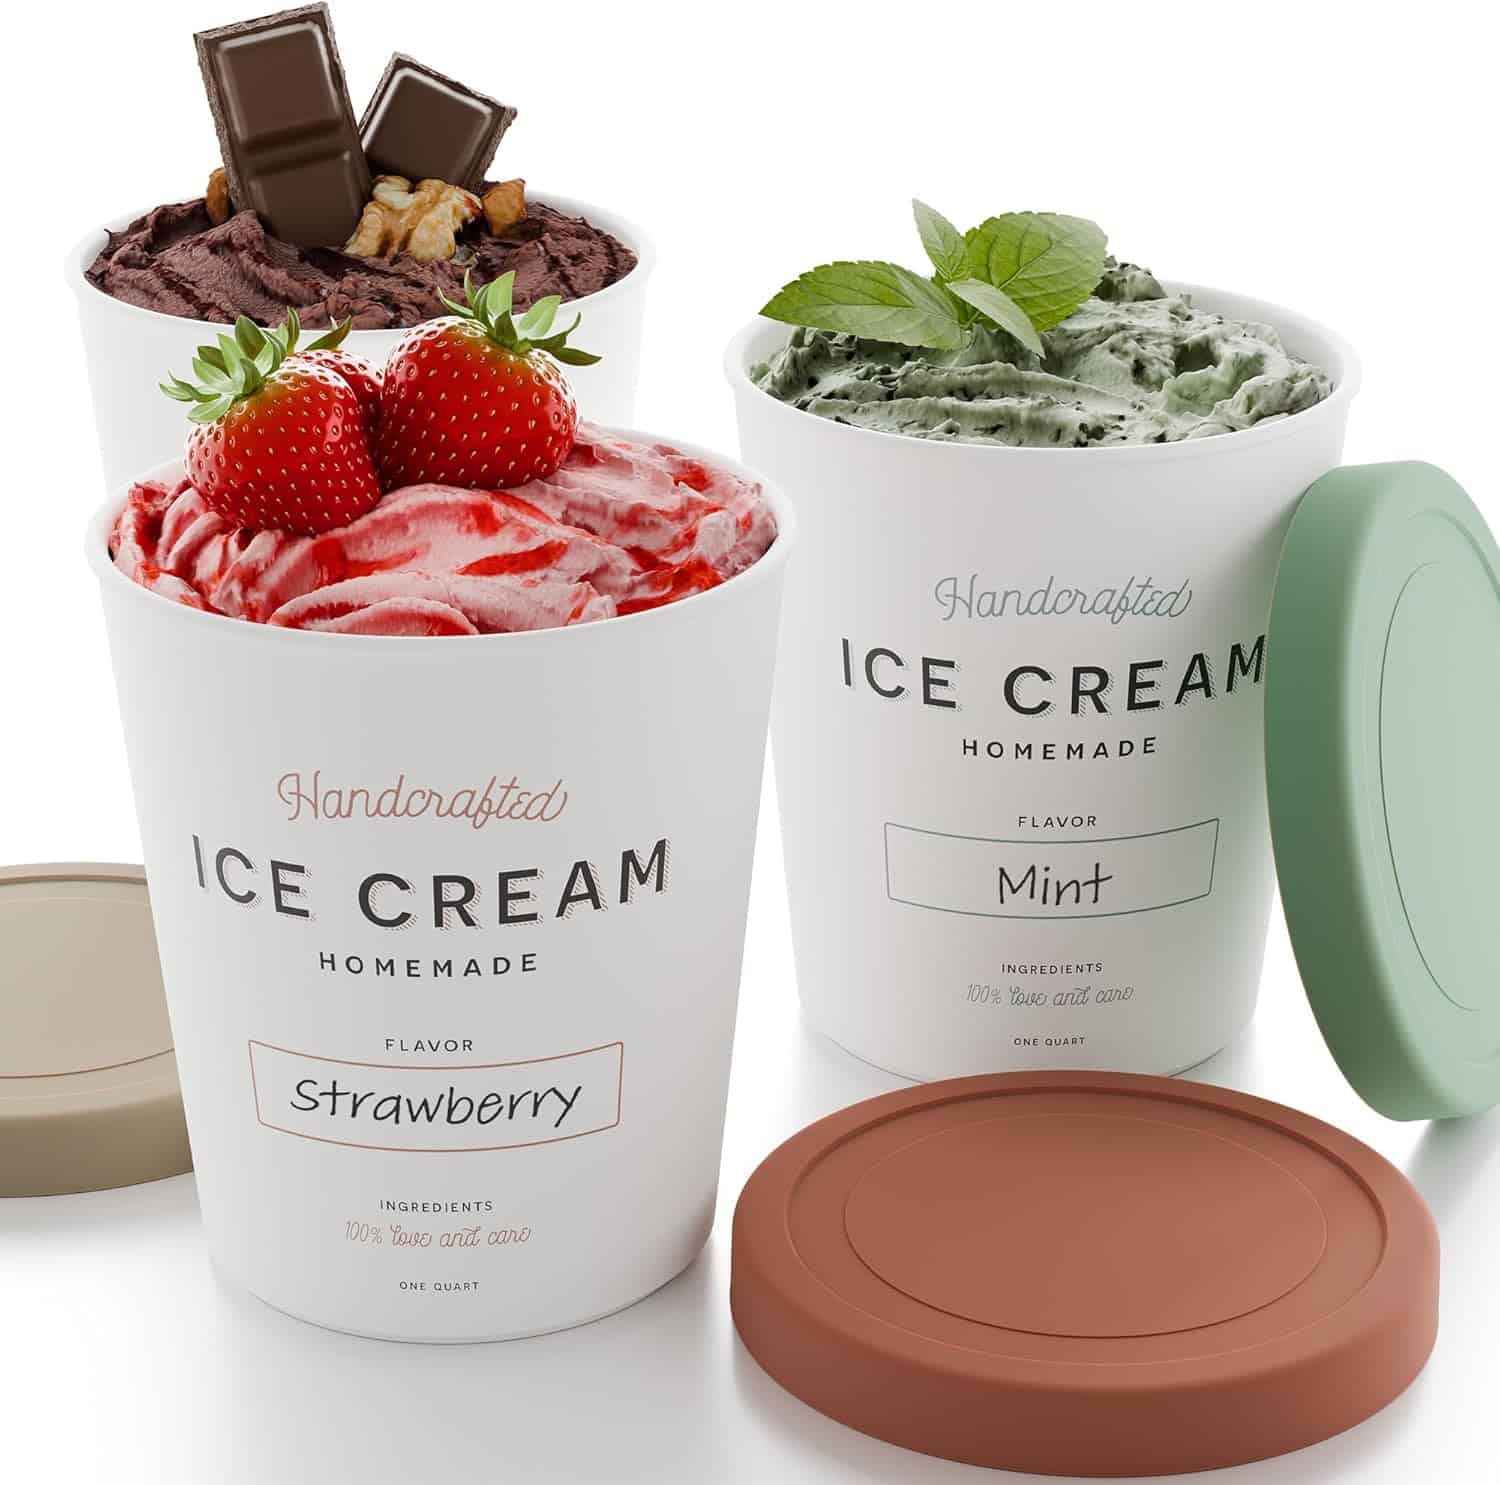
- Paper Pints – Want to gift your creations or bring them to a potluck? Disposable cardboard pints with lids make adorable homemade gifts and stack neatly in the freezer.
Pro Tips: Avoid storing ice cream in glass (it can crack under freezer temps) or uncovered containers. Always press a piece of parchment or plastic wrap directly onto the surface of your ice cream before sealing the lid to help minimize ice crystals and freezer burn.
Wrap-Up: Start Simple, Scoop Joy
At the end of the day, you don’t need a professional kitchen to start making ice cream at home. A few mixing bowls, a good whisk, and your freezer are all you need to begin. Anything else is just the proverbial cherry on top of the sundae!
Whether you’re a DIY dabbler or an aspiring gelato master, the right tools make the process smoother, cleaner, and more enjoyable. Want to dive deeper? Be sure to check out my Ice Cream 101 guide and explore my online ice cream course for even more step-by-step techniques, flavor ideas, and pro tips. Here’s to your next great scoop!
")


")
")
