Easy Salted Caramel Ice Cream Recipe
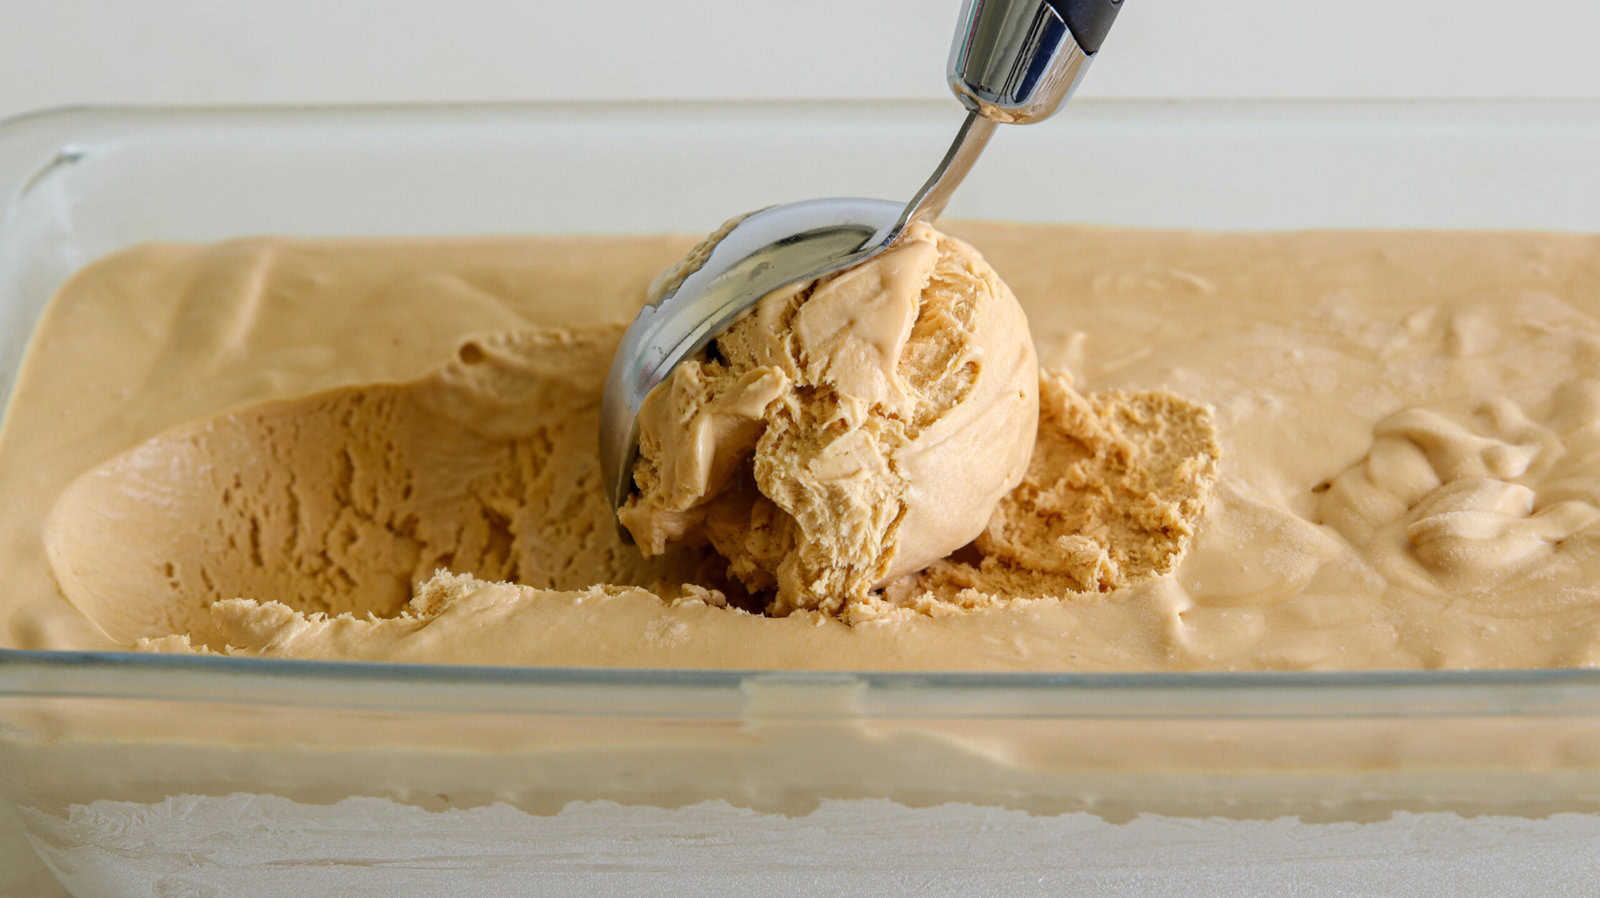
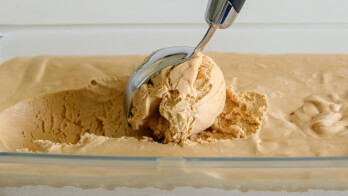
If you are a fan of salted caramel, you will love this homemade salted caramel ice cream! You can make this no-churn ice cream easily at home without an ice cream machine and with just 3 simple ingredients.

Making a creamy caramel ice cream at home without an ice cream maker is easier than you might think! You only need 3 ingredients, one bowl, and an electric whisk to whip up a delicious ice cream that’s better than store-bought!
How to Make Salted Caramel Ice Cream
Watch the full video recipe to learn how to make the best salted caramel ice cream recipe. This step-by-step tutorial simplifies the process, offering tips and tricks to guarantee perfect results every time.
Prefer the written recipe? Scroll down to the recipe box 👇
Why you’ll love this easy salted caramel ice cream recipe
- No Fuss – You don’t need an ice cream machine or churning to make this creamy salted caramel ice cream.
- Customizable – You can customize the flavor by adding more ingredients like chocolate chips, coconuts shavings, or cookie crumbles.
- Easy to make – You only need 3 simple ingredients and minimal equipment to make this homemade ice cream.
- Indulgent – Salted caramel is an indulgent and delicious flavor, with a hint of salt to balance the sweetness of caramel, it will easily become your favorite!
- For every occasion – You can serve it as an afternoon treat, or even as an elegant after dinner dessert if paired with more elements like chocolate and cookies.
Ingredient Notes
Here’s what you’ll need to make this caramel flavored ice cream:
- Whipping Cream: Heavy whipping cream is the essential ingredient to give the ice cream its iconic smooth and creamy texture, while also keeping it fluffy and airy for easy scoops.
- Caramel Sauce: You can make your own homemade caramel sauce or use store-bough caramel or dulce de leche to use in this salted caramel ice cream recipe.
- Salt: A pinch of salt will give the ice cream a delicious sweet and salty contrast. Use flaky salt for the best texture.
This is just a short review of the ingredients; for the complete recipe, including quantities, scroll down to the recipe card 👇
What’s the difference between caramel sauce and dulce de leche?
While their flavor is very similar, caramel sauce and dulce de leche are made with quite a different process. Caramel sauce is made by simmering sugar, butter and heavy cream, while dulce de leche is made by simmering sweetened condensed milk.
Since they have a very similar consistency and flavor, you can use either one in this easy homemade caramel ice cream recipe, whichever you prefer or have available!
What to Do With Leftover Caramel
Caramel is a delicious sauce that can be used for many different desserts, such as:
- Caramel Cake Recipe
- Salted Caramel Brownies Recipe
- Salted Caramel Cheesecake Recipe
- Caramel Pecan Cheesecake Recipe
- Use it as topping for vanilla ice cream or Chocolate Brownies
Substitutions and Variations
- Heavy Cream: Substitute the heavy cream with half-and-half for a slightly lighter texture, or use coconut cream + coconut milk for a dairy-free version. But note that the final consistency and flavor might be different.
- Salt: If you don’t have flaky salt or fleur-de-sel, you can use normal sea salt.
- Swirl: Add an extra swirl of caramel sauce or chocolate sauce before freezing the ice cream for an extra indulgent twist.
- Toppings: Add more toppings like chocolate chips, chopped nuts, crushed pretzels, or toasted coconut.
- Caramel: Use your favorite caramel sauce or dulce de leche. You can also try low-calorie caramel sauce or crunchy caramel.
Tips and Tricks
- Let it soften before serving – Remove the ice cream from the freezer and let it sit at room temperature for 5–10 minutes. This makes scooping easier.
- Whip the cream properly – Be sure to whip the cream to stiff peaks before folding it in. This helps create that light, airy texture we all love in homemade ice cream.
- Cool your caramel – If you use homemade caramel, make sure it’s completely cool before adding it to the whipped cream. This keeps the airiness and prevents deflating the cream.
- Fold gently – When combining the ingredients, always fold gently with a spatula instead of stirring. This keeps the mixture light.
- Store it right – Freeze your ice cream in an airtight container and place it in the back or coldest part of your freezer. This helps maintain a consistent texture and prevents ice crystals.
- Add a layer of parchment – To minimize ice crystals, press a piece of parchment paper or plastic wrap directly on top of the ice cream before sealing the lid.

How to Store Ice Cream
Transfer the caramel ice cream into a clean, airtight container. Choose a container that is freezer-safe and has a tight lid to prevent ice and freezer burns.
Homemade ice cream can be stored in the freezer for up to 2-3 months. However, it’s recommended to consume it within the first month to enjoy the freshest flavor and texture. Freeze in the coldest part of your freezer, preferably towards the back, where the temperature remains more consistent.
More Ice Cream Recipes

Easy Salted Caramel Ice Cream Recipe
Equipment
Ingredients
- 2 cups (480 ml) Heavy cream cold
- 1 jar (400 g) Dulce de leche/Caramel sauce
- 1/4-1/2 teaspoon Salt depending on the saltiness you prefer
Instructions
- In a large bowl, place cold heavy cream. Whip to stiff peaks.
- Add dulce de leche/caramel sauce, salt and whisk on low speed until incorporated.
- Transfer into a freezer-safe container and freeze for at least 6 hours or overnight.
Video
Notes
- Watch the Video Recipe – For a better understanding of the recipe, I recommend watching the step-by-step video tutorial. It will guide you through the whipping and texture of the ice cream to help you achieve the best results.
- Check the FAQs – If you have any questions about ingredient substitutions, cooking methods, or storage tips, be sure to check the FAQs section located under the recipe card and the post above.
- Make-Ahead & Storage Tips – Keep in an airtight container in the freezer for up to 2-3 months. Fill the container to the brim to avoid freezer burns, or cover with plastic wrap before freezin
- Serving Tips – Remove the ice cream from the freezer and let it sit at room temperature for 5–10 minutes. This makes scooping easier.
- Whip the cream properly – Be sure to whip the cream to stiff peaks before folding it in. This helps create that light, airy texture we all love in homemade ice cream.
- Cool your caramel – If you use homemade caramel, make sure it’s completely cool before adding it to the whipped cream. This keeps the airiness and prevents deflating the cream.
- Fold gently – When combining the ingredients, always fold gently with a spatula instead of stirring. This keeps the mixture light.
- Cover the ice cream – To minimize ice crystals, press a piece of parchment paper or plastic wrap directly on top of the ice cream before sealing the lid.
Nutrition
Common Questions
Yes, you can! Full fat coconut cream is a great dairy-free alternative and works well, even though it will not have the same airy texture and it will have a coconut flavor.
Absolutely! Using an ice cream maker to churn this will result in a creamy, butter-like ice cream.
Of course! Just leave out the salt if you prefer a classic caramel flavor. Or, add less salt if you want just a hint of that sweet-salty contrast.
Use an airtight container with minimal empty space and store it in the back of the freezer where temperatures are most consistent. You can also press a layer of parchment or plastic wrap directly onto the surface.
I love your recipes they are absolutely delicious easy to make and not really expensive
Super recipe
My favorite ice cream recipe.