Dubai Chocolate Tart Recipe
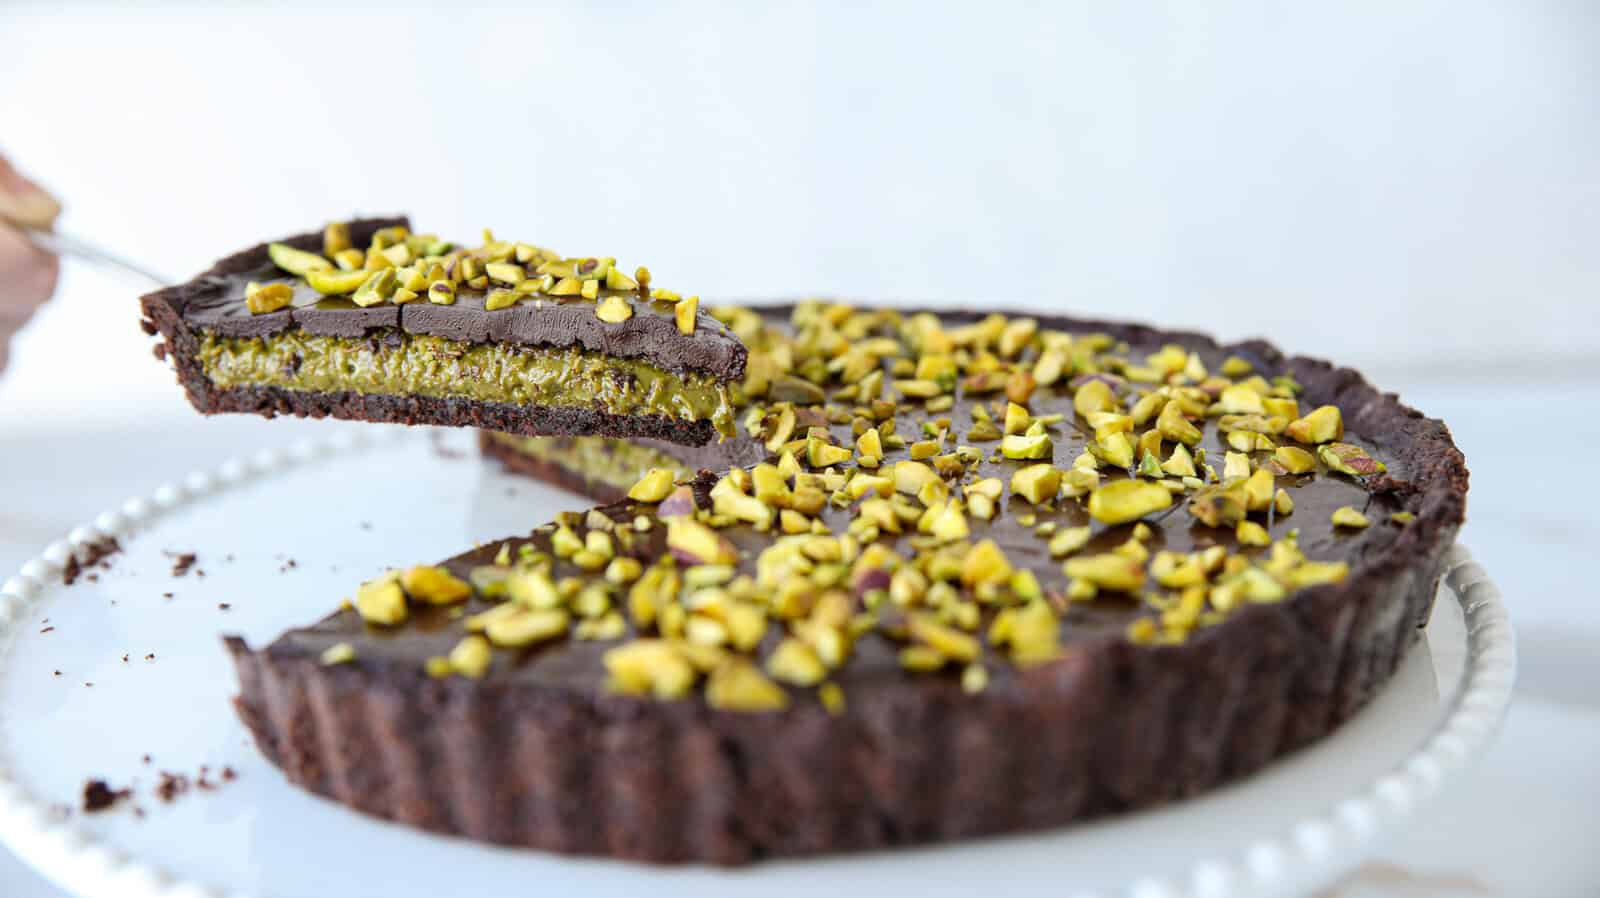
In this recipe, I’m taking the trending Dubai chocolate bar and turning it into something even better: a decadent Dubai Chocolate Tart filled with pistachio and kataifi.
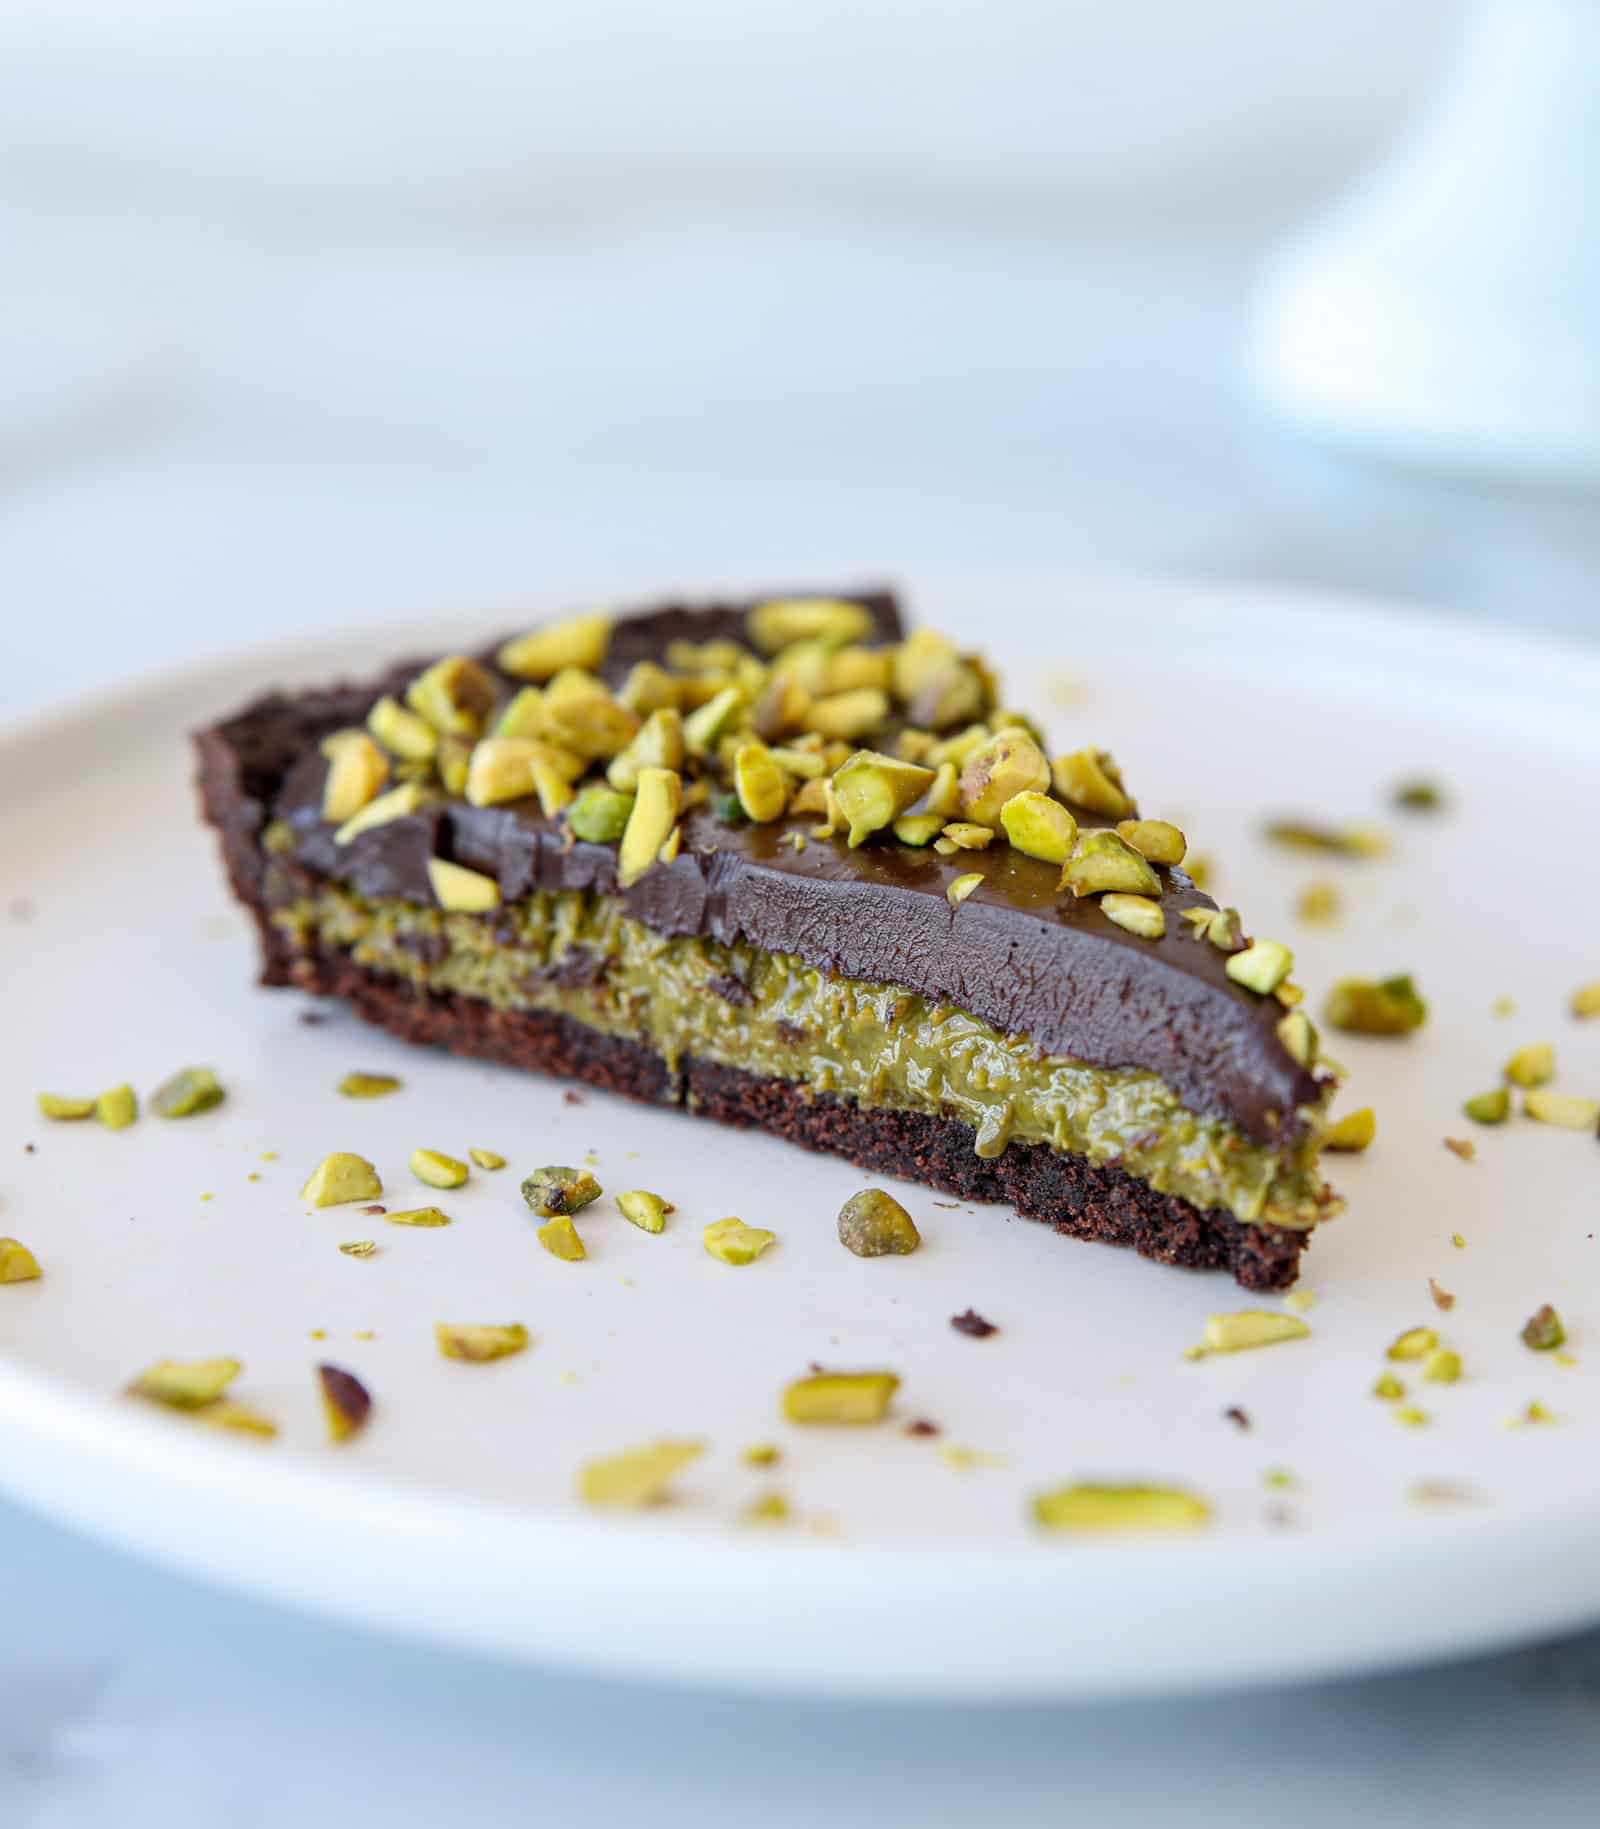
It’s been a while since I’ve made a viral recipe for my blog or channel. I still remember the Dalgona Coffee (whipped coffee) trend that gained 13 million views and changed my life forever, literally! Now, the Dubai Chocolate Bar recipe is going viral all over the world. It’s a delicious recipe that features flavors I truly enjoy, like pistachio, chocolate, and knafeh – one of my first recipes, which will always have a special place in my heart.
What is Dubai Chocolate Bar
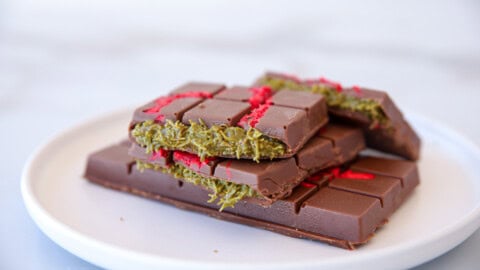
The Dubai Chocolate Bar is a viral dessert that has gained worldwide attention through social media platforms like TikTok. Created by Fix Dessert Chocolatier in Dubai, the bar is renowned for its luxurious combination of flavors and textures, particularly its unique filling made with pistachio cream and knafeh, a traditional Middle Eastern dessert featuring sweet and buttery phyllo pastry strands. The exterior is hand-painted with colorful edible designs, making each bar not just a treat but a work of art. This indulgent creation has inspired a trend of DIY versions and is known for its crunchy texture and rich, nutty flavor.
❤️ Why You’ll Dubai Chocolate Tart
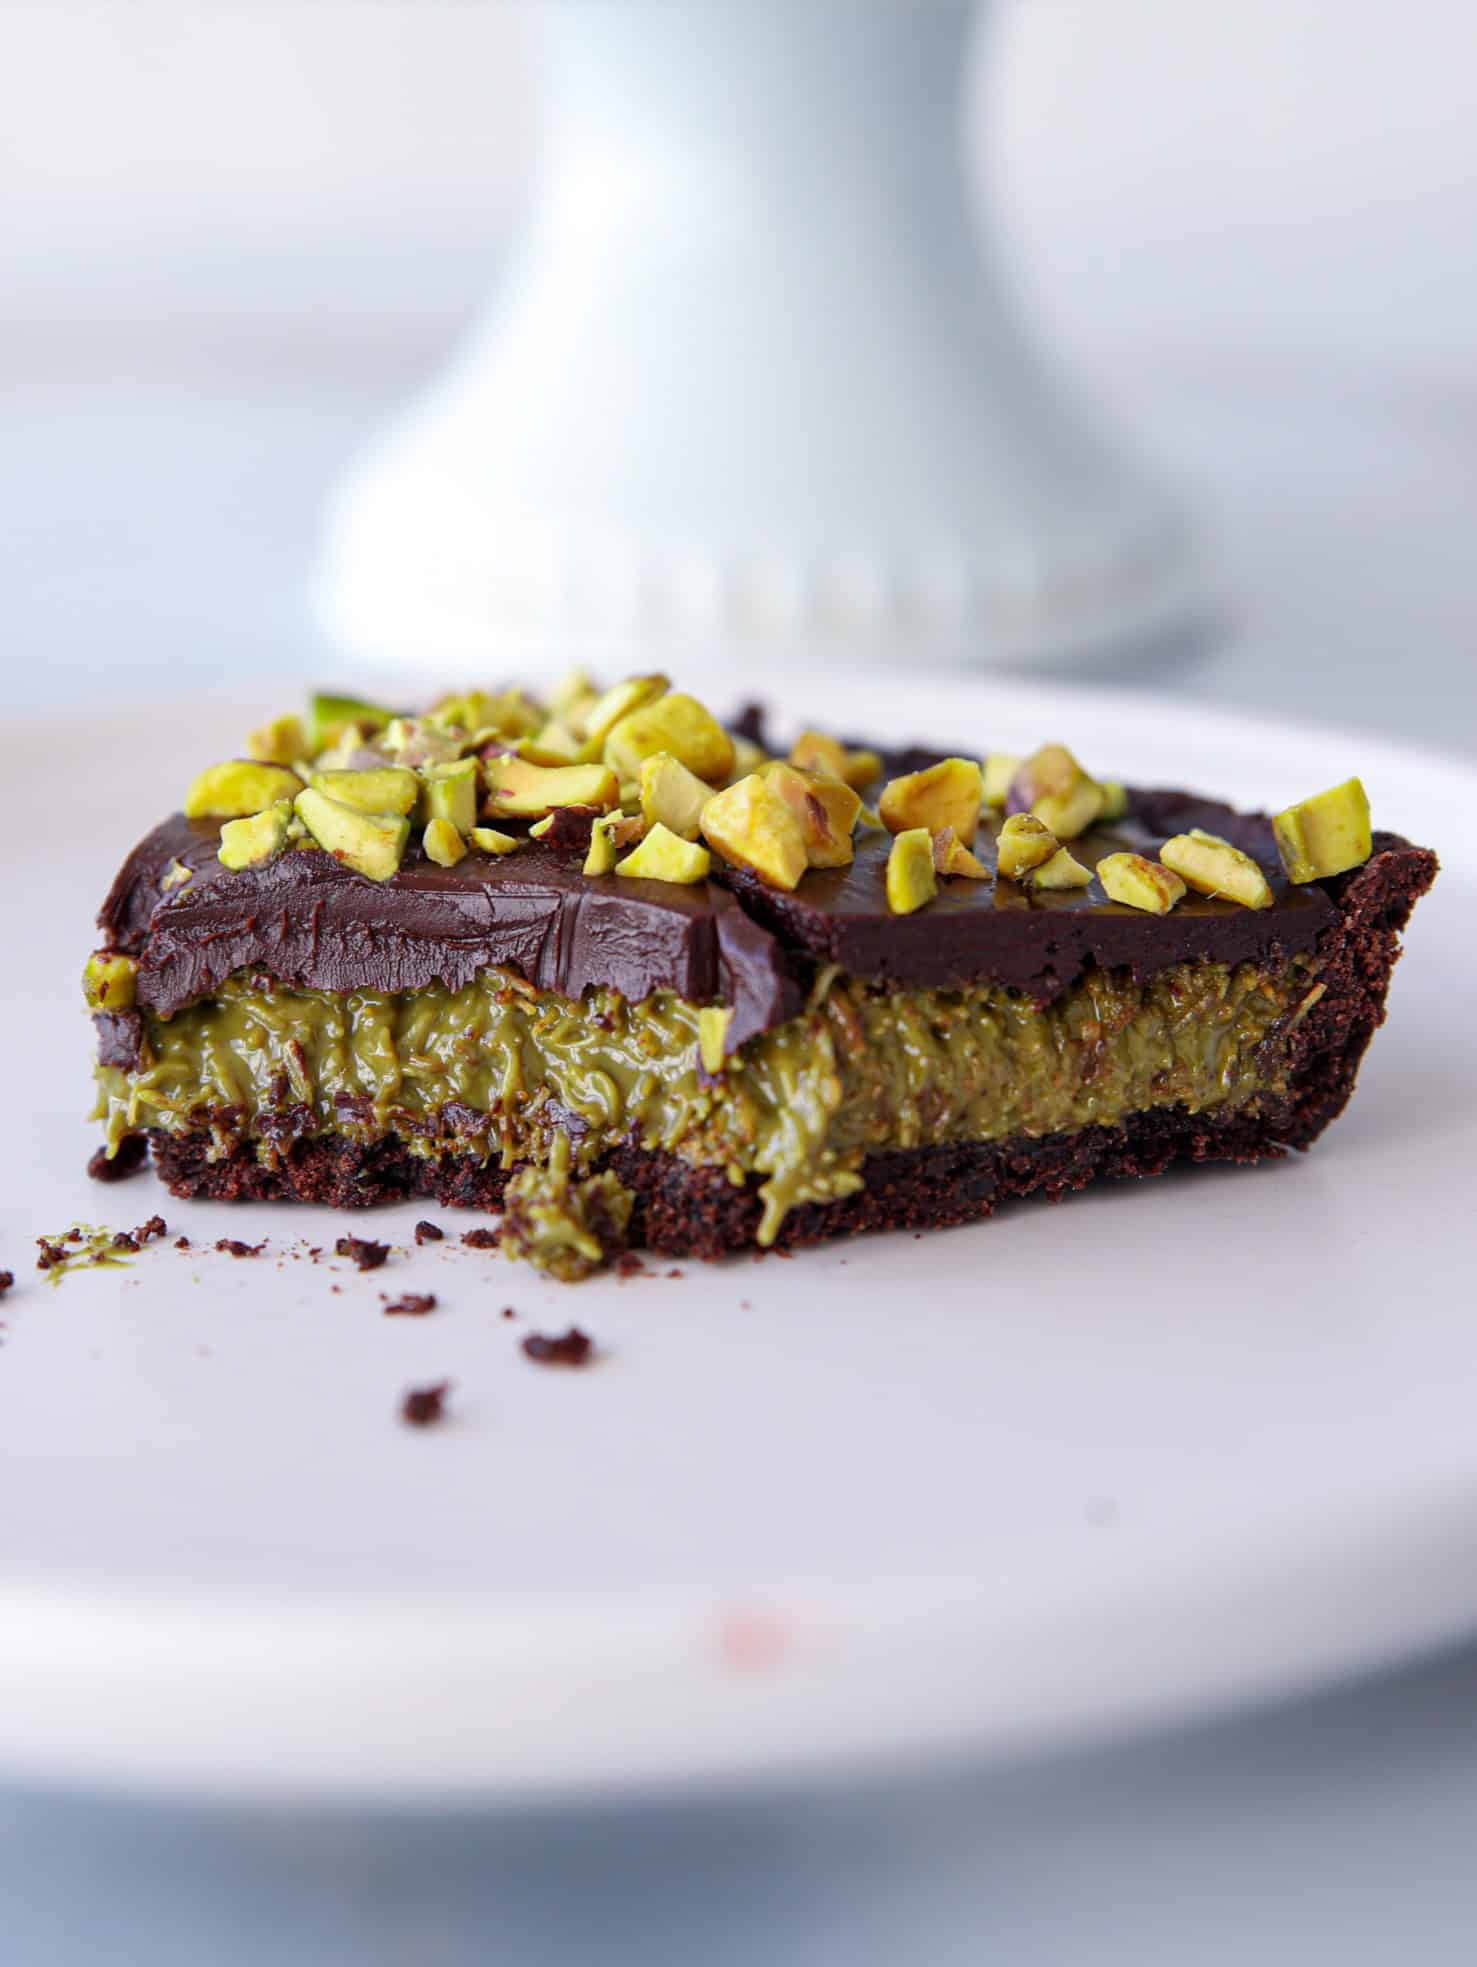
- Unique Flavor Fusion: This tart brings together the rich flavors of chocolate, pistachios, and knafeh, combining the essence of the viral Dubai chocolate bar with Middle Eastern influences. The sweet, buttery kataifi strands in the filling add a satisfying crunch, while the pistachio paste and chocolate ganache bring depth and indulgence.
- Perfect for Pistachio Lovers: If you’re a fan of pistachio desserts (like me) this dessert is a dream come true. With a pistachio paste filling and chopped pistachios sprinkled on top, it offers the ultimate nutty experience.
- Texture Adventure: The contrast between the crunchy kataifi, smooth chocolate ganache, and tender tart crust makes this a multi-textured delight. Every bite offers a balance of crispy, creamy, and buttery elements.
- Exotic Twist: Inspired by the viral Dubai chocolate bar, this tart offers a unique, sophisticated dessert experience with a blend of Middle Eastern and classic chocolate dessert flavors.
🛒 Ingredients
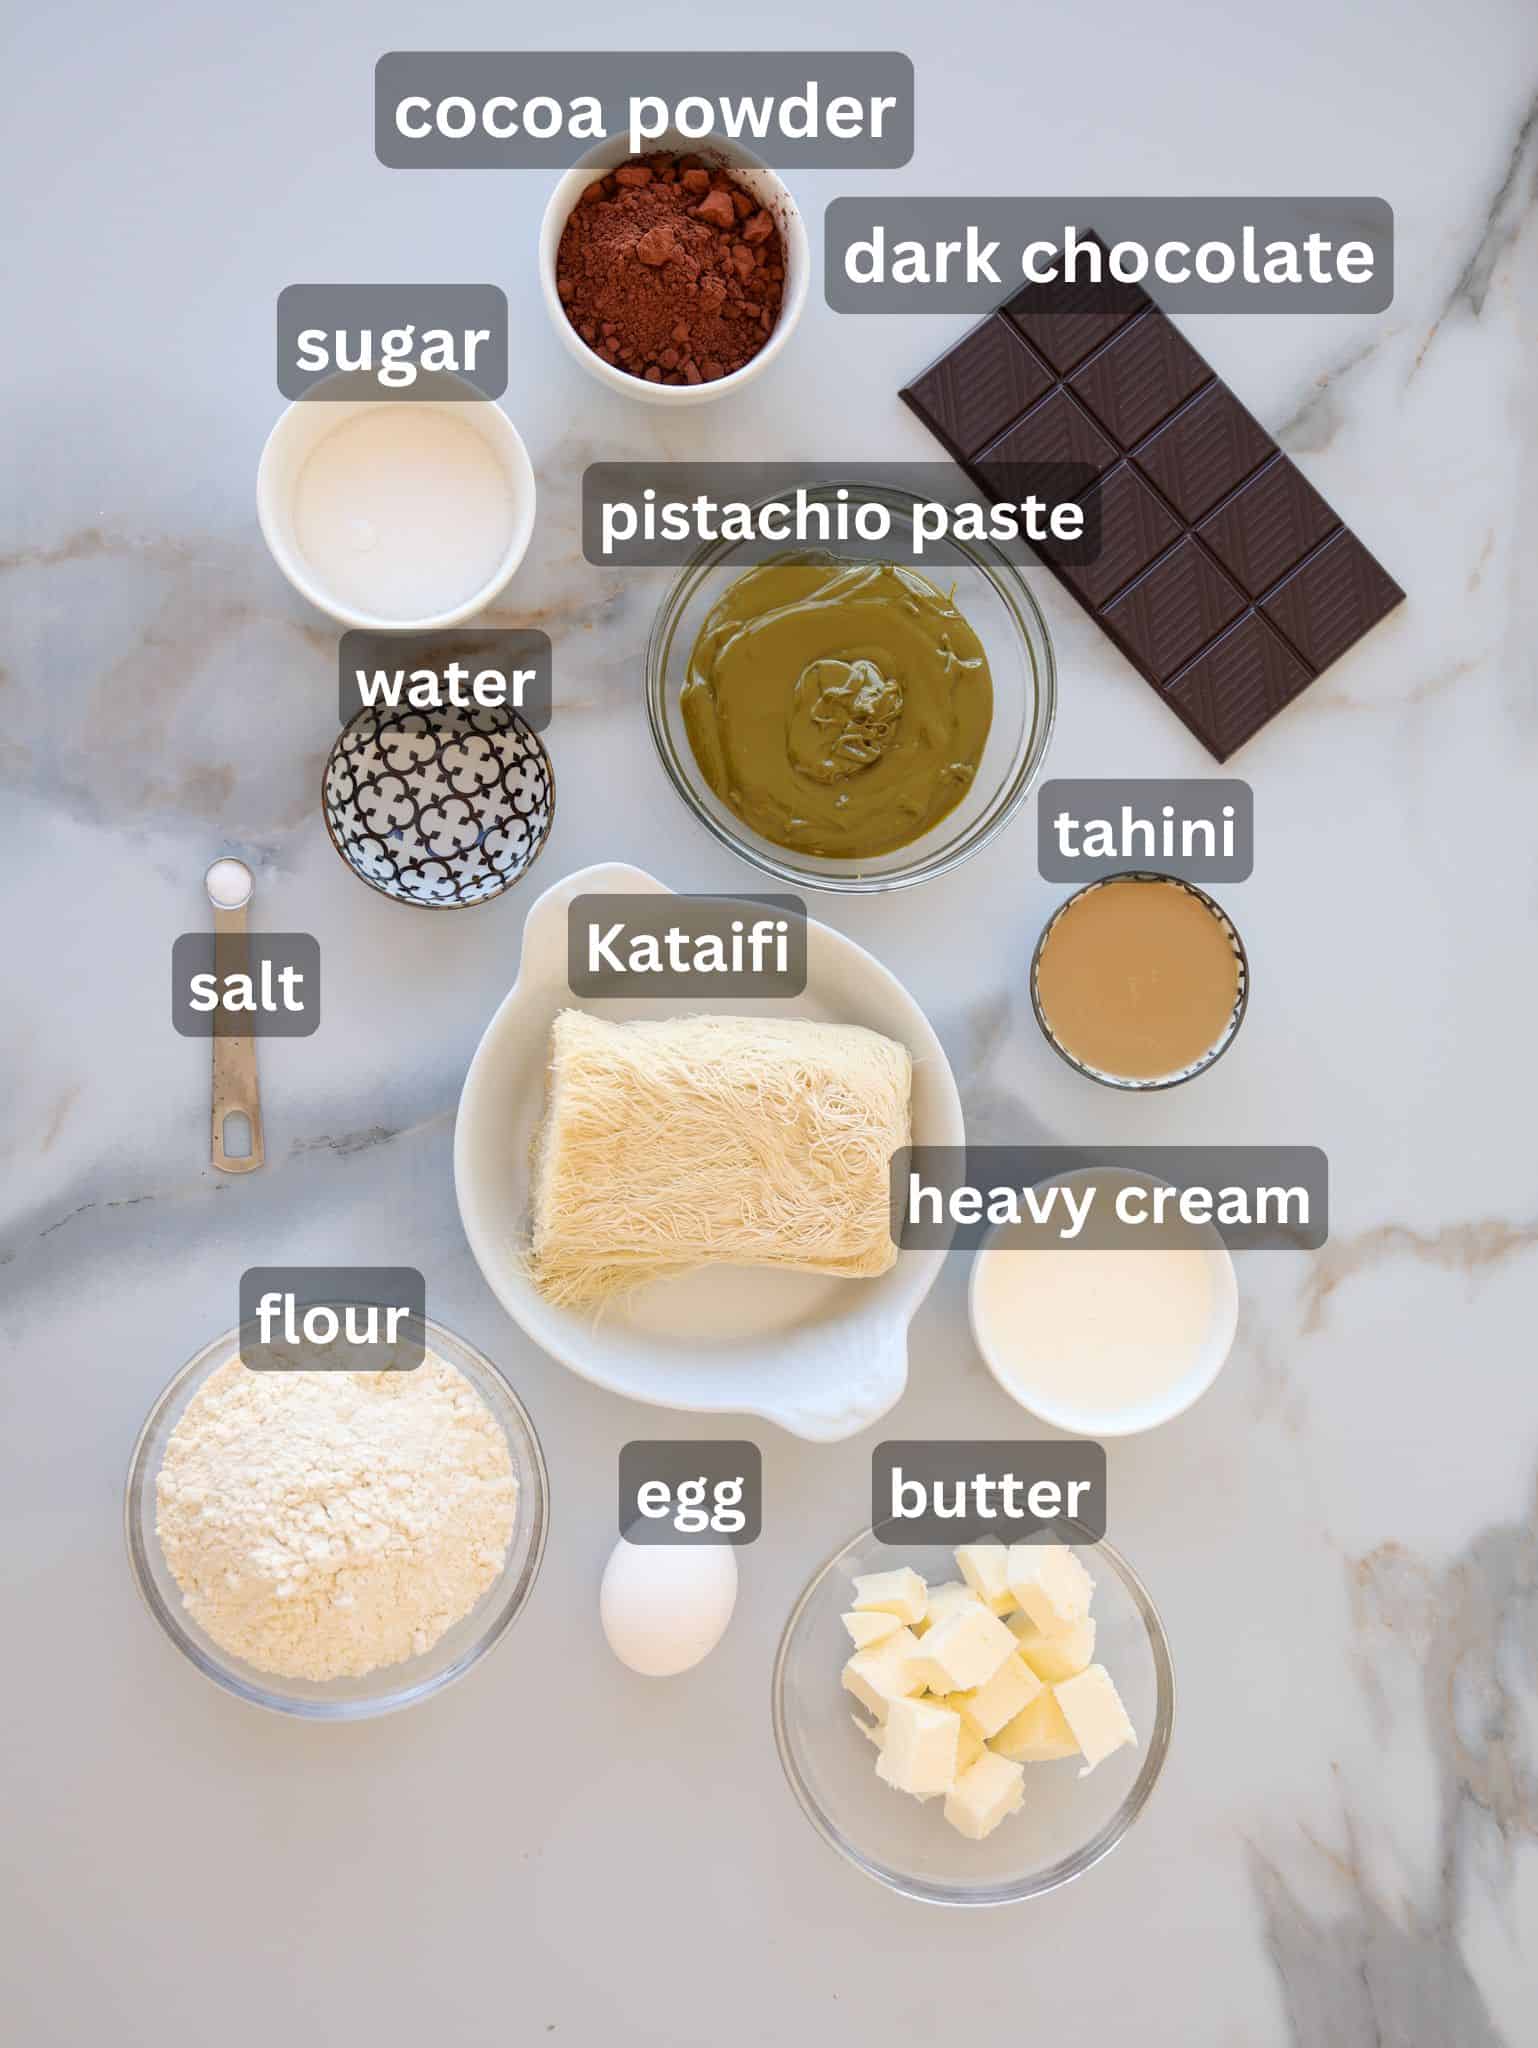
For the crust:
*you can also make a no-bake crust, more about it later
- Flour: Forms the base of the tart crust, providing structure and stability.
- Cocoa Powder: Adds rich chocolate flavor to the crust, making it a perfect foundation for the chocolate tart.
- Salt: Enhances the flavors and balances the sweetness of the tart.
- Sugar: Sweetens the crust while also contributing to its texture.
- Butter (cold, cubed): Helps create a tender and flaky crust by adding fat and moisture.
- Egg: Binds the ingredients together in the crust and provides richness.
- Ice Water: Added to the crust to help bring the dough together without making it too wet.
For the filling:
- Butter: for frying the kataifi and making it golden and crunchy.
- Kataifi: Provides a unique, crispy texture to the filling, reminiscent of the traditional Middle Eastern knafeh dessert.
- Pistachio Paste: Adds a rich, nutty flavor to the filling, complementing the chocolate and giving the tart a creamy consistency.
- Tahini: Balances the sweetness with its slight bitterness and earthy flavor, while also adding a smooth texture to the filling.
For the chocolate ganache:
- Dark Chocolate: Forms the base of the ganache, providing an intense chocolate flavor and a glossy, smooth finish.
- Heavy Cream: When combined with dark chocolate, it creates a luscious ganache that covers the tart, adding richness and silkiness.
For decoration:
- Chopped Pistachios: Used for decoration, they add crunch and visual appeal, while enhancing the nutty flavor of the dessert.
How to Make Dubai Chocolate Tart
Step 1: Make and Chill the Dough
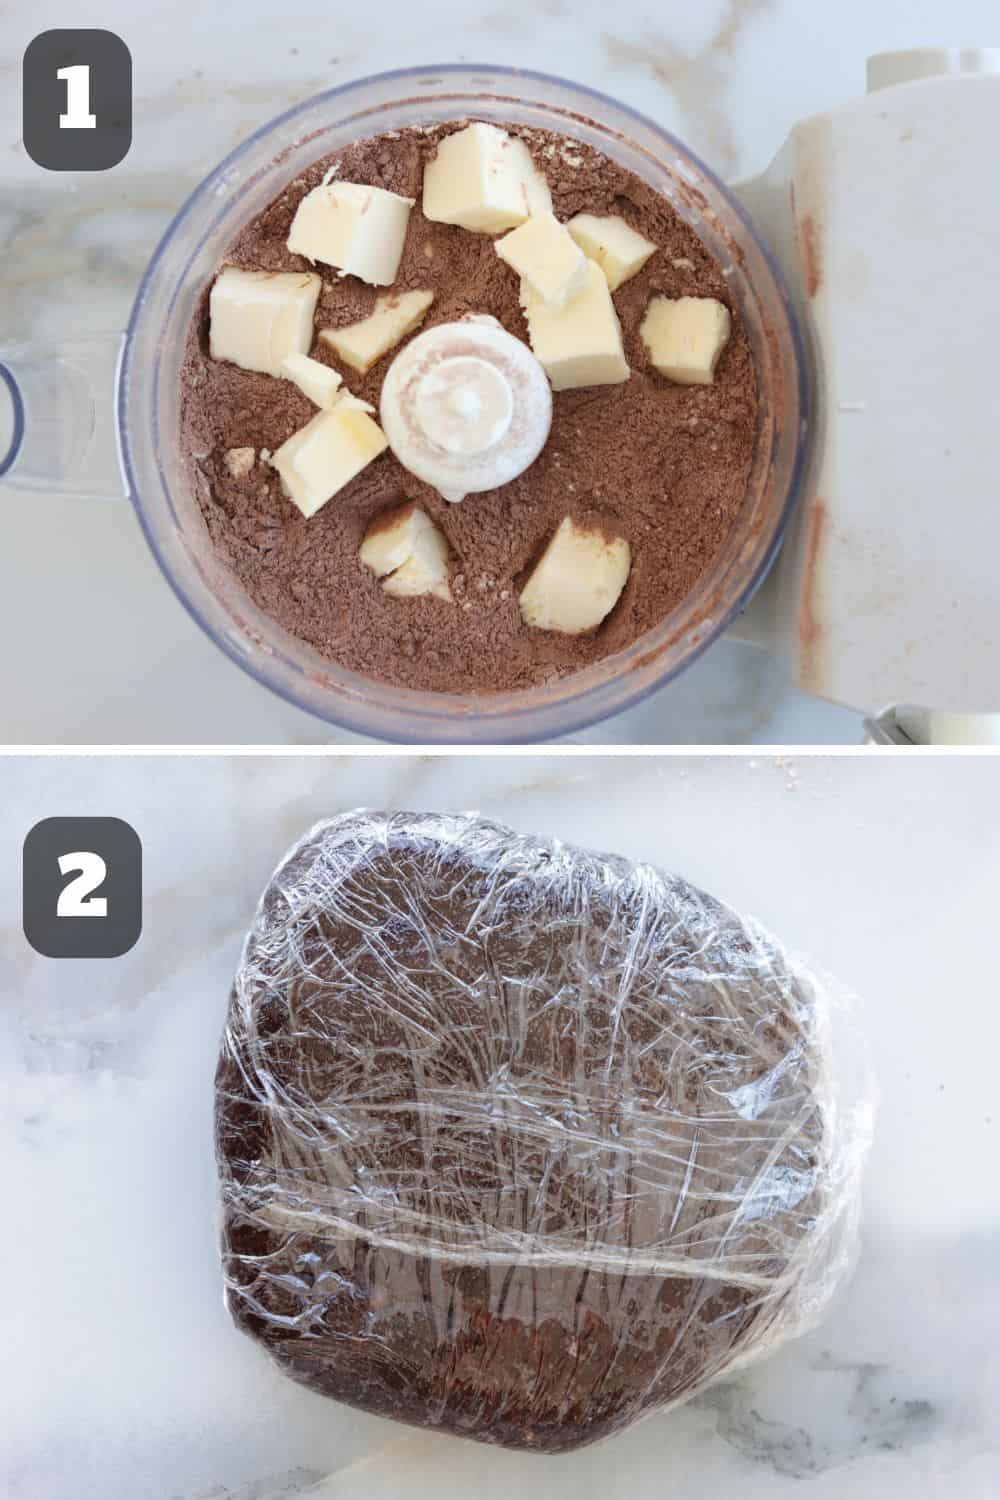
Begin by mixing flour, cocoa powder, sugar, and butter to create the tart crust. Add the egg to bind the dough. Once the dough comes together, shape it into a disc, wrap it, and refrigerate to allow the butter to firm up, ensuring a flaky crust.
Step 2: Blind Baking
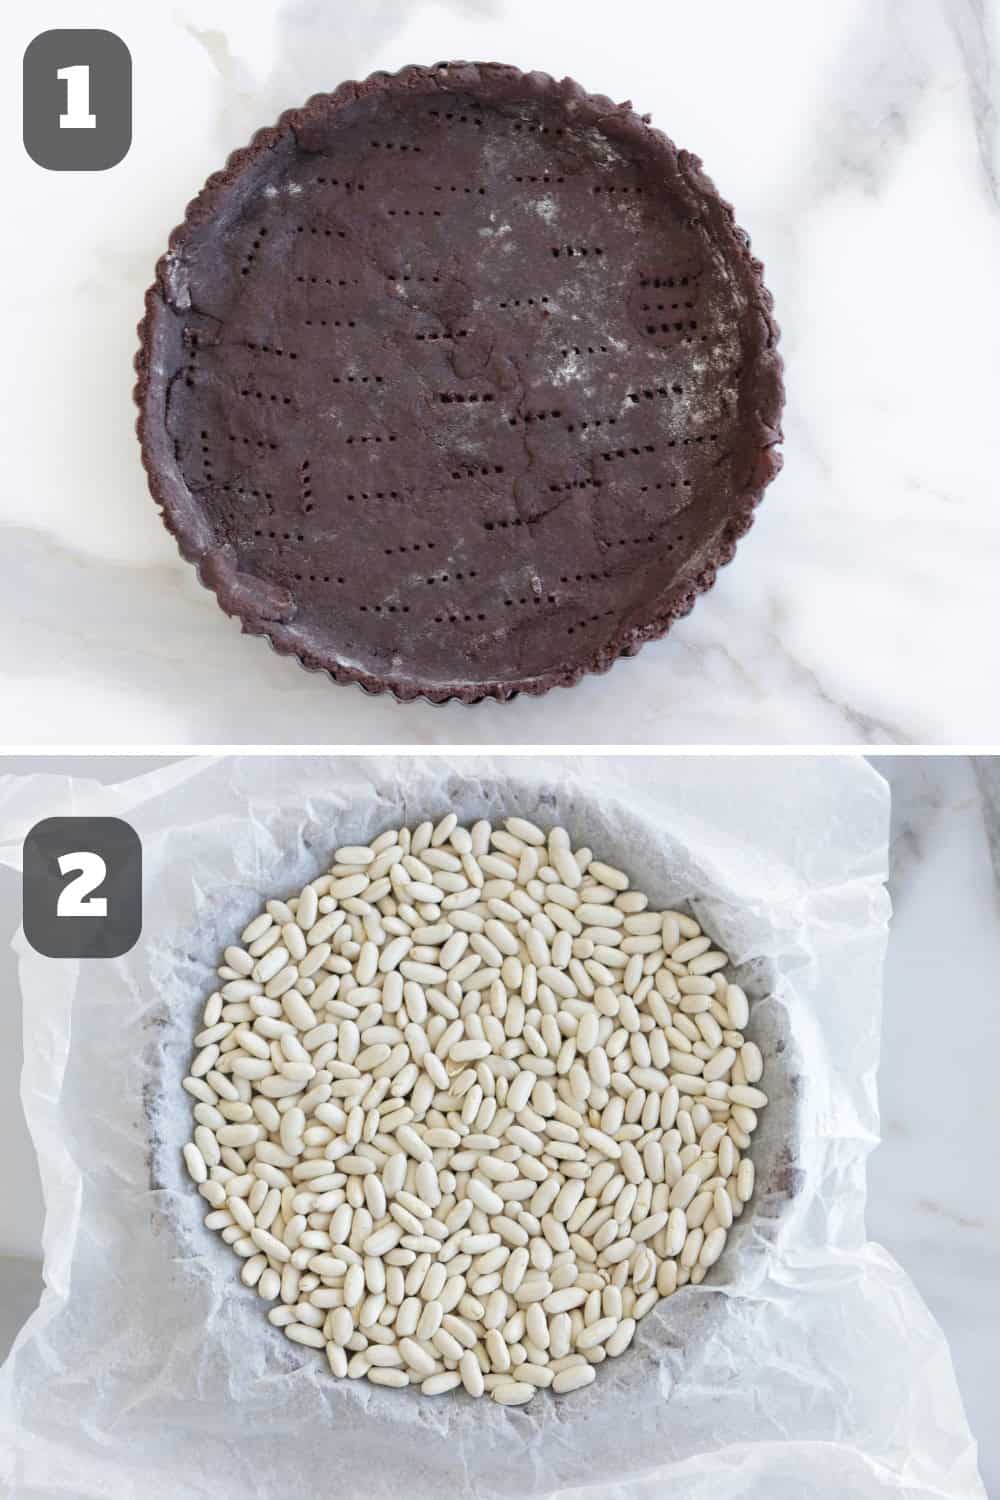
Roll out the chilled dough and fit it into your tart pan. Blind bake by covering it with parchment paper and pie weights to prevent the crust from puffing up. This ensures a crisp, even crust.
Step 3: Make the Filling
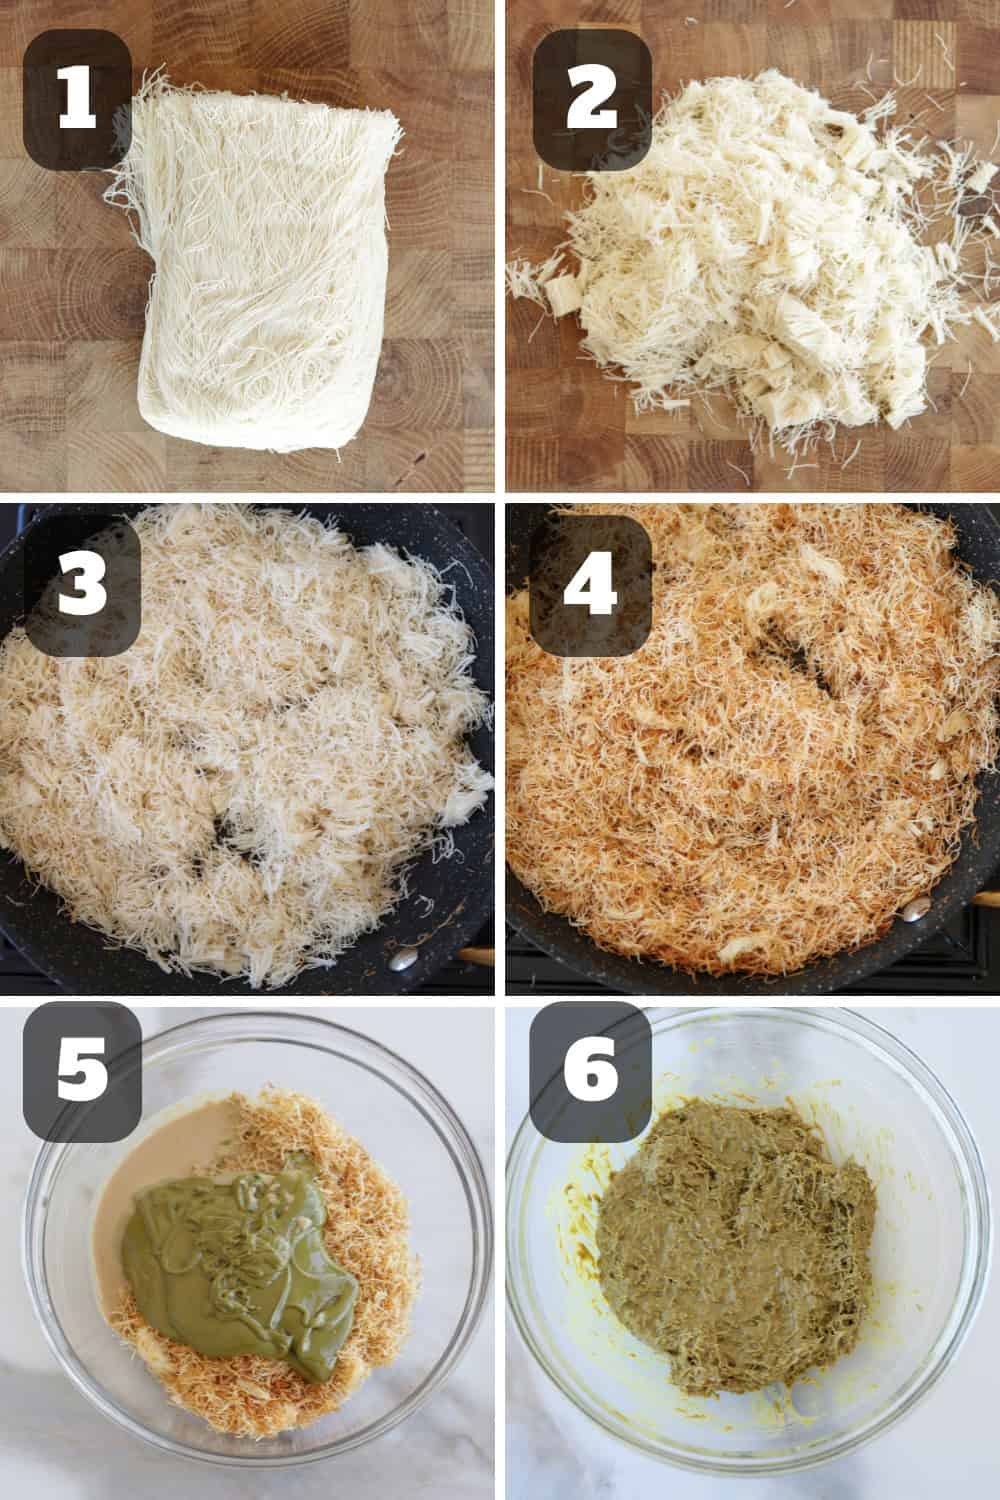
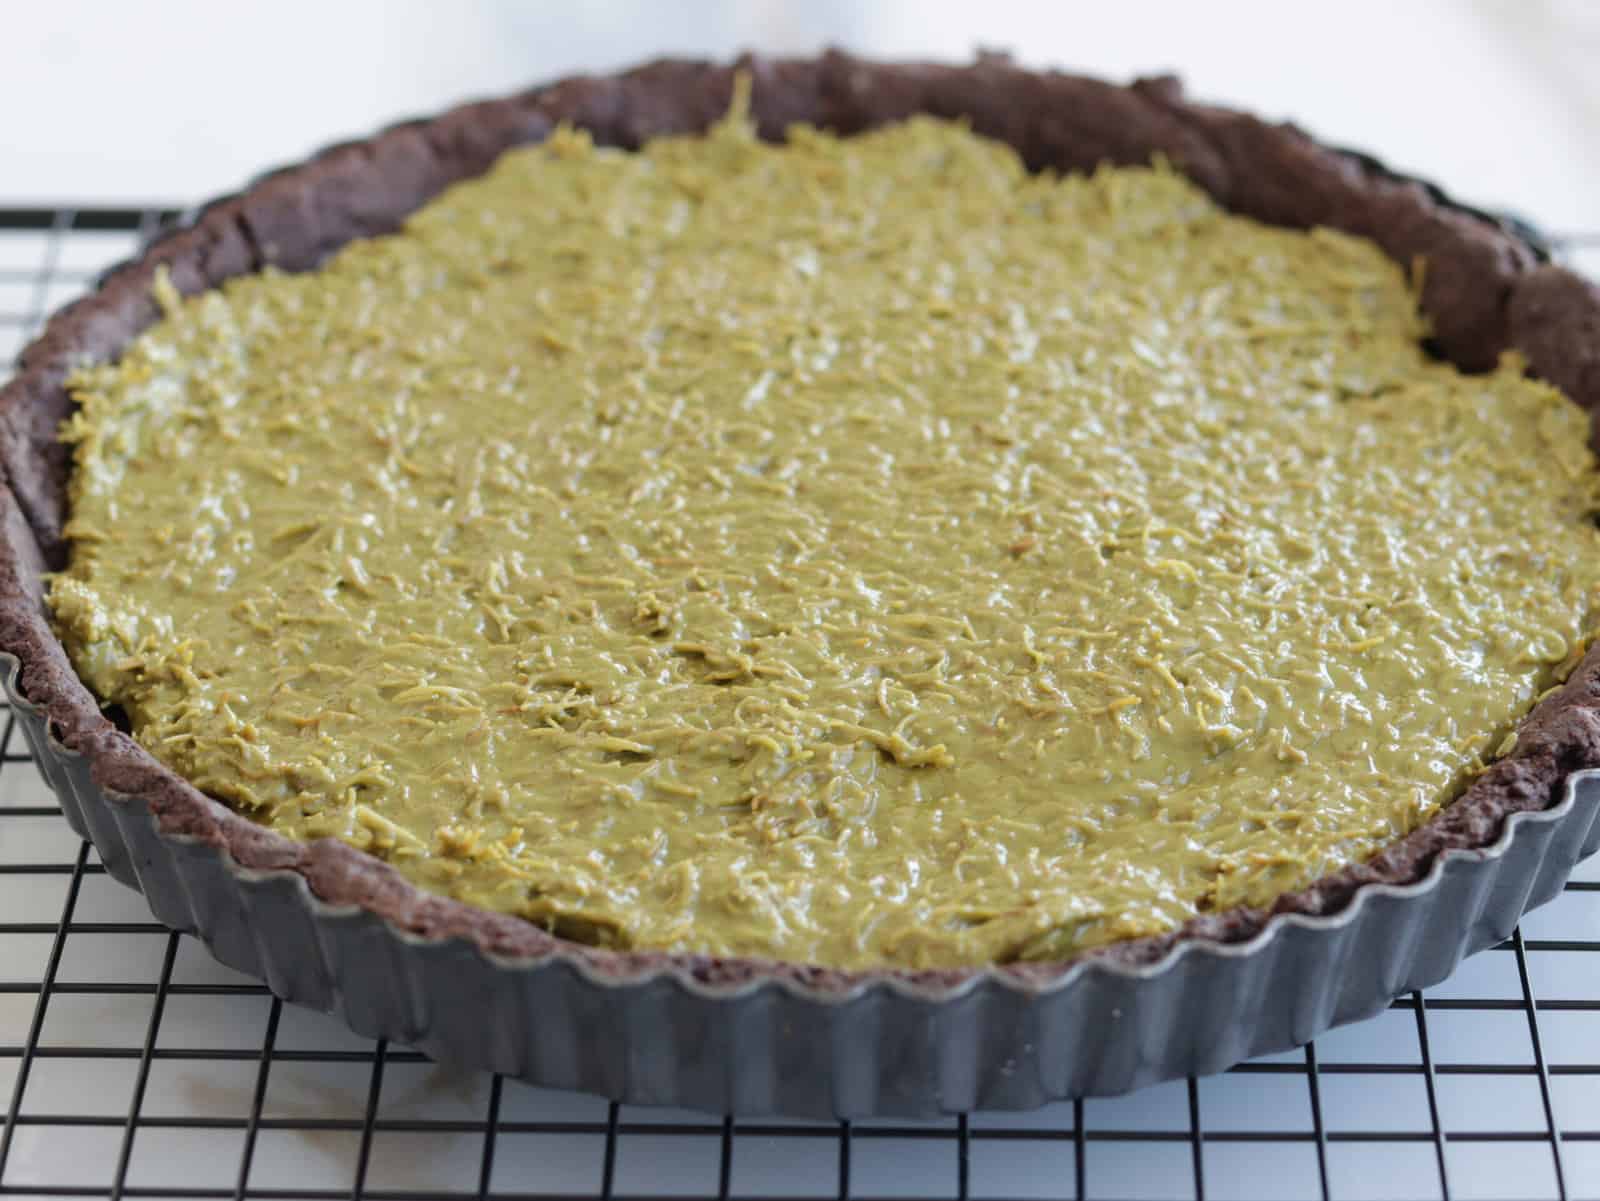
Cut and toast the kataifi until golden, then mix with pistachio paste and tahini to create the rich, nutty filling. Spread it evenly in the pre-baked tart shell and refrigerate.
Step 4: Make Chocolate Ganache
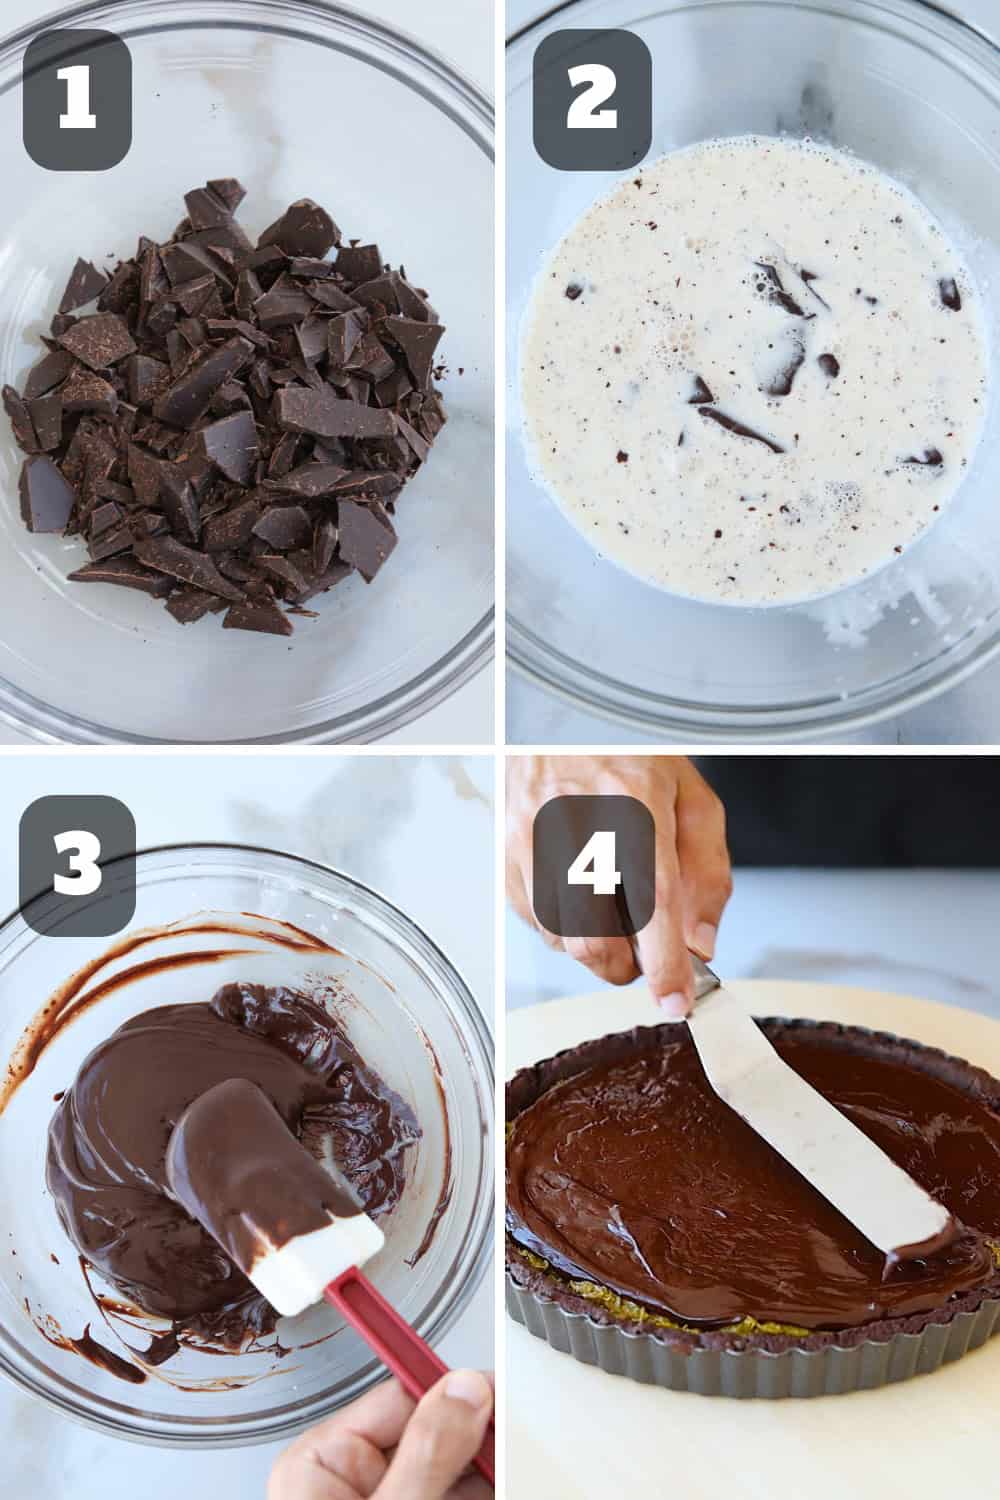
Melt dark chocolate and mix it with warmed heavy cream to make a smooth ganache. Pour it over the filling and let it set in the fridge.
Step 5: Decoration
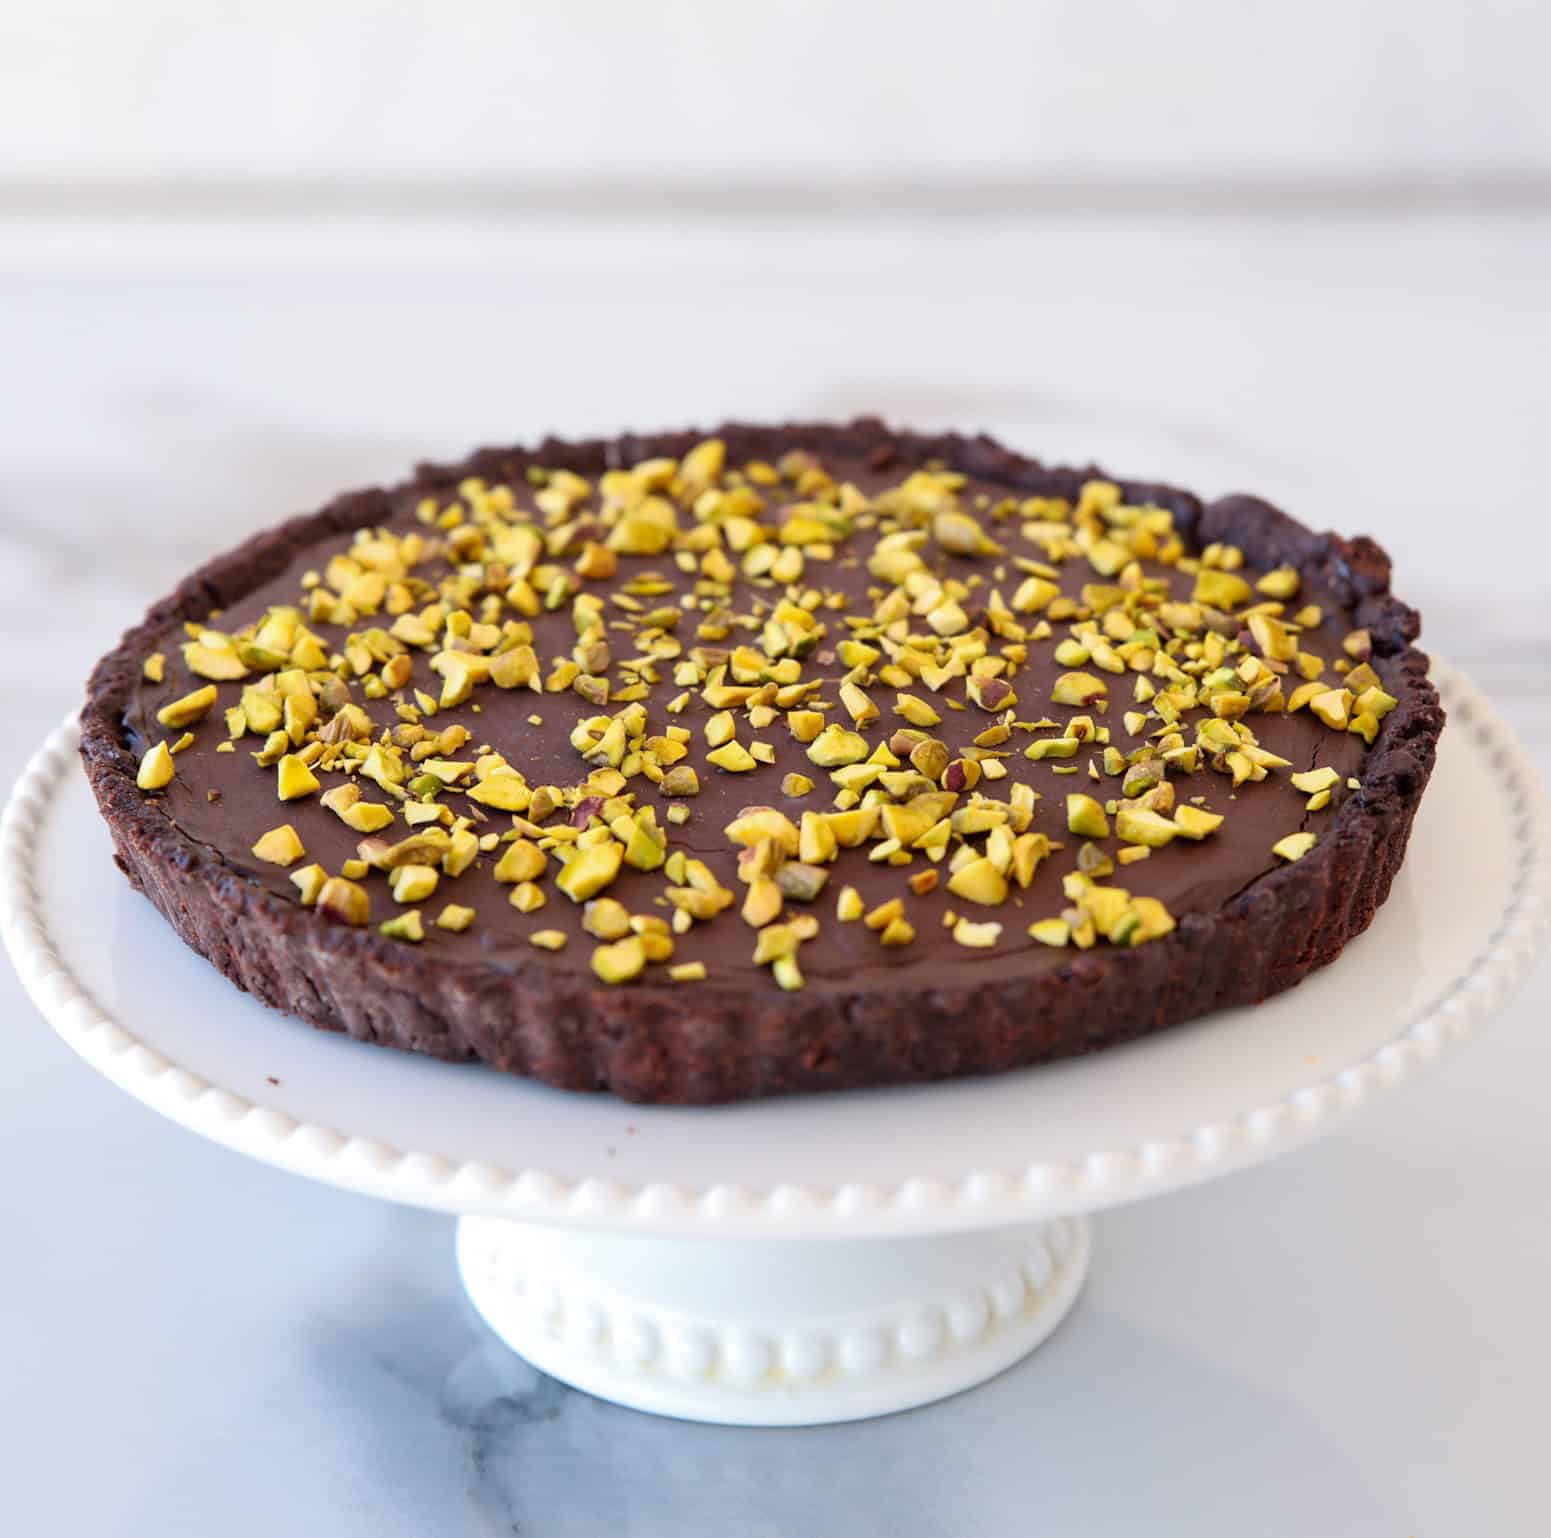
Before serving, decorate the tart with chopped pistachios for a crunchy, visually appealing finish.
How to Make a No-Bake Tart Crust
If you are not in the mood for baking and want to make an easy no-bake tart crust, swap the classic pâte sucrée with a simple crushed cookie base. Start by crushing cookies, like graham crackers, oreos or digestive biscuits, into fine crumbs. Mix the crumbs with melted butter until the texture is like wet sand. Press this mixture firmly into the bottom and sides of your tart pan. Refrigerate the crust for at least 30 minutes to set before adding your filling. You can use the base of my no-bake chocolate tart for this method. It’s quick, convenient, and perfect for no-bake desserts!
Substitutes and Variations
Pistachio Paste: If you don’t have pistachio paste, try using almond paste or hazelnut spread for a different flavor. You could also blend your own pistachio paste by processing pistachios with a little oil.
Tahini: Swap tahini with peanut butter or almond butter for a similar creamy texture but with a different nutty profile. It’ll bring a new flavor twist to the filling.
Kataifi: If kataifi is unavailable, substitute it with shredded phyllo dough or omit it entirely for a smoother texture.
⚠️ Be Aware
Although this dessert is very unique and delicious, it is not very sweet due to the lack of sugar in the filling. There is no added sugar in the filling at all, so many people might find it not sweet enough for their taste. Therefore, I suggest adding some sweetener to the filling. Here are some ideas:
- Add a few tablespoons of a sweetener of your choice to the filling, such as powdered sugar, honey, maple syrup, date syrup, or more.
- Use a milk chocolate ganache instead of dark chocolate for extra sweetness. For milk chocolate ganache, use 150g milk chocolate to 1/2 cup (120ml) cup cream.
How to Store
Avoid Room Temperature: Due to the dairy content in the ganache and filling, the tart should not be kept at room temperature for extended periods, as it may spoil or lose its texture.
Refrigeration: Store the tart in an airtight container in the refrigerator for up to 3-4 days. The cold temperature will help preserve the ganache and keep the crust firm. Make sure the tart is well-covered to prevent it from absorbing any fridge odors.
Freezing: For longer storage, you can freeze the tart. Wrap it tightly in plastic wrap or aluminum foil, then place it in a freezer-safe container. It can be frozen for up to 2 months. When ready to eat, let it thaw in the refrigerator overnight before serving.
More Dessert Recipes
If you enjoyed this Dubai Chocolate Tart and want to explore more delicious recipes, here are some ideas you might like:
- Basbousa Recipe
- Pistachio Lava Cake
- 3-Ingredient Butter Cookies
- Pistachio Cheesecake
- Dubai Chocolate Bar
Dubai Chocolate Tart
Equipment
- Food Processor optional
Ingredients
For the crust:
- 1½ cups + 2 cups (200 g) Flour
- ⅓ cup (40 g) Cocoa powder
- ½ teaspoon Salt
- ½ cup (50 g) Sugar
- ½ cup (115 g) Butter cold, cut into small cubes
- 1 Egg
- 1-2 tablespoons Ice water if needed
For the filling:
- 3 tablespoons (45 g) butter unsalted
- 180 g Kataifi
- 1¼ cups (300 g) Pistachio paste
- ¼ cup (60 g) Tahini
- Sweetener optional
For the chocolate ganache:
- 120 g Dark chocolate
- ½ cup (120 ml) Heavy cream
Instructions
Prepare the dough (for the easy no-bake version read notes):
- In the bowl of your food processor, combine the flour, cocoa powder, salt, and sugar. Pulse a few times until the dry ingredients are well-mixed.
- Add the cold, cubed butter to the food processor. Pulse several times until the mixture resembles coarse crumbs, with small pieces of butter still visible throughout.
- Add the egg to the food processor. Pulse again until the mixture begins to come together. The dough should start to form clumps, but it may still look a bit crumbly. If the dough feels too dry and isn’t holding together when pressed, add 1 tablespoon of ice water. Pulse again and check the dough. If needed, add an additional tablespoon of ice water, pulsing just until the dough forms and starts coming together into a ball. Do not overmix.
Chill the Dough:
- Turn the dough out onto a lightly floured surface. Shape it into a flat disc, wrap it tightly in plastic wrap, and refrigerate for at least 30 minutes.
- Once chilled, roll out the dough on a lightly floured surface to fit your tart pan. Carefully transfer the rolled dough into the 9-inch (23cm) tart pan, pressing it gently into the edges. Trim off any excess dough and prick the bottom of the crust all over with a fork to prevent air bubbles.
Blind Baking:
- Preheat your oven to 350°F (175°C). Line the tart crust with parchment paper or aluminum foil, ensuring the sides are covered. Fill with pie weights, dry beans, or rice to keep the crust from puffing up during baking.
- Place the tart pan on a baking sheet for easy handling and bake for 15–20 minutes, or until the edges begin to look set.
- Carefully remove the parchment paper or foil with the weights. Return the crust to the oven and bake for an additional 10–15 minutes, or until the bottom looks dry and fully set.
Make the filling:
- Cut the kataifi into quarter-inch pieces to make it easier to toast. Add two tablespoons of butter to a medium frying pan over medium heat. Once the butter melts, add the kataifi and toast until golden brown.
- Transfer to a bowl, add pistachio paste, tahini to balance the flavor and mix well.
- Transfer the filling into the tart shell. Spread it evenly and refrigerate for 30 minutes.
Make chocolate ganache:
- Chop the chocolate into small pieces and place in a heatproof bowl. Heat the cream in a small saucepan. When the cream just begins to boil at the edges, remove from heat and pour over the chopped chocolate. Let sit for one minute, then stir until smooth.
- Pour the ganache over the filling and spread it evenly using a spatula.
- Refrigerate for at least 1 hour before serving.
Decorate:
- Sprinkle chopped pistachio on top of the tart and serve.
Video
Notes
- Watch the Video: For a better understanding of the recipe, I always recommend watching the video recipe, which includes a step-by-step guide to help you succeed.
- FAQs: Make sure you read the FAQs for this recipe which are located below the recipe box for additional tips and troubleshooting! For extra tips and variations read the article.
- No-bake tart crust: in this recipe, I am making classic chocolate tart (bake), but you can easily make a no-bake crust, here is more info.



Perfect recipe and perfectly executed! Thank you!
Thank you Maria.
thank you for the recipe we just did it at our Christmas party and liked it very much.