Mini Cheesecakes Recipe
These creamy mini cheesecakes are the perfect individual dessert! Made with a buttery graham cracker crust and topped with your favorite fruit, they’re easy to make and ideal for any occasion.
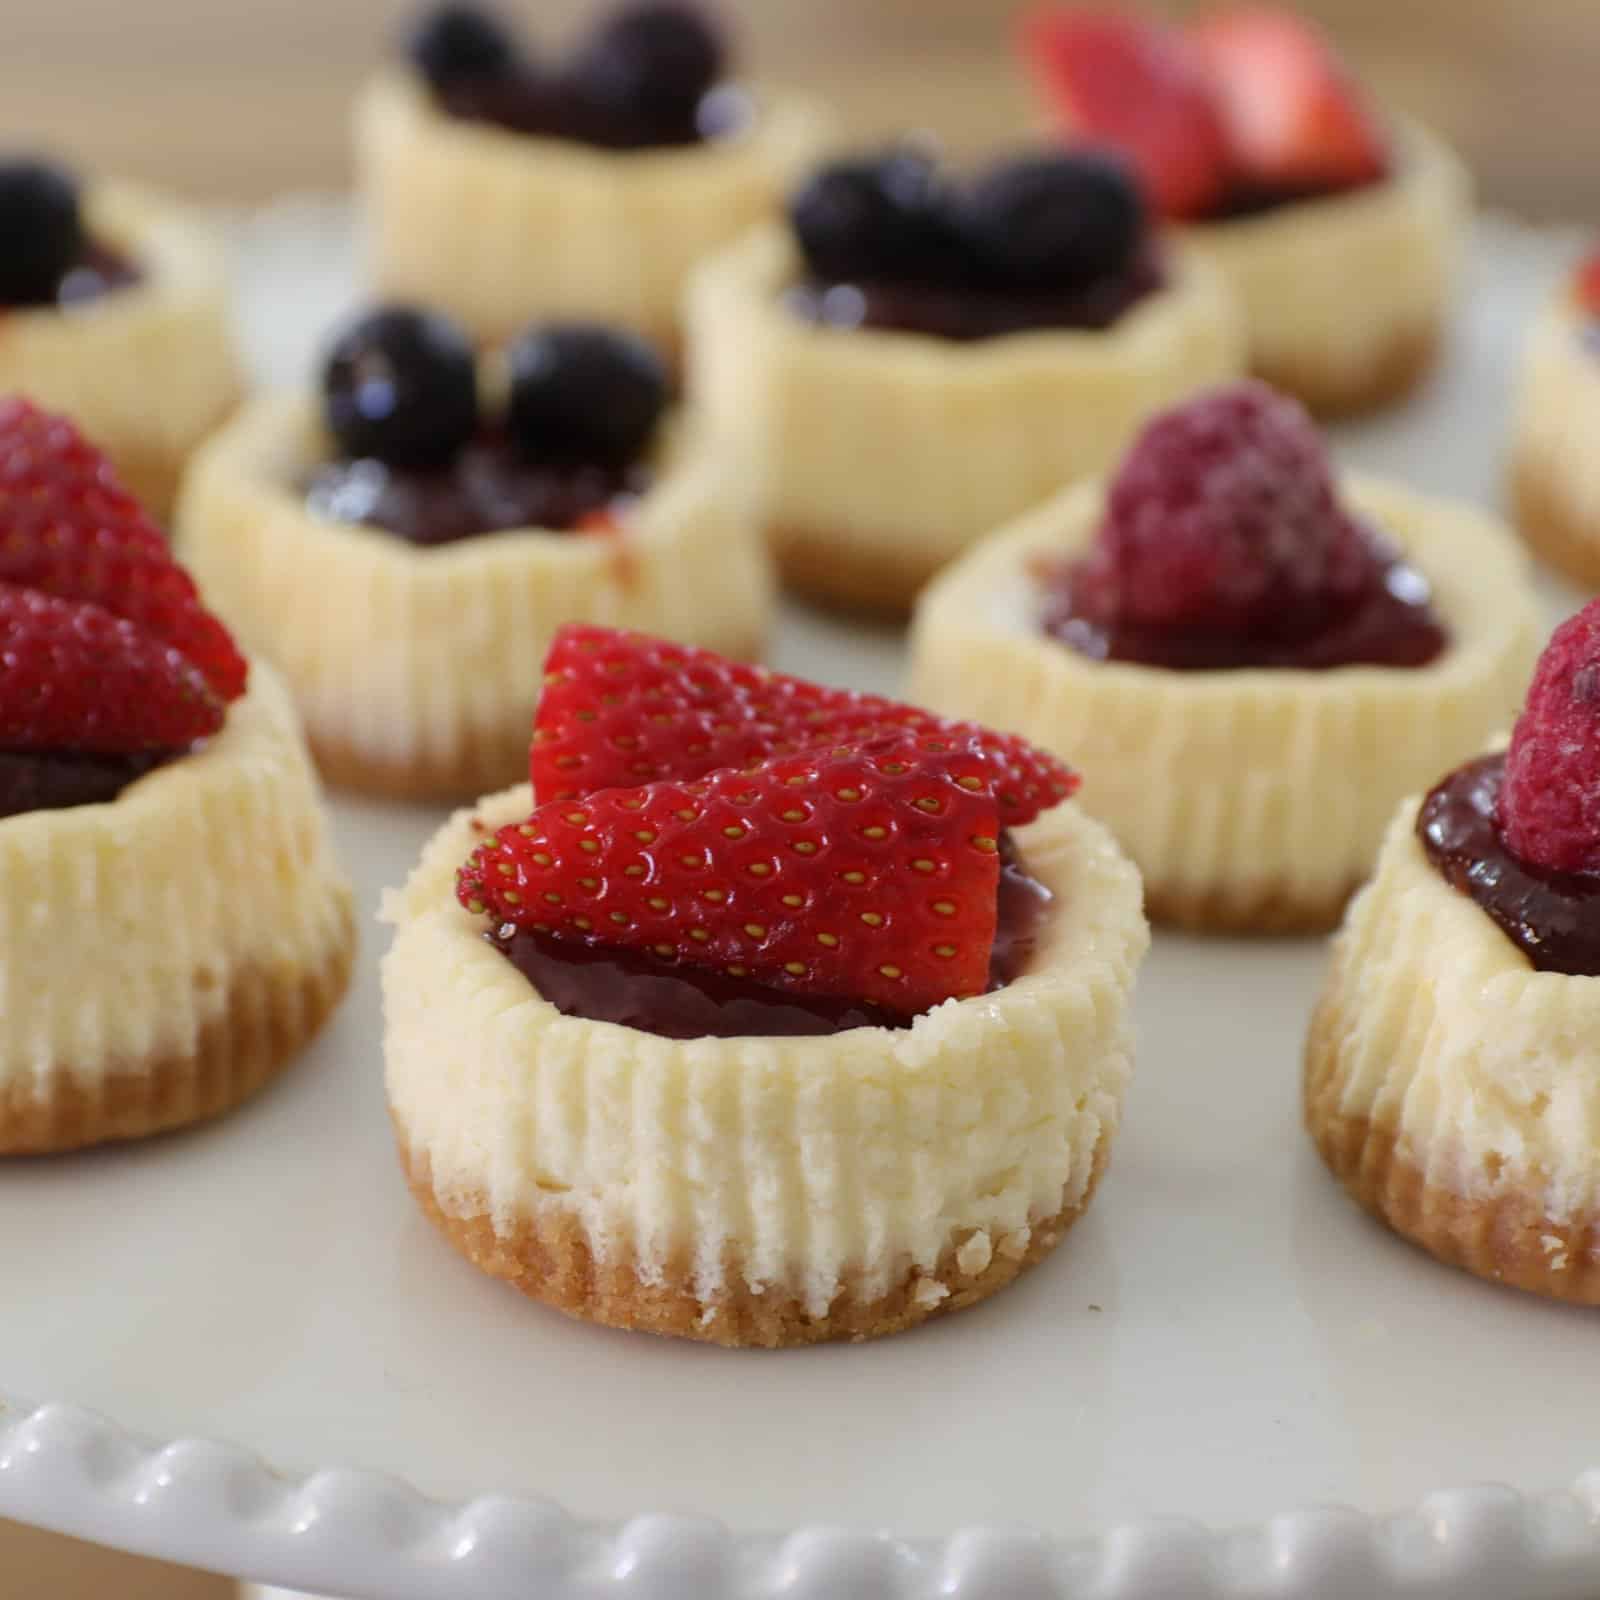
While we all love the classic cheesecake and other variants like chocolate cheesecake, why not make individual mini cheesecakes that look cute and are already the perfect size? They are perfect for birthdays, parties, and holidays.
Video Recipe 📹
Watch the full video recipe to learn how to make the best mini cheesecakes. This step-by-step tutorial simplifies the process, offering tips and tricks to guarantee perfect results every time.
Prefer the written recipe? Scroll down to the recipe box for the full written recipe! 👇
Why You’ll Love Mini Cheesecakes 💕
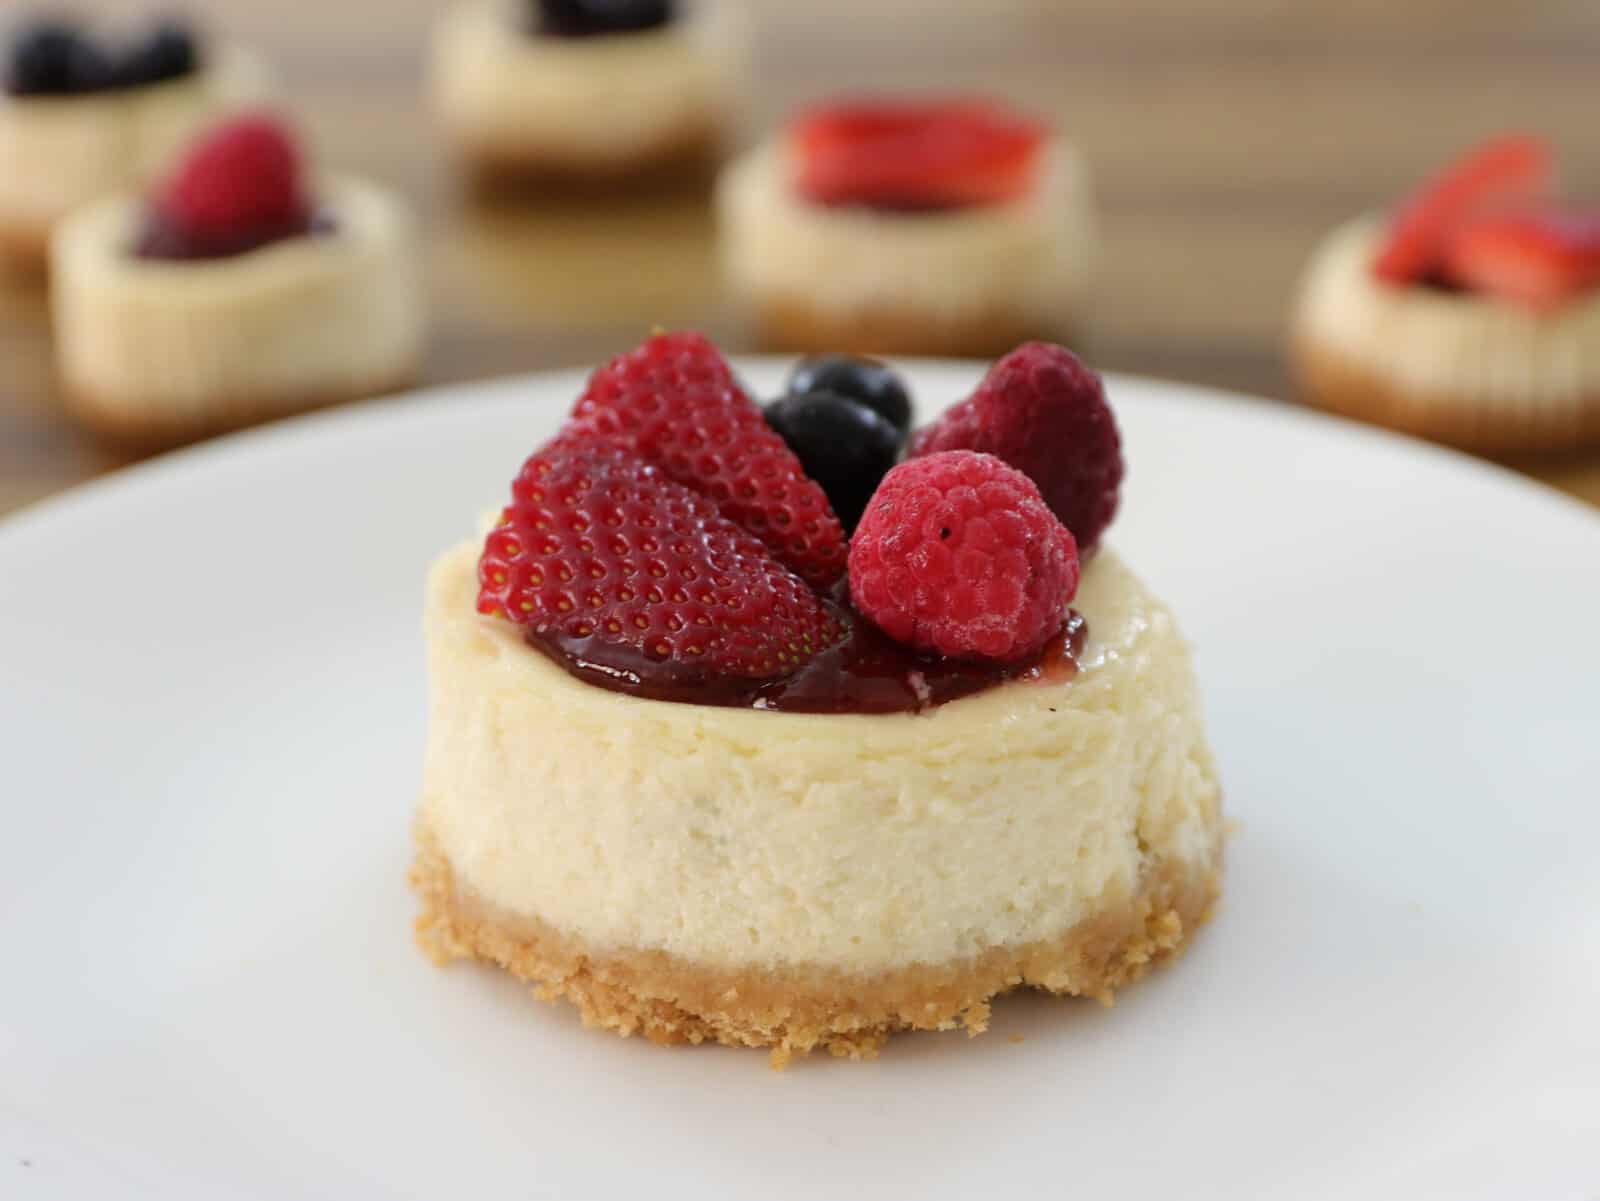
Mini cheesecakes are bite-sized desserts that are perfect for any occasion! 🧁 These creamy delights are ideal for birthdays, parties, and holidays, making them an easy mini cheesecake recipe to prepare and enjoy. Here’s why you’ll love them:
- Perfect Portion: No slicing required; each is already perfectly sized.
- Versatile: Top with fruits, sauces, or sprinkles to suit any event. 🍓
- Convenient: Easy to make and even easier to serve, making them the ultimate cheesecake cups.
- Delicious: Creamy mini cheesecakes with a buttery crust that melts in your mouth.
How to Make Mini Cheesecakes
Making these mini cheesecakes is as easy as pie! Follow these simple steps for the best results:
- Prepare the Crust: Crush the biscuits and mix with melted butter, then press into muffin cups and pre-bake.
- Make the Filling: Beat cream cheese, sugar, and other ingredients until smooth, adding eggs one at a time.
- Assemble: Pour the filling over the crusts in the cups.
- Bake: Bake until just set, then cool and chill for at least 4 hours.
- Decorate: Top your cheesecake bites with strawberry confiture and fresh fruits. 🍓
Pro Tips to Make the Best Individual Cheesecakes 💡
Follow these tips for perfect mini cheesecakes every time:
- Room Temperature Ingredients: Ensure the cream cheese and eggs are at room temperature for a smooth filling. 🧀
- Don’t Overbake: Bake until the center is slightly jiggly; they will set as they cool.
- Chill Well: Refrigerate for at least 4 hours before serving for the best texture. ❄️
- Experiment with Toppings: Use different jams, fresh fruits, or even chocolate ganache. 🍫
Variants for Mini Cheesecakes 🎨
Switch up this mini cheesecake recipe with these fun variations:
- Chocolate Lovers: Add cocoa powder to the filling and top with chocolate ganache. 🍫
- Berry Bliss: Swap strawberry confiture for blueberry or raspberry jam. 🫐
- Tropical Twist: Add pineapple chunks or mango puree to the filling for a tropical flavor. 🥭
- Nutty Delight: Sprinkle crushed pistachios, almonds, or hazelnuts on top for crunch. 🌰
- Seasonal Flair: Use pumpkin puree and spices for fall-themed cheesecakes. 🎃
Substitutes for Mini Cheesecakes 🔄
- Crust: Use gluten-free biscuits for a gluten-free option or chocolate cookies for extra flavor.
- Sour Cream: Substitute with Greek yogurt for a tangy twist.
- Sugar: Use coconut sugar or a sugar-free sweetener for a healthier version. 🥥
- Filling Flavor: Add almond or orange extract instead of vanilla for a unique taste.
- Fruit Topping: Replace fresh fruits with candied fruits or edible flowers for an elegant touch.
How to Store Mini Cheesecakes 🧊
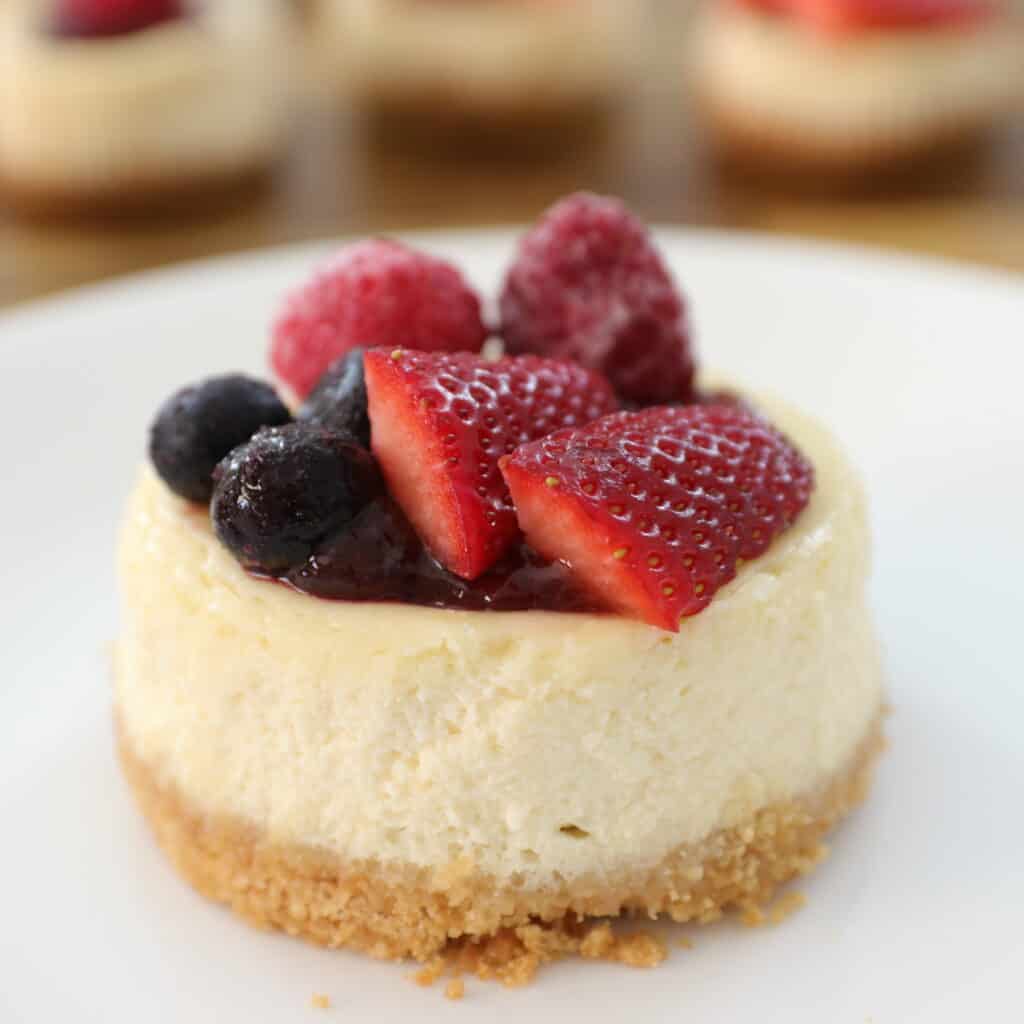
Store these individual cheesecakes in an airtight container in the refrigerator for up to 5 days. For longer storage, freeze them without toppings for up to 3 months and thaw overnight before serving.
Common Questions
Yes! You can use any type of biscuit or cookie, such as Oreos for a chocolatey crust or digestive biscuits for a less sweet option. For gluten-free mini cheesecakes, use gluten-free cookies.
Cracking usually happens if the filling is overmixed, overbaked, or baked at too high a temperature. To avoid this, bake at the recommended temperature and stop baking when the center is slightly jiggly.
Yes, you can use silicone molds or ramekins as an alternative. Ensure the molds are greased or lined for easy removal.
Absolutely! Freeze the cheesecakes without the toppings for up to 3 months. Wrap them individually or store in an airtight container. Thaw in the refrigerator overnight before adding toppings and serving.
More Cheesecake Recipes
If you enjoyed this mini cheesecakes recipe, you’ll probably like these cheesecakea:
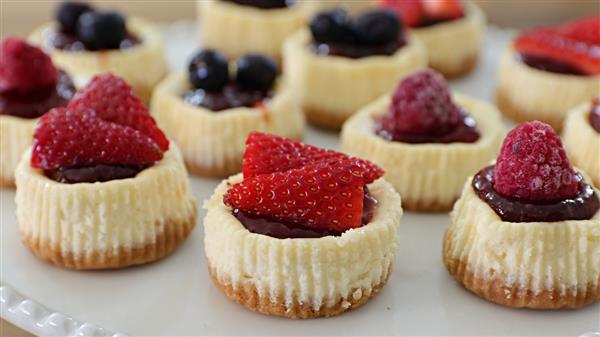
Mini Cheesecakes Recipe
Equipment
Ingredients
For the crust:
- 5 oz (140 g) Biscuits/graham cracker
- 4 tablespoons (60 g) Butter melted
For the filling:
- 10.5 oz (300 g) Cream cheese room temperature
- ½ cup (115 g) Sour cream
- ½ cup (100 g) Sugar
- 2 Eggs
- 1 tablespoon Lemon juice
- Lemon zest from one lemon
- 1 teaspoon Vanilla extract
For the topping:
- 3-4 tablespoons Strawberry Confiture
- Fruits
Instructions
- Preheat oven to 360F (180C).
- In a food processor or a Ziploc bag crush the biscuits into fine crumbs. Add melted butter and pulse until combined. Divide evenly among 12 muffin cups. Press into the bottom. Bake for 5-8 minutes, remove from oven and set aside.
- Reduce oven heat to 325F (165C).
- In a large bowl beat cream cheese and sugar, beat until creamy. Add vanilla extract, lemon juice, lemon zest, sour cream and beat until smooth. Add eggs, one at the time, beating just until combined after each addition.
- Divide the filling between the cups.
- Bake for 15 minutes. Remove from the oven and let cool to room temperature, then refrigerate for at least 4 hours.
- Spread some strawberry confiture on the top of each cheesecake and decorate with fruits.
Video
Notes
- Watch the Video: For a better understanding of the recipe, I always recommend watching the video recipe, which includes a step-by-step guide to help you succeed.
- FAQs: Make sure you read the FAQs for this recipe which are located below the recipe box for additional tips and troubleshooting! For extra tips and variations read the article.


Hi, I’ve tried these before and they were great! I’m wondering though, can you freeze them without the topping to add later? Or tips on freezing them? Do you know about how much thaw time if so?
Please fix TYPO: 325 F is not 365 C
came out perfect 👌
Glad you liked it.
Can hardly wait to try the recipe. Would love to know who the artist who performed the music for the video. Thanks, and I’ll let you know how the cheesecakes turn out.