Pistachio Basque Cheesecake Recipe
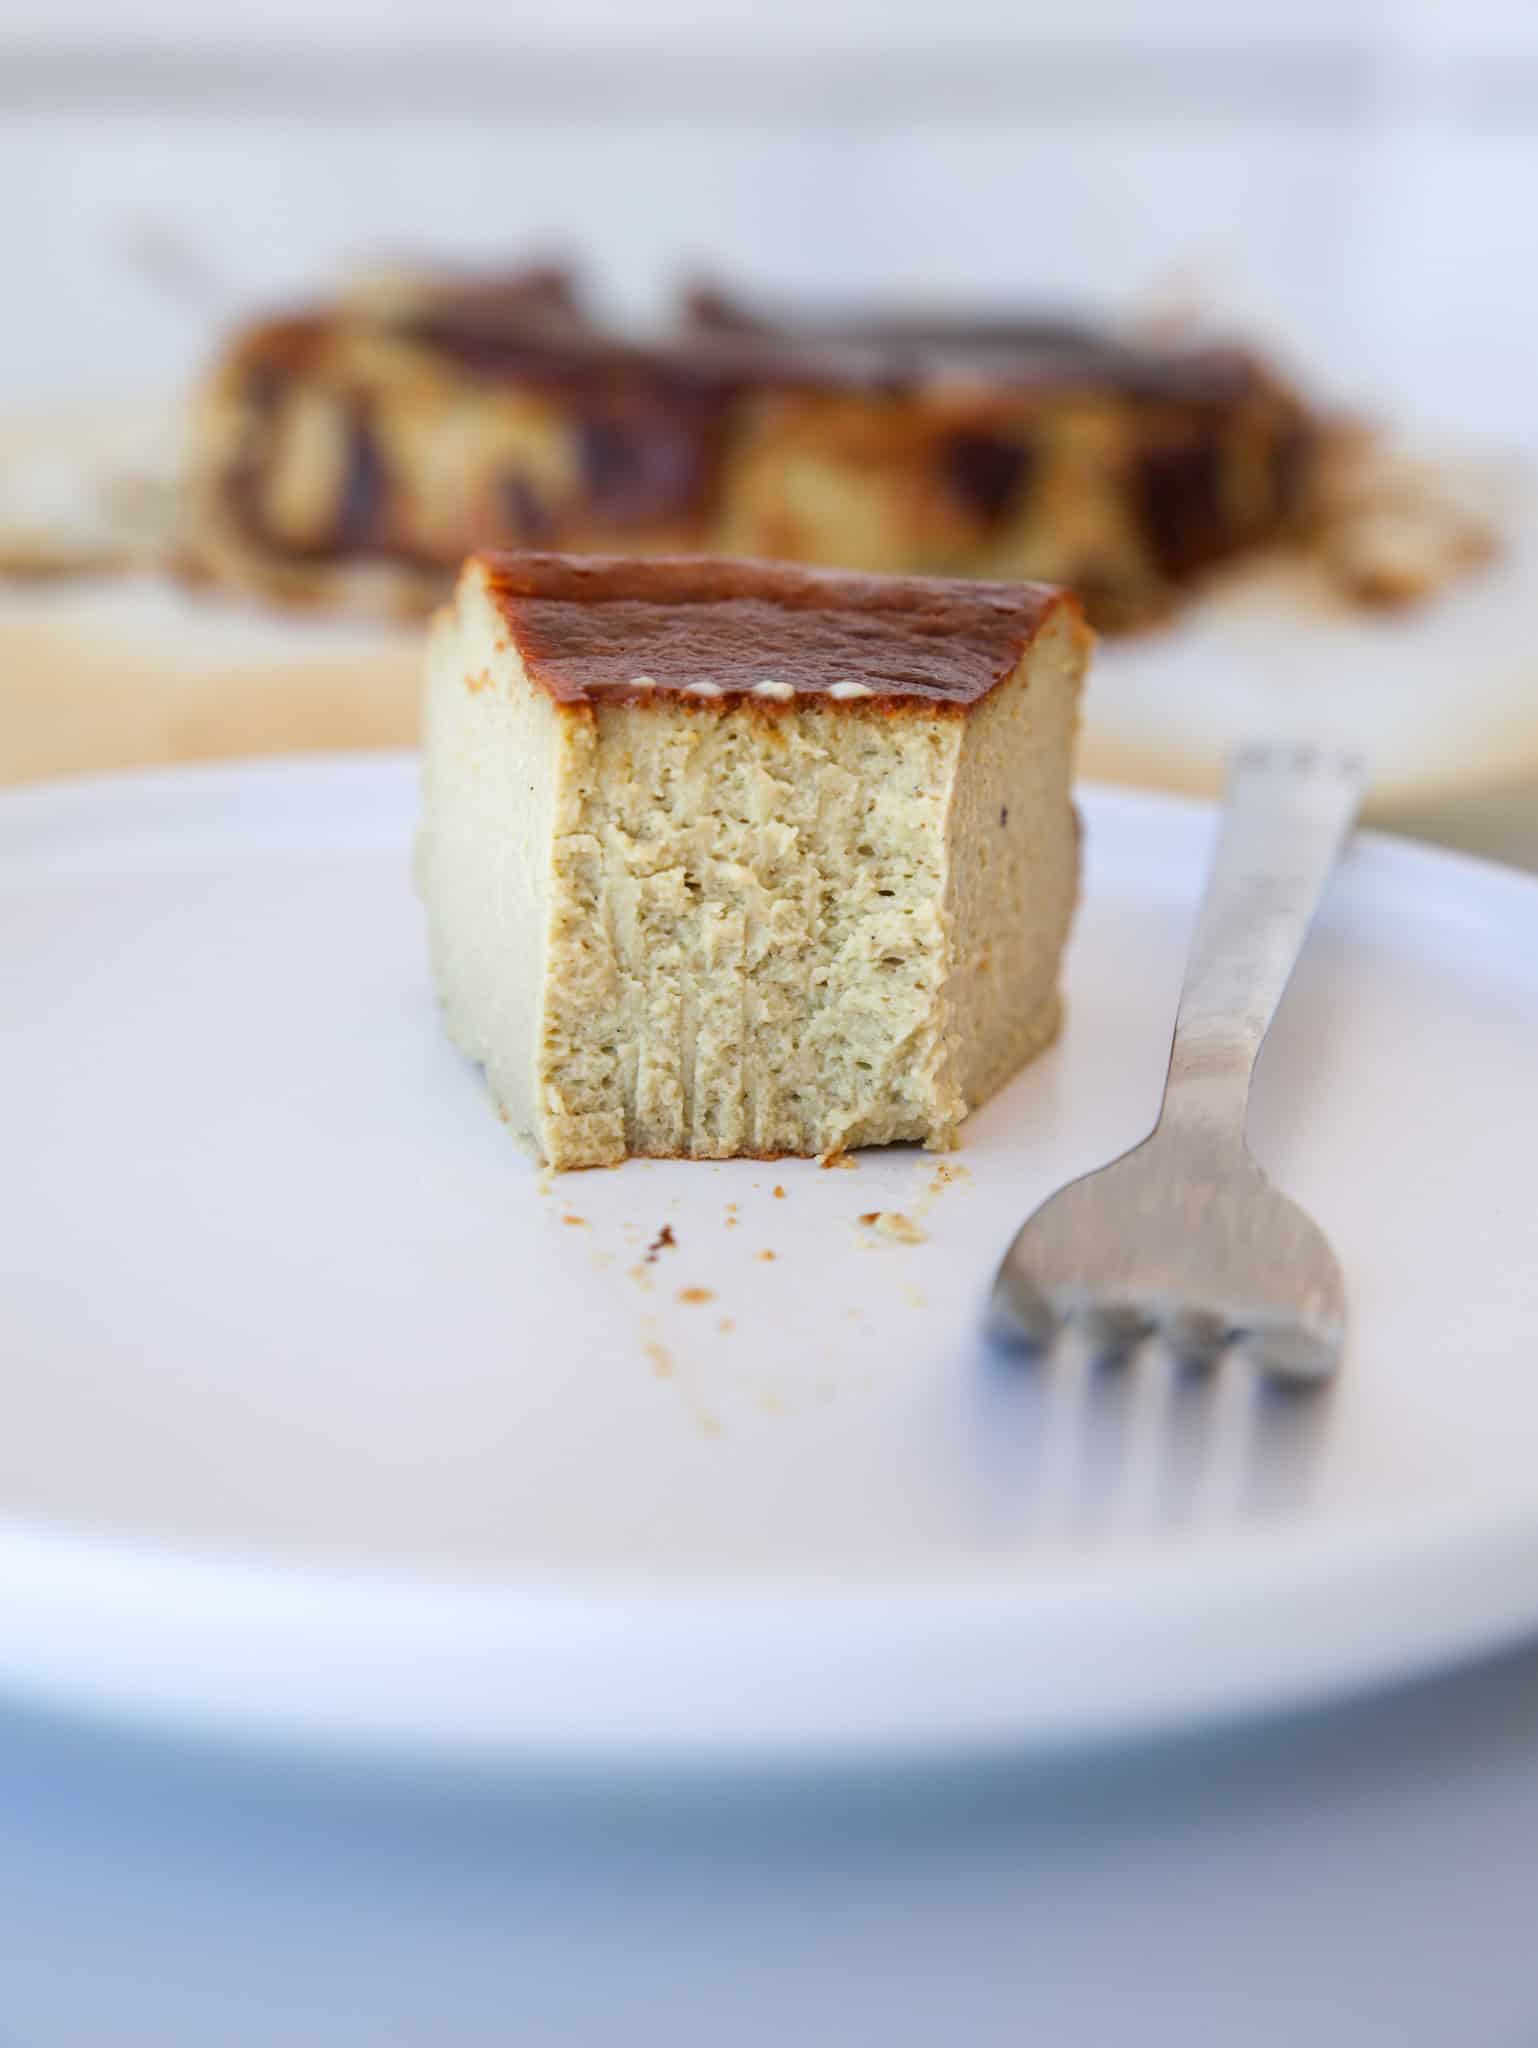
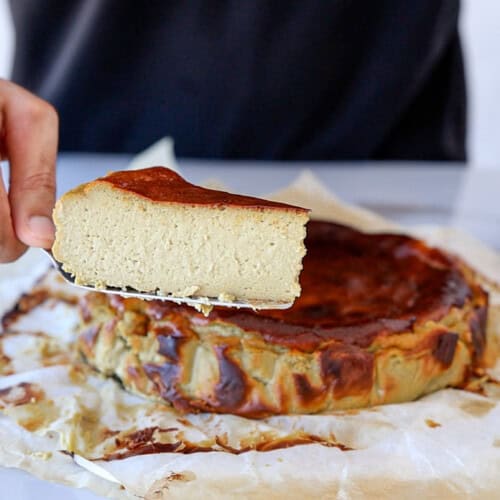
Pistachio Basque Cheesecake is a rich, creamy dessert that combines the rustic charm of classic Basque cheesecake with the nutty flavor of pistachios. This crustless cheesecake has a beautifully burnt top, a smooth and creamy center, and a delicious pistachio twist. Easy to make with no need for a water bath, this unique dessert is perfect for pistachio lovers and a great option for special occasions or indulgent treats.
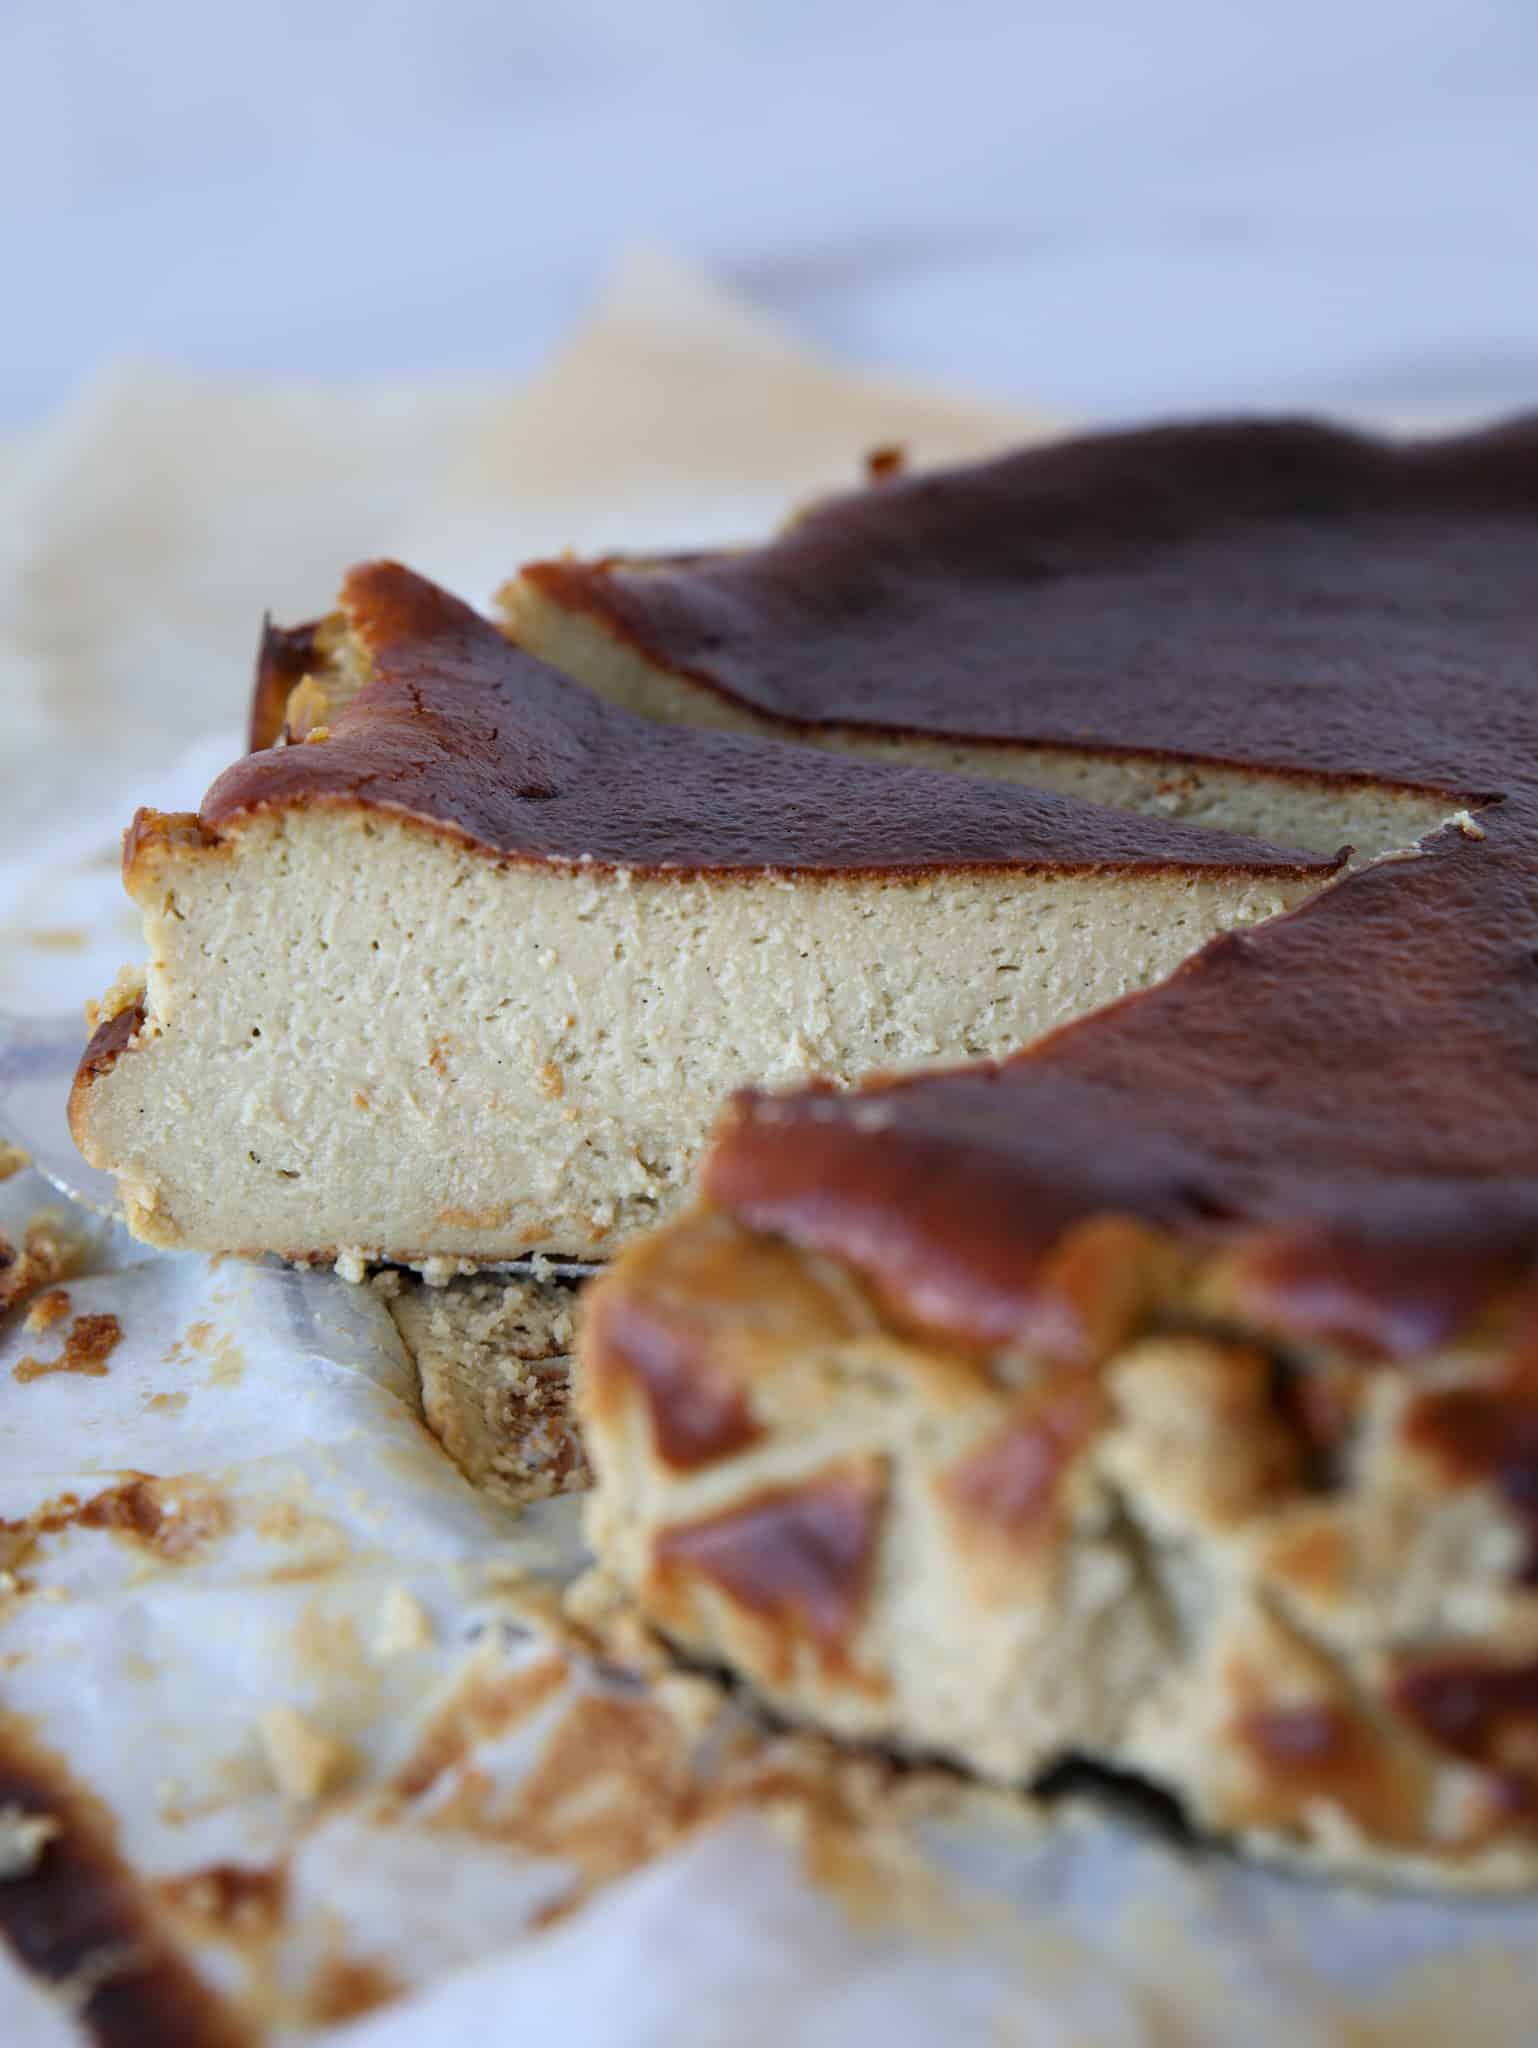
If you’ve been following me for a while, you probably know I love cheesecakes and I LOVE pistachios! My pistachio cheesecake recipe is a huge hit on social media, and my classic Basque cheesecake is one of my favorite recipes. That’s why I decided to combine these two recipes and create a unique twist: an easy Pistachio Basque Cheesecake recipe.
❤️ Why I Love Pistachio Basque Cheesecake
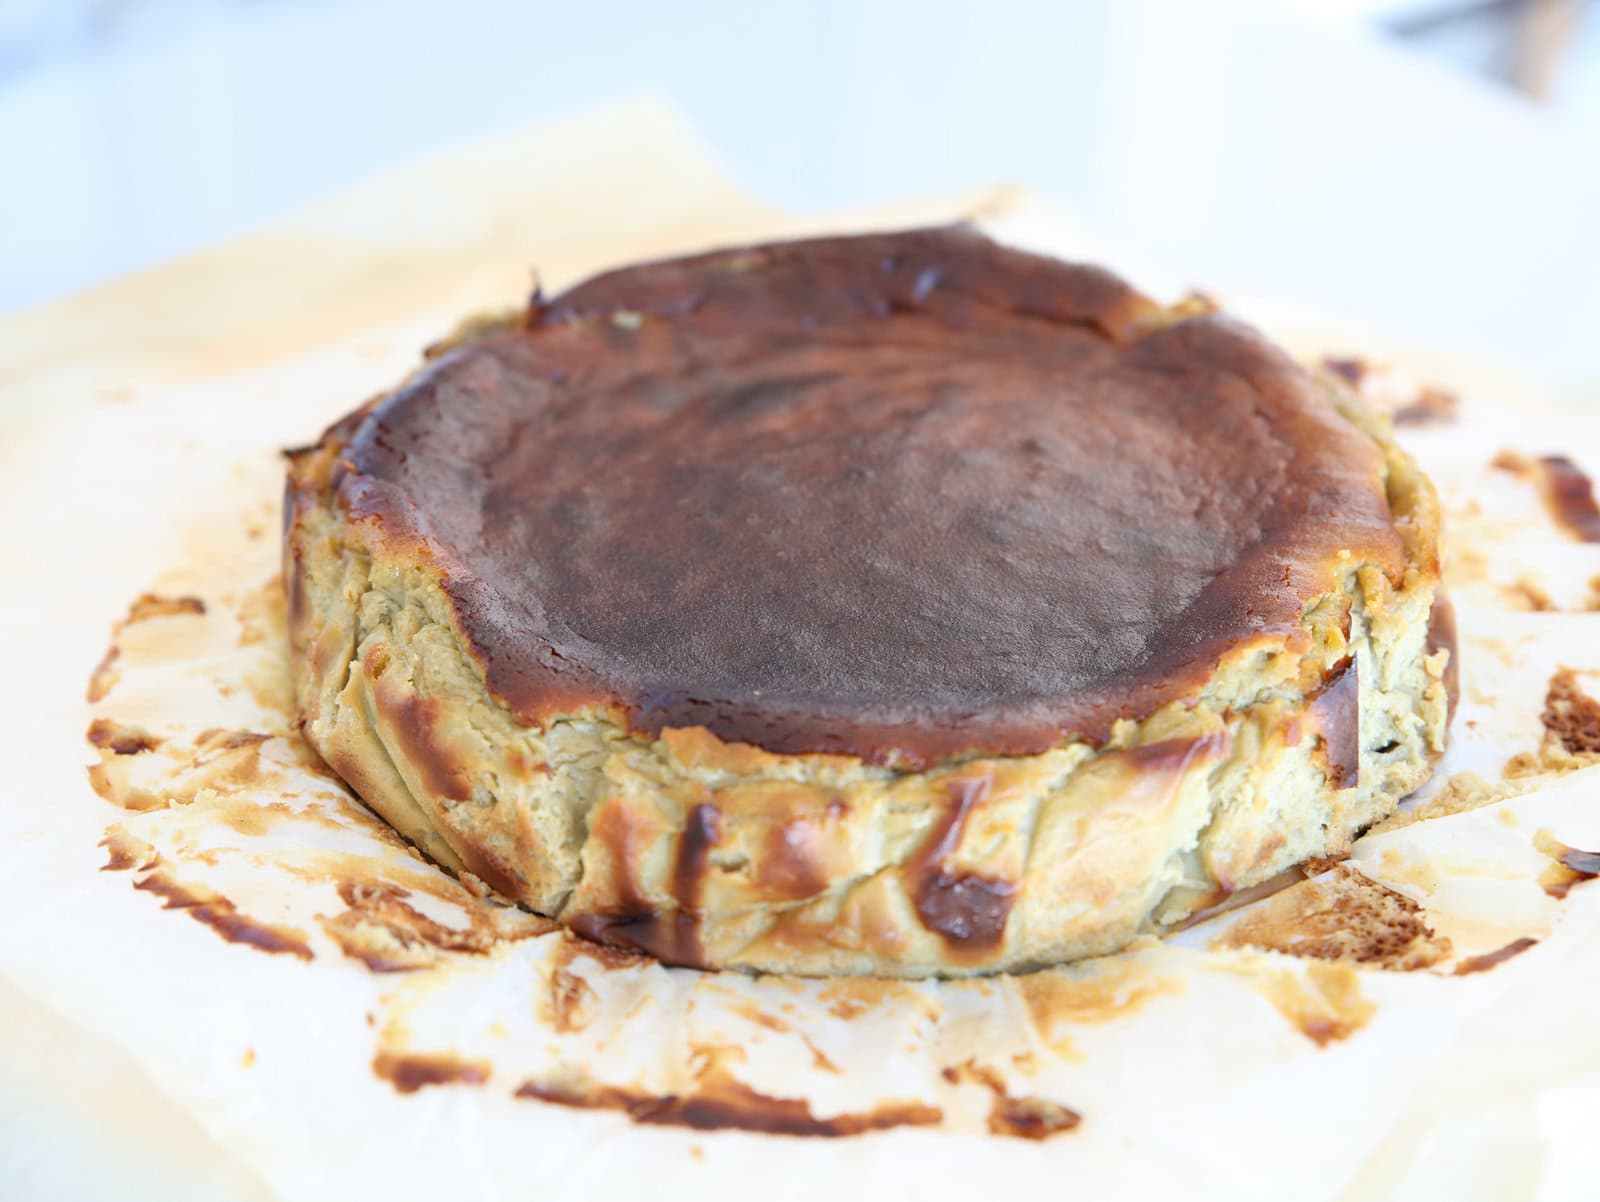
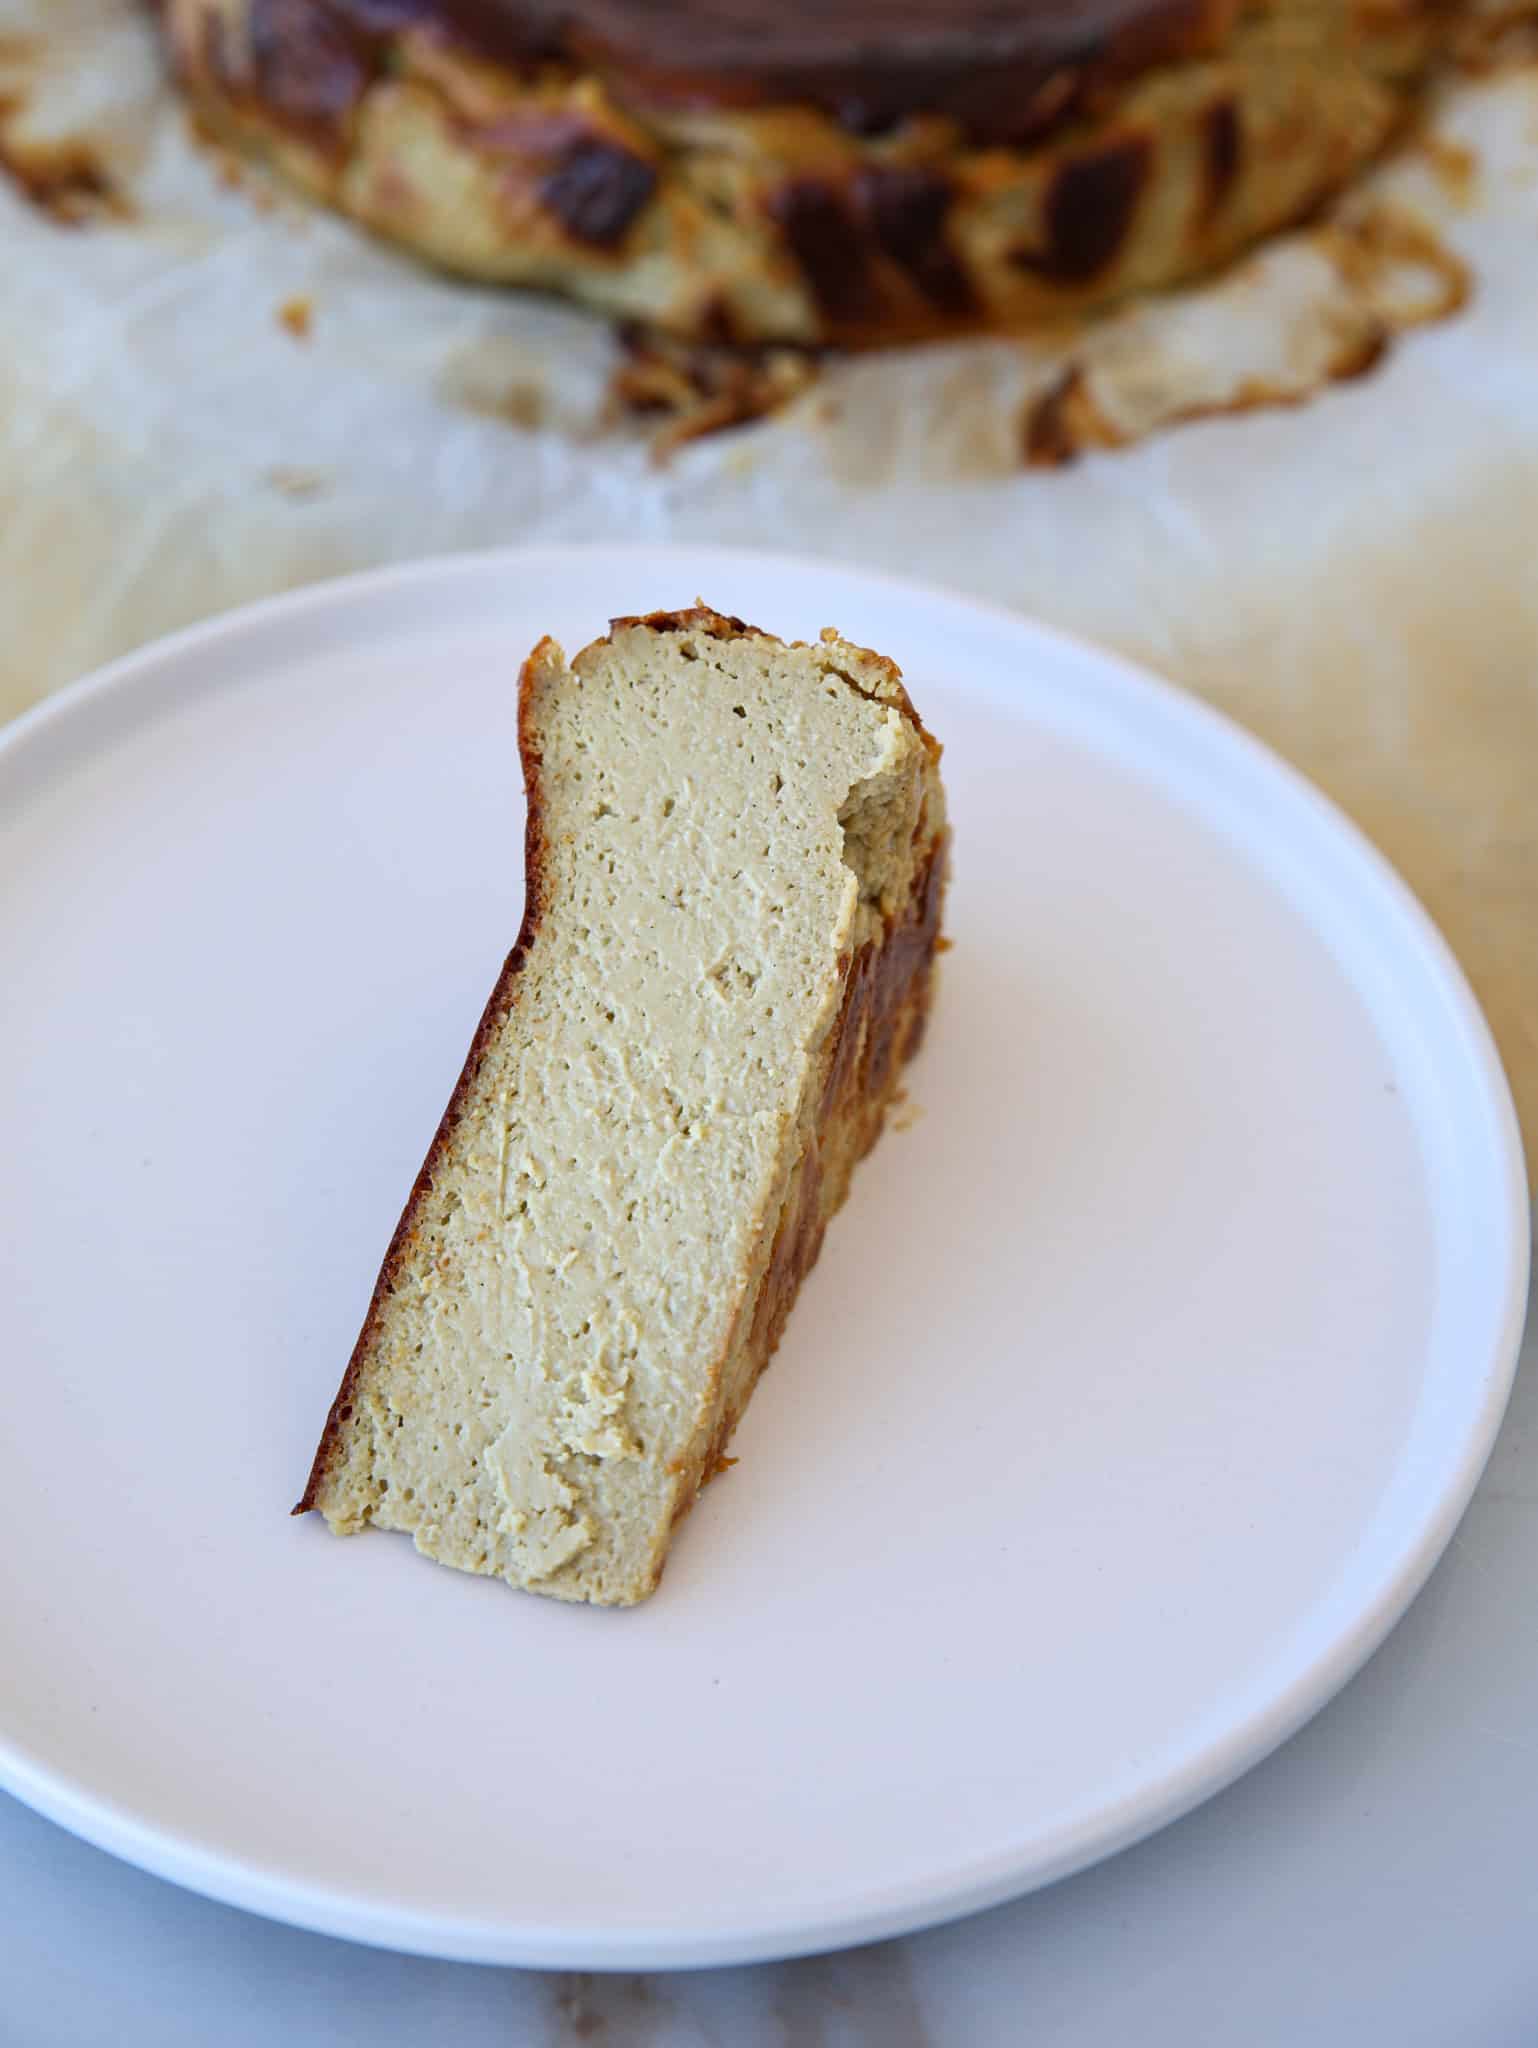
Pistachio Basque Cheesecake has become one of my all-time favorite desserts, and here’s why. First, it’s incredibly easy to make—no water bath or complicated techniques required. The beauty of this cheesecake lies in its simplicity, yet it delivers an impressive result every time.
No crust: This cheesecake skips the crust, making it even simpler.
Burnt top: The signature burnt top gives it a rustic, caramelized flavor that balances perfectly with the creamy filling.
Creamy pistachio flavor: The addition of pistachio paste adds a rich, nutty flavor, elevating this classic Basque cheesecake into a pistachio dessert lover’s dream.
Perfect for any occasion: Whether you’re entertaining or just indulging, this cheesecake never fails to impress.
🛒 Ingredients
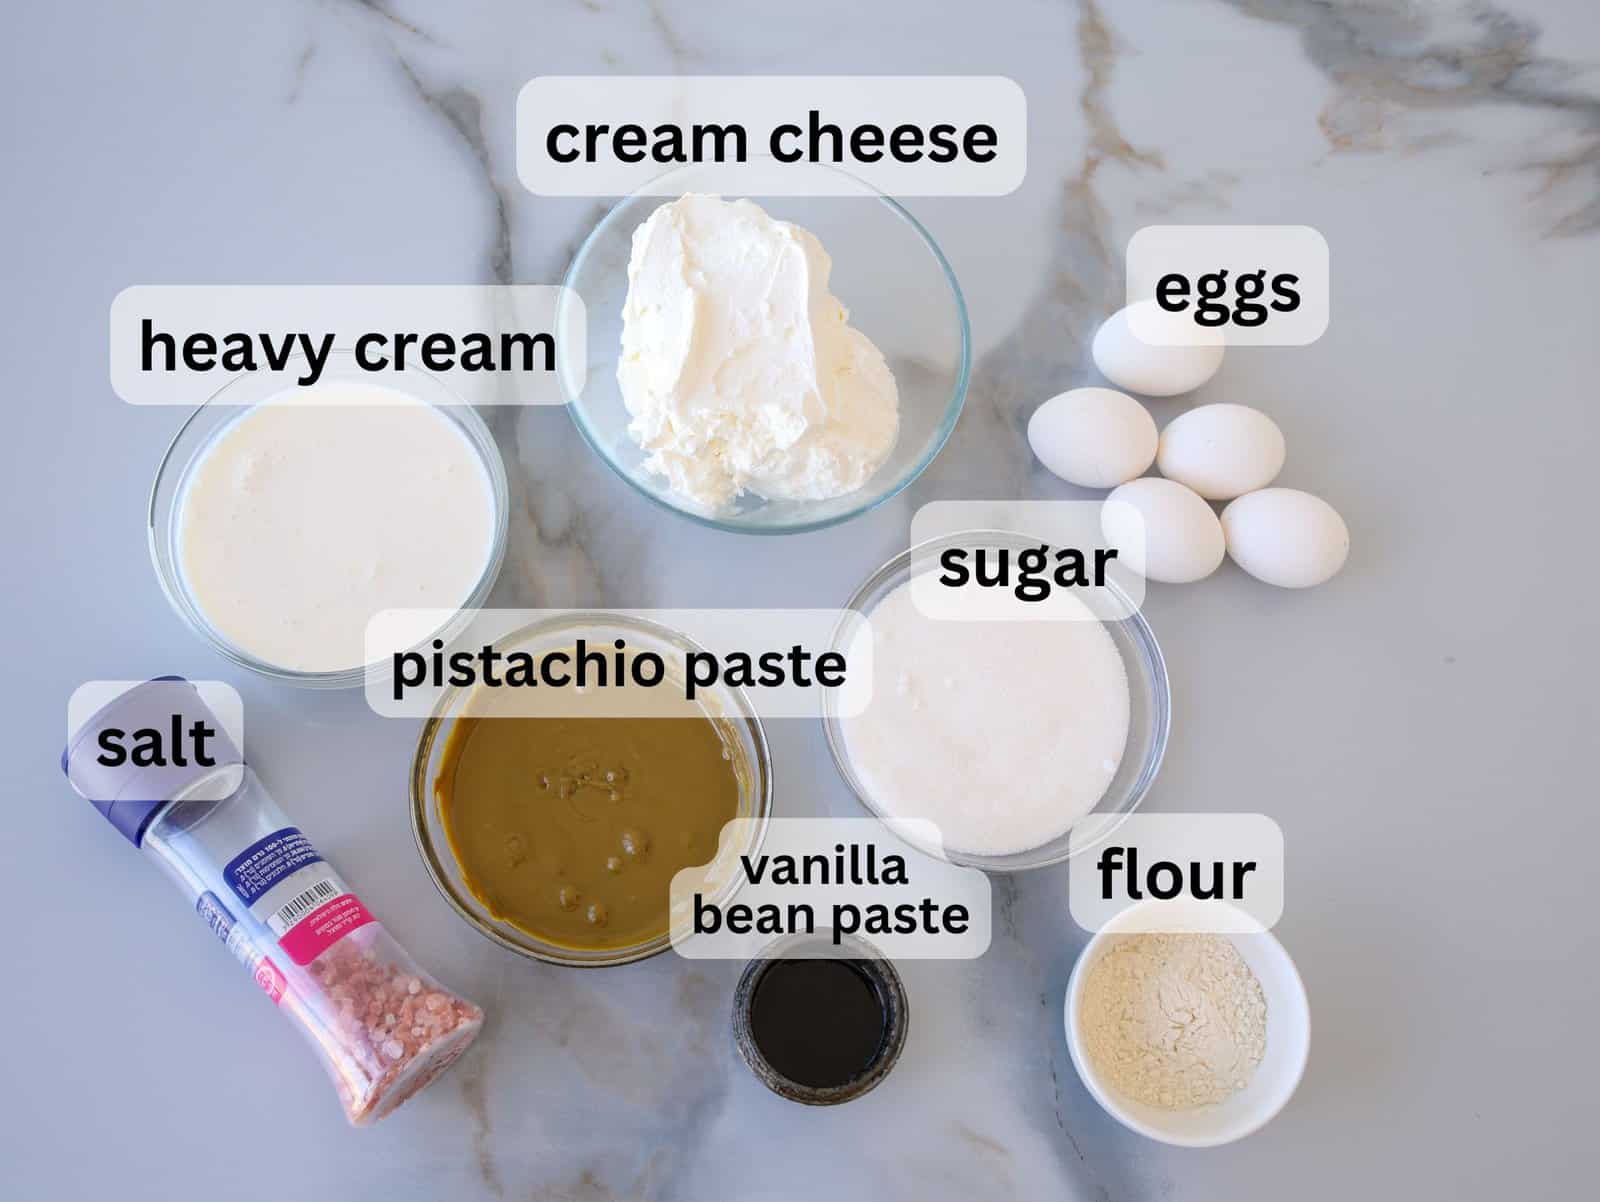
Cream cheese: The base of the cheesecake, providing a smooth, creamy texture and the signature tangy flavor.
Sugar: Balances the tanginess of the cream cheese and enhances the sweetness of the pistachio paste.
Pistachio paste: This is the star ingredient, adding a rich, nutty flavor and vibrant green hue to the cheesecake. It transforms the classic Basque cheesecake into a unique pistachio dessert.
Salt: Just a pinch helps to enhance the sweetness and brings out the full flavor of the pistachios.
Eggs: Eggs provide structure, helping the cheesecake set while also adding richness and creaminess.
Vanilla bean paste: Adds a subtle warmth and depth of flavor that complements both the pistachios and cream cheese.
Heavy cream: It adds extra creaminess and richness, giving the cheesecake its luscious texture.
Flour: A small amount of flour helps bind the ingredients together, ensuring the cheesecake holds its shape without becoming too dense.
🤌How to Make Burnt Pistachio Cheesecake
Making Basque cheesecake with pistachio is incredibly easy and delivers impressive results. Follow these steps to create a delicious Pistachio Basque cheesecake:
1. Prepare the pan: Grease a springform pan and line it with parchment paper, leaving extra overhang for a rustic look. This ensures the cheesecake won’t stick and gives it its signature shape.
2. Beat cream cheese and sugar: In a mixing bowl, beat the cream cheese and sugar together until smooth and fluffy. This forms the creamy base of the burnt cheesecake.
3. Add pistachio paste: Mix in the pistachio paste until fully incorporated. This adds a rich, nutty flavor to the cheesecake.
4. Add eggs and remaining ingredients: Add the eggs one at a time, followed by the heavy cream, vanilla, and salt. Finally, sift in the flour and mix until just combined.
5. Pour and bake: Pour the batter into the prepared pan and bake until the top is dark golden and the center is slightly jiggly. Cool and refrigerate to set.
Enjoy this rich and creamy cheesecake with pistachio paste—a perfect addition to your collection of pistachio dessert recipes!
What is Pistachio Paste
Pistachio paste is a smooth, nutty spread made from finely ground pistachios. It’s rich in flavor and used in various desserts like cakes, pastries, and, of course, cheesecake. You can often find pistachio paste at specialty food stores or online, but making it at home is also easy. All you need are pistachios, and a food processor or blender to create a fresh and creamy paste. For a detailed recipe and tips, check out my post on homemade pistachio paste!
More Dessert Recipes
If you’re a fan of delicious, easy-to-make desserts like this Pistachio Basque Cheesecake, here are a few more recipes you might enjoy:
- Pistachio Tiramisu
- Classic Basque Cheesecake
- Classic Tiramisu
- Flourless Pistachio cake
- Chocolate Basque Cheesecake
Pistachio Basque Cheesecake
Equipment
Ingredients
- 3¼ cups (730 g) Cream cheese room temperature
- 1¼ cups (250 g) Sugar
- ¾ cup (180 g) Pistachio paste
- ¼ teaspoon Salt
- 5 Eggs large
- 1 teaspoon Vanilla bean paste
- 1¼ cup (300 ml) Heavy cream
- 3 tablespoons (24 g) Flour
Instructions
- Preheat your oven to 410°F (210°C). Grease a 9-inch (23cm) springform pan and line it with parchment paper, leaving the edges overhanging the pan by about 2 inches (5cm). This gives the cheesecake its signature rustic look.
- Cream the cream cheese and sugar together in a large mixing bowl using a hand mixer or stand mixer on medium speed. Mix for about 2-3 minutes until smooth and fluffy.
- Add pistachio paste and mix until incorporated and smooth.
- Add the eggs one at a time, beating after each addition until fully incorporated. Scrape down the sides of the bowl to ensure everything is mixed evenly.
- Pour in the heavy cream, vanilla extract, and salt. Continue to beat until smooth and creamy.
- Sift in the flour and mix on low speed just until combined. You don’t want to overmix.
- Pour the batter into the prepared pan. The batter will be quite loose, but that’s okay—it will set during baking.
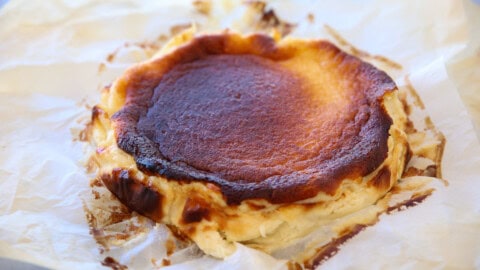
- Bake the cheesecake in a preheated oven for about 45-60 minutes until the top is deeply golden brown and the center is still slightly jiggly. The burnt top is characteristic of a Basque cheesecake, so don’t worry if it looks darker than a regular cheesecake.
- Cool at room temperature in the pan. The cheesecake will deflate a bit and continue to set as it cools.
- Chill the cheesecake in the fridge for at least 4 hours, or preferably overnight, to fully set.
Video
Notes
- Watch the Video: For a better understanding of the recipe, I always recommend watching the video recipe, which includes a step-by-step guide to help you succeed.
- FAQs: Make sure you read the FAQs for this recipe which are located below the recipe box for additional tips and troubleshooting! For extra tips and variations read the article.
- Storage: To store your Pistachio Basque Cheesecake, keep it covered in the refrigerator for up to 3-4 days. The cheesecake tastes even better after it has chilled overnight, allowing the flavors to fully develop. You can also freeze it for up to a month by wrapping it tightly in plastic wrap and foil.
- Baking Time May Vary: Baking times can differ depending on your oven. To know when your cheesecake is ready, look for a deeply golden-brown top with the center still slightly jiggly when you gently shake the pan. This slight wobble ensures a creamy, custard-like texture once the cheesecake cools. Avoid overbaking, as the cheesecake will firm up while cooling.
Nutrition
🤔 Common Questions
The cheesecake is ready when the top is golden brown, and the center is still slightly jiggly when gently shaken. This ensures a creamy texture after it cools.
Store the cheesecake in the refrigerator, covered, for up to 3-4 days. You can also freeze it for up to a month.
Yes, wrap it tightly in plastic wrap and foil, and freeze for up to a month. Thaw in the fridge before serving.
Use smooth, high-quality pistachio paste for the best flavor. You can find it in specialty stores or make your own at home.
While pistachios are the star of this recipe, you could experiment with other nut pastes, like almond or hazelnut, for a different twist.


I am sure it shall be so delicious …
I will try it , pretty soon 🥰
Thank you , so much 🥰
Thankyou for this Pistachio cheesecake recipe. if it tastes as good as it looks 😋 I will be well pleased !!
Angela Brighton.
It actually tastes even better than it looks 🙂
My family loved this!
This worked exactly as written, thanks!
Best cheesecake I’ve ever made.
Pistachio paste is not cheap these days, but IMO it’s worth it.
Next going to try your chocolate basque cheesecake.
Thanks!
Glad you liked my recipe 😉
I had been dreaming of making this for a while and finally had the chance for Christmas dinner. I made it exactly as written, out of the oven right at 45 minutes and it came out perfect. It was a hit with the whole family I’ve never heard so many moans over dessert. Just be prepared to drop some money on the pistachio paste but it’s worth it!
Wow Margaret! Your cheesecake looks so creamy 🙂