Homemade Pierogi Recipe | Polish Potato and Cheese Dumplings
This Pierogi recipe is a must-try! Learn how to make pierogi with homemade dough, a classic pierogi filling recipe, and the best cooking tips.
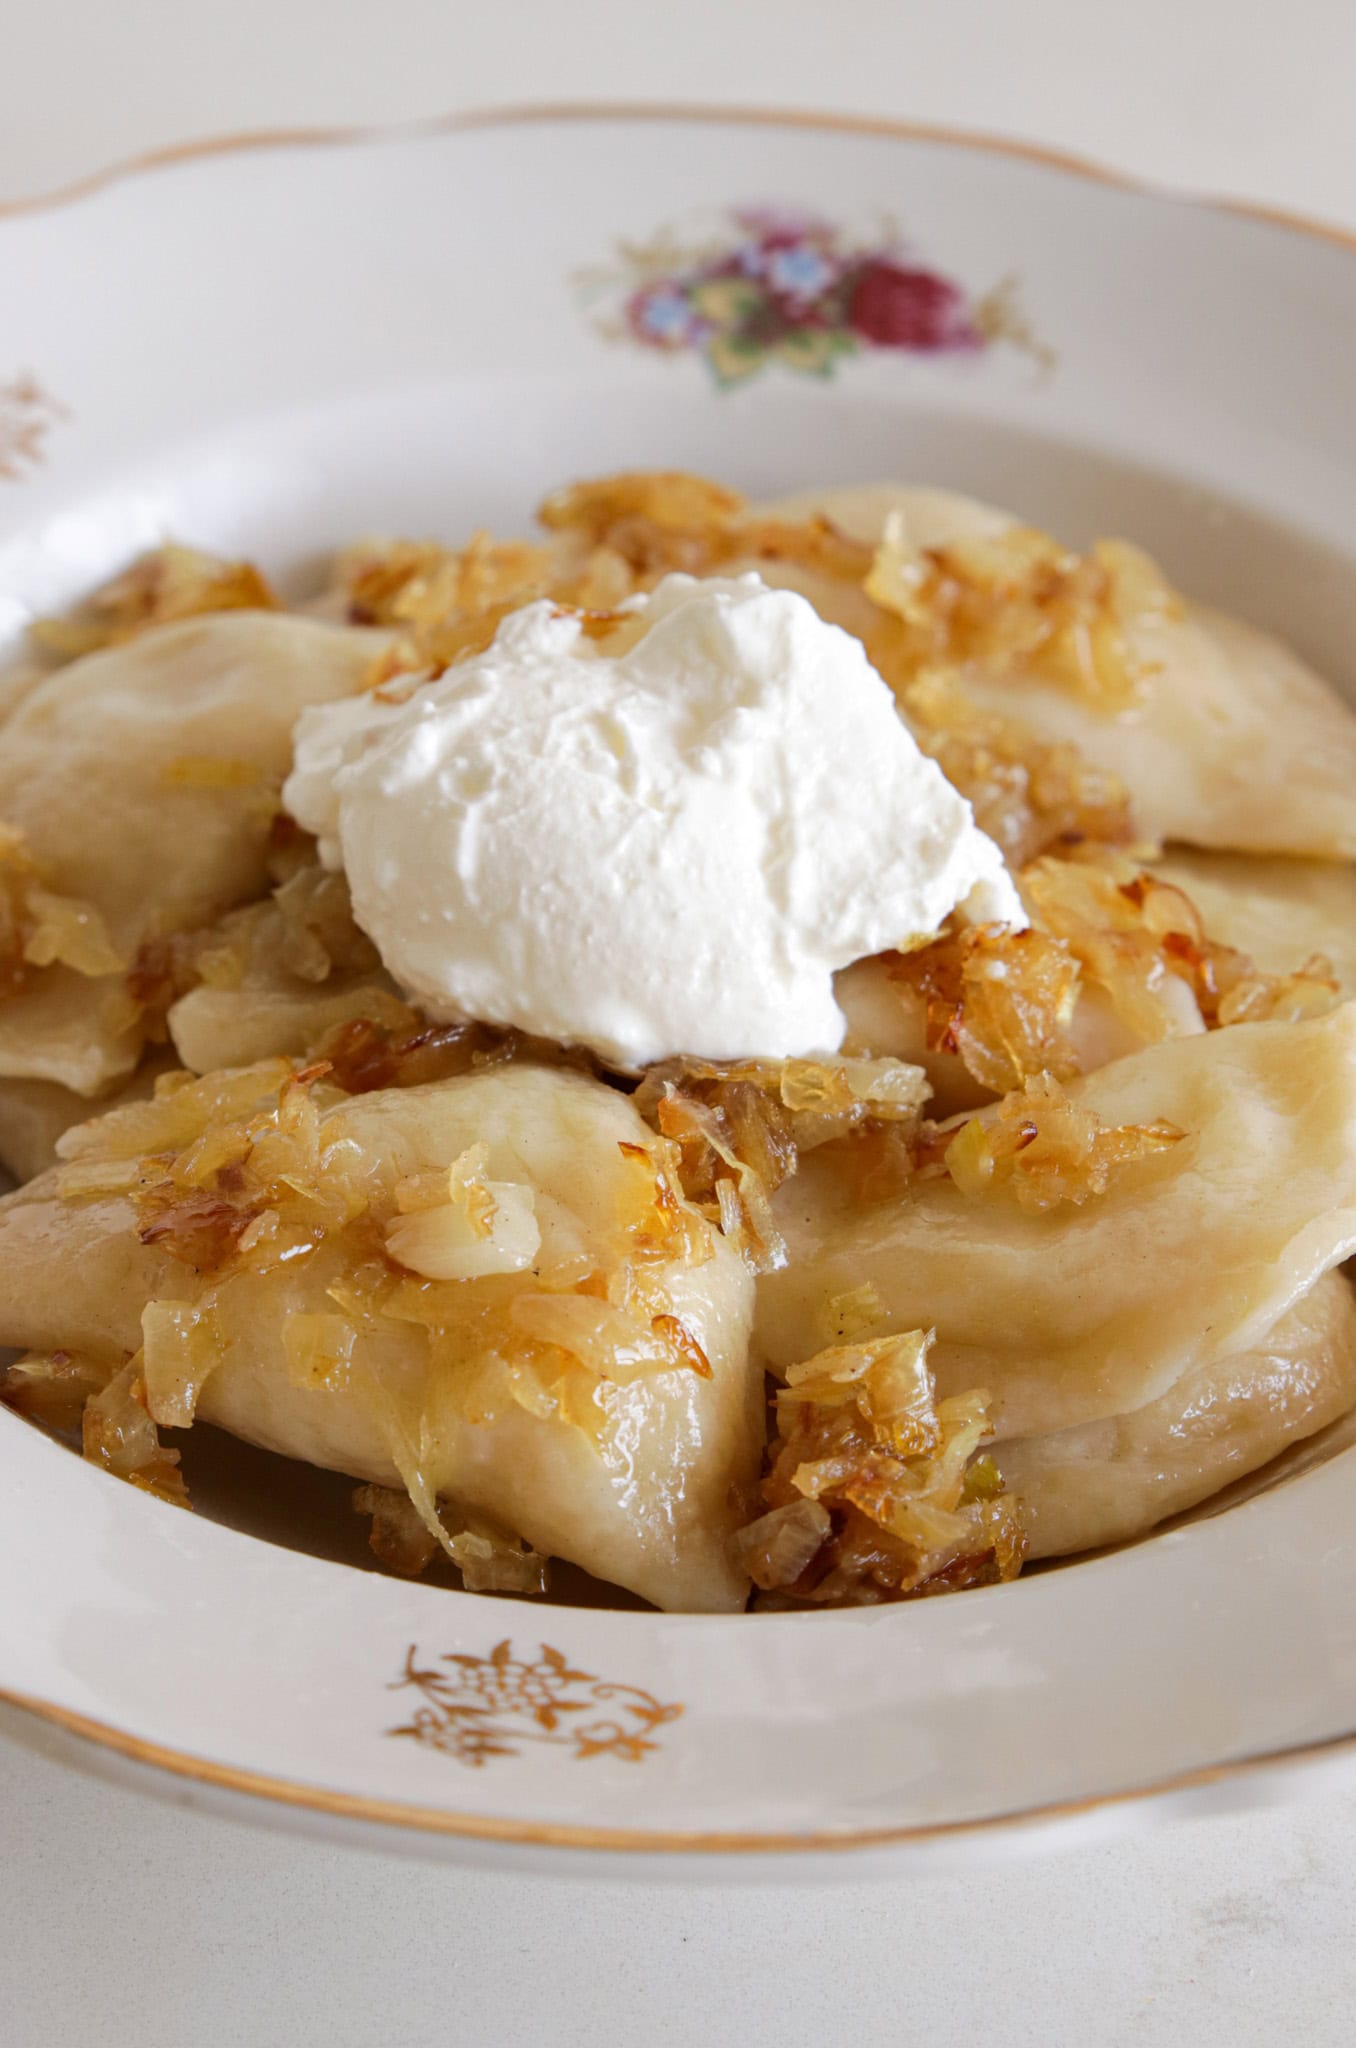
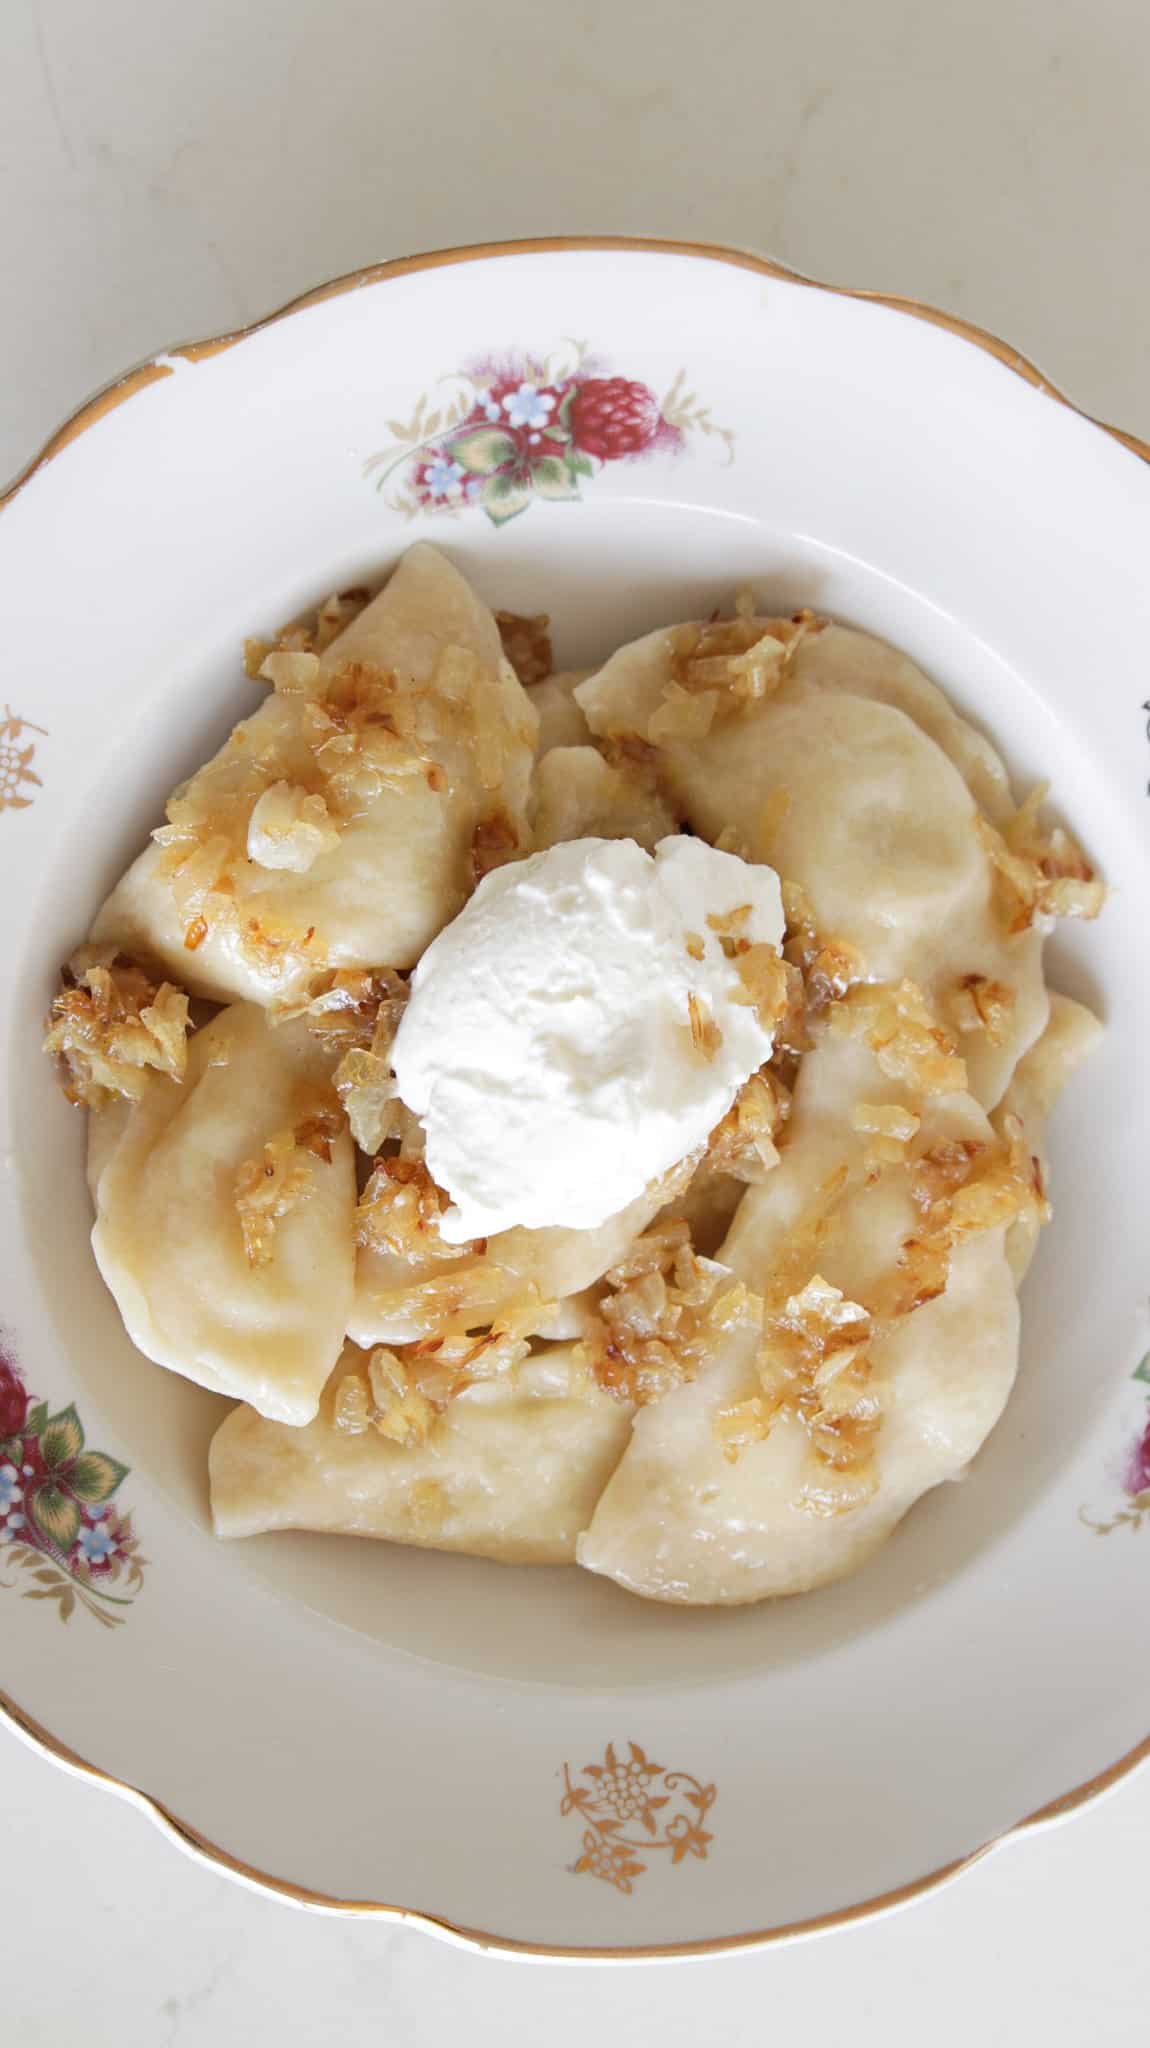
Love Eastern European comfort food? This Polish pierogi recipe is a must-try! These soft, pillowy Pierogi Ruskie are filled with creamy potatoes, cheese, and caramelized onions. Whether fresh or frozen, they’re easy to make and absolutely delicious. And if you enjoy Eastern European flavors, try Syrniki—fluffy cheese pancakes perfect with jam or sour cream!
What Are Pierogi?
Pierogi (plural of pieróg) are Polish dumplings made with a thin, unleavened dough filled with sweet or savory ingredients. The most famous version, Pierogi Ruskie, features a comforting potato and cheese filling mixed with sautéed onions. Despite the name, Pierogi Ruskie doesn’t mean “Russian pierogi”—it refers to the region of “Ruthenia” in Poland.
These dumplings can be boiled, pan-fried, or deep-fried and are often served with sour cream, caramelized onions, or crispy bacon. This recipe for pierogies is easy to follow, and with a little practice, you’ll be making them like a pro!
How to Freeze Pierogi
One of the best things about homemade pierogi is that they freeze beautifully, making them a great meal prep option.
Steps to Freeze Pierogi Properly:
- Place Uncooked Pierogi on a Tray: Arrange them in a single layer on a baking sheet lined with parchment paper.
- Freeze Until Firm: Let them freeze for about 1-2 hours to prevent sticking.
- Transfer to a Bag or Container: Once frozen solid, place them in an airtight freezer-safe bag or container.
- Label and Store: Store in the freezer for up to 3 months.
How to Cook Frozen Pierogi:
- Boiling Method: Drop frozen pierogi directly into boiling salted water and cook until they float, then for 1 more minute.
- Pan-Frying: Sauté frozen pierogi in butter until crispy and golden brown.
Tips & Tricks for the Best Pierogi Recipe
- Knead the Dough Well – A soft, elastic dough prevents tearing when sealing the pierogi.
- Let the Dough Rest – Allowing it to rest for 30 minutes helps it become more pliable and easy to roll.
- Seal the Edges Firmly – Press the edges tightly to prevent filling from leaking while cooking. Use a fork for a decorative crimp.
- Don’t Overfill – Too much filling can cause pierogi to burst when boiling.
- Use a Damp Towel – Cover dough pieces with a damp towel to prevent drying out while assembling.
- Boil in Batches – Avoid overcrowding the pot, as pierogi need space to cook evenly.
Choose Your Cheesy Magic 🧀
While farmer’s cheese is the traditional choice for Pierogi Ruskie, there are plenty of delicious alternatives:
- Farmer’s Cheese (Traditional) – Mild, crumbly, and slightly tangy.
- Ricotta Cheese – A creamy substitute with a delicate texture.
- Cottage Cheese – Slightly watery, so drain well before using.
- Feta Cheese – Adds a salty, tangy twist.
- Cream Cheese – Creates a smooth, rich filling.
- Mozzarella Cheese – Mild and extra gooey when melted.
- Cheddar Cheese – Sharp and bold, perfect for a stronger flavor.
Want to mix things up? Try combining two cheeses for a unique taste, like cheddar and mozzarella for an extra melty filling!
Best Served With
These homemade pierogi taste amazing on their own, but here are some classic pairings:
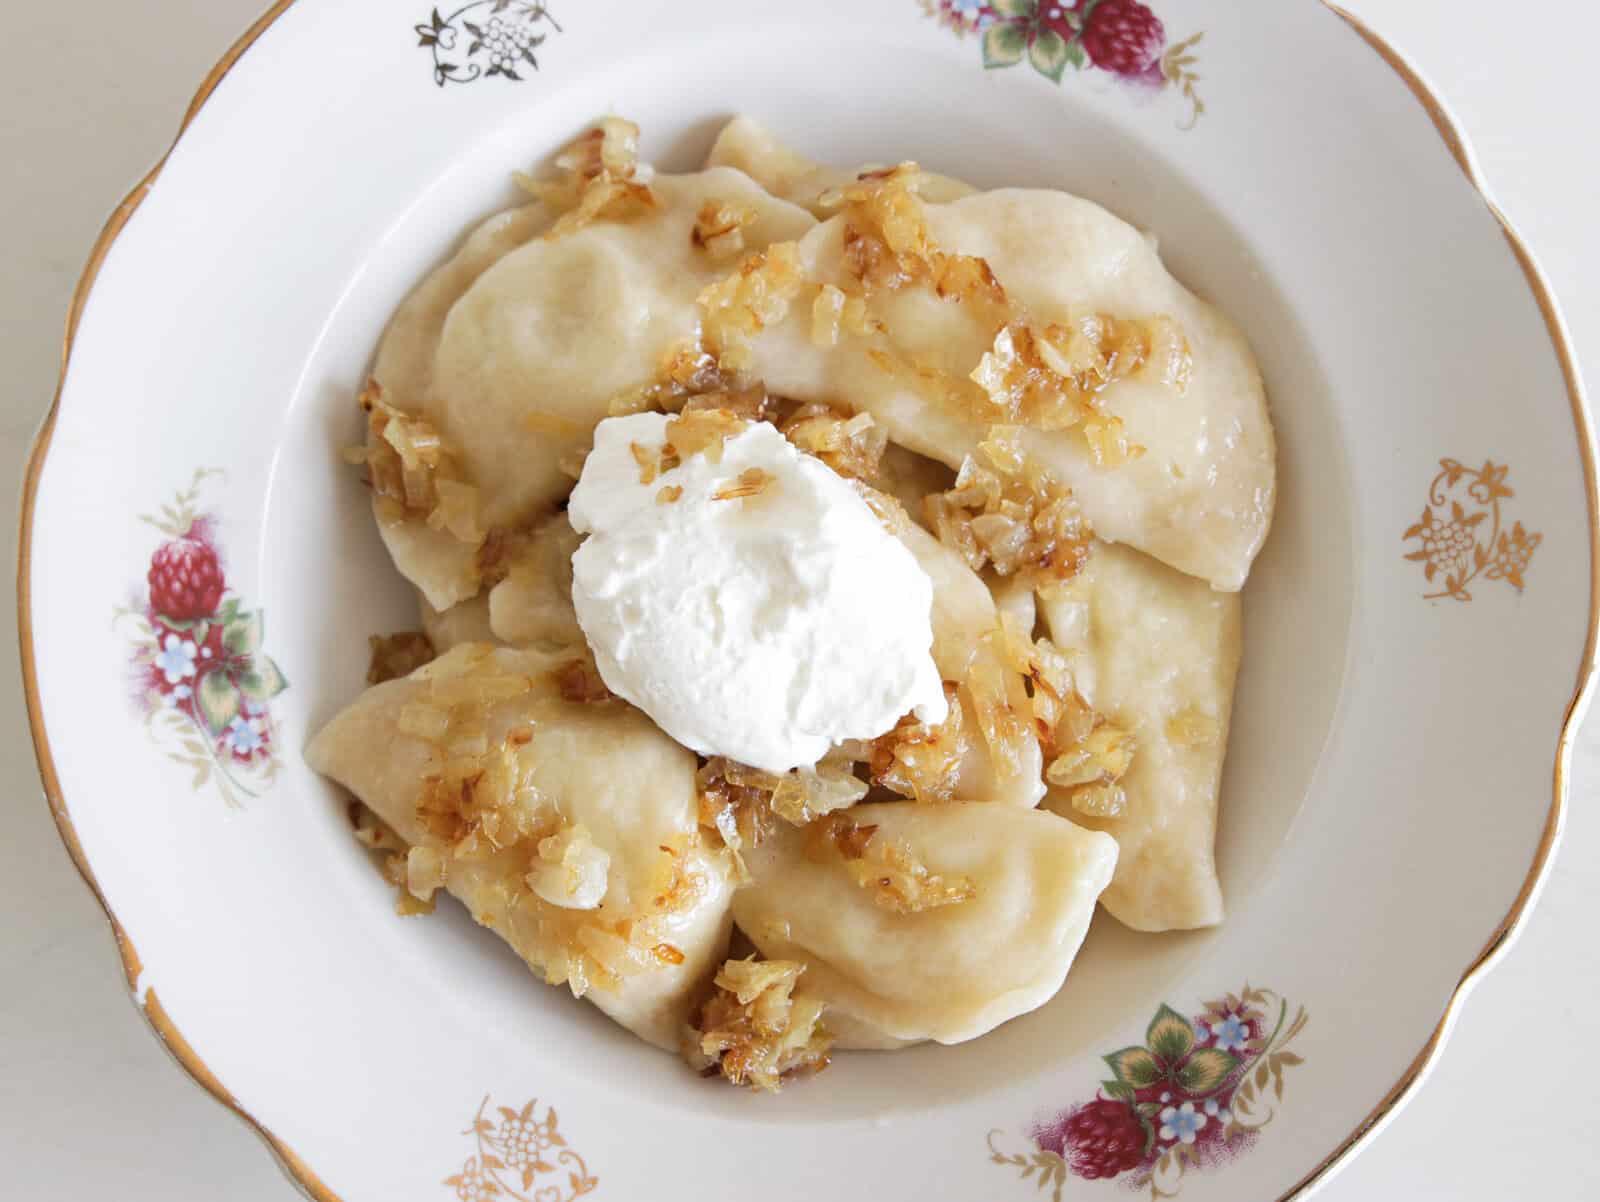
- Caramelized Onions & Butter – Adds deep, rich flavor.
- Crispy Bacon Bits – A salty, crispy topping.
- Sour Cream – The perfect creamy contrast to the dumplings.
- Nicoise Salad: serve with this classic french salad for a great combo of flavor.
- Beetroot and Chickpea Salad: Add earthy flavors and enjoy a complete meal.
How to Store Pierogi
Refrigerating Pierogi:
- Place cooked pierogi in an airtight container and refrigerate for up to 3 days.
- To reheat, pan-fry them in butter until golden or warm them in boiling water for 1 minute.
Freezing Pierogi:
- Arrange uncooked pierogi on a tray lined with parchment paper and freeze until solid (about 2 hours). Transfer to a freezer-safe bag and store for up to 3 months.
- Cook straight from frozen by boiling until they float and then cooking for 1 more minute.
Homemade Pierogi Recipe
Ingredients
For the pierogi dough:
- ⅔ (160 ml) Warm water
- ½ teaspoon Salt
- 2 cups (250 g) Flour
- 2 tablespoons (30 ml) Oil
For the pierogi filling:
- 1 lb. (450 g) Potatoes peeled
- 2 Onions chopped
- 1 cup (250 g) farmer’s cheese (read notes)
- Salt to taste
- Pepper to taste
For serving:
- 2 tablespoons (30 g) Butter
- 1 Onion chopped
- Sour cream
Instructions
- Make the Dough: In a small bowl, mix warm water, salt, and oil.
- In a large bowl, place the flour and make a well in the center. Pour in the wet mixture and gradually mix until a smooth dough forms.
- Knead the dough on a lightly floured surface for about 5 minutes until soft and elastic. Cover with a damp towel and set aside to rest while preparing the filling.
- Make the Filling: Fill a medium-large pot with water, add 1 tablespoon of salt, and bring to a boil. Add the potatoes and cook until fork-tender (about 15–20 minutes).
- Drain the potatoes and place them in a large bowl. Mash until smooth.
- In a medium-sized pan, heat 2 tablespoons of oil over medium heat. Add the chopped onions and cook until golden brown.
- Add ¾ of the cooked onions to the mashed potatoes, season with salt and pepper, and mix well. If using cheese, mix it in at this stage. Let the filling cool completely.
- Assemble the Pierogi: Divide the dough into 4 pieces. Roll out each piece to about ⅛ inch (3mm) thick.
- Using a glass or a 6–7cm (2.5-inch) cookie cutter, cut out circles.
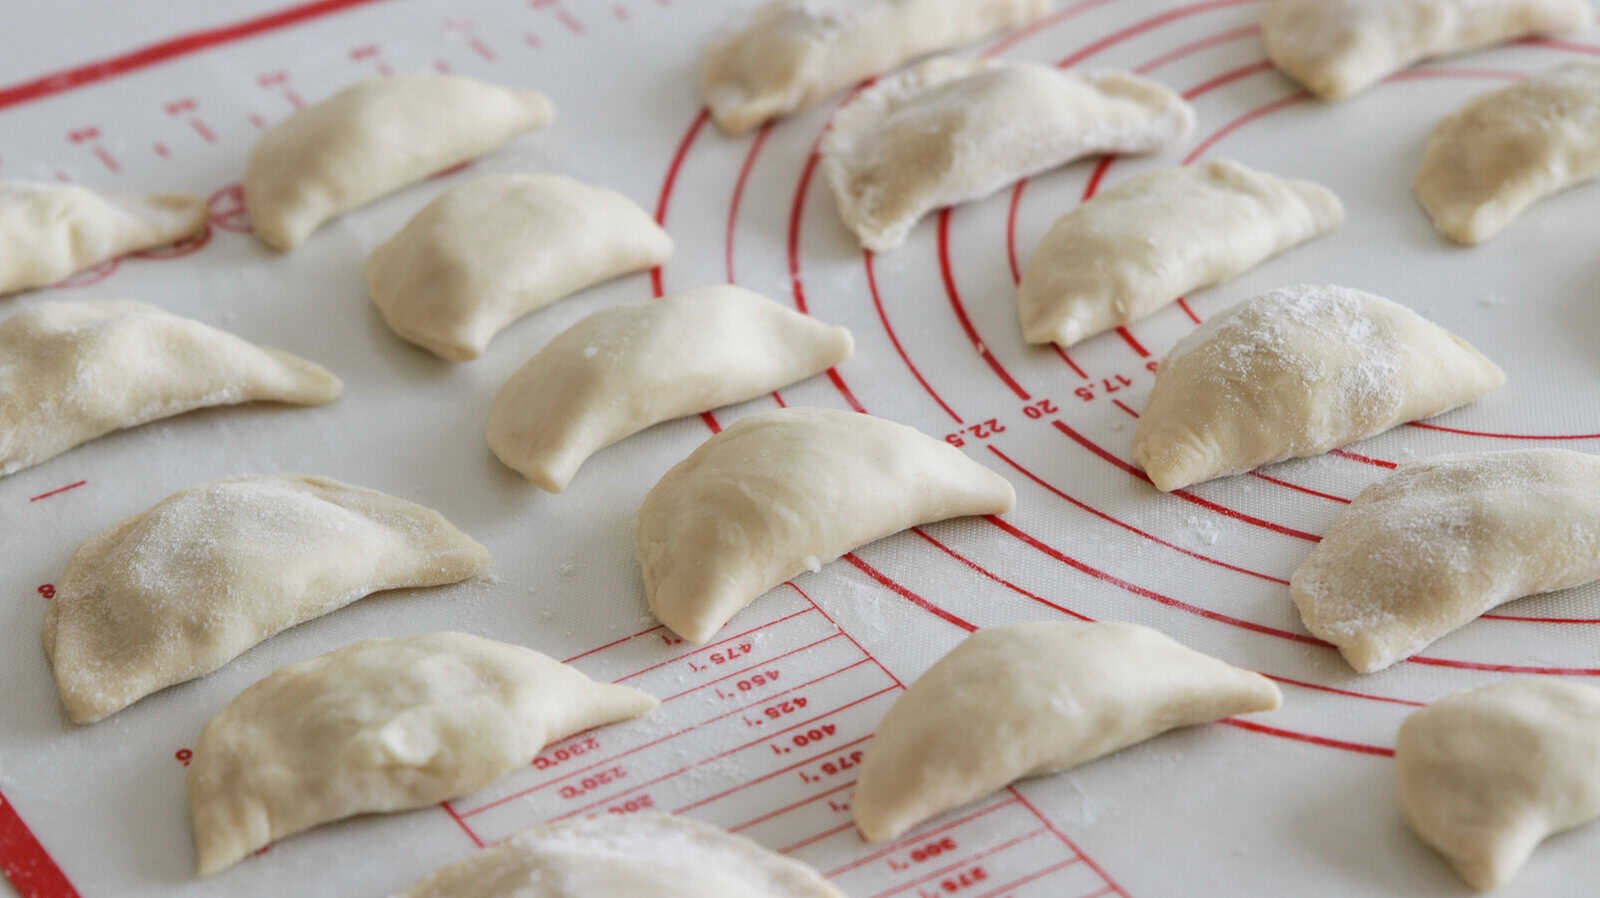
- Place 1 teaspoon of filling in the center of each circle. Fold the dough over to form a half-moon shape, then press the edges together firmly to seal. You can crimp the edges with a fork for extra security.
- Repeat with the remaining dough and filling.
- Cook the Pierogi: Bring a large pot of salted water to a boil. Drop the pierogi in batches into the boiling water. Stir gently to prevent sticking. Boil until they float to the surface, then cook for 1 more minute.
- Use a slotted spoon to remove and drain.
- Fry and Serve (Optional): In a skillet, melt butter and sauté the remaining ¼ of the cooked onions until golden. Add the boiled pierogi and fry until lightly golden and crispy. Serve warm with sour cream
Notes
- Cheese is optional in the filling. The pierogi can be made with just potatoes and onions for a traditional taste.
- Best cheese options: Farmer’s cheese, tvorog, ricotta, or dry curd cottage cheese.
- A small amount of grated cheddar or parmesan can be added for extra flavor.
- Uncooked pierogi: Place on a floured tray and freeze in a single layer. Once frozen, transfer to a freezer bag and store for up to 3 months. Boil directly from frozen (add an extra 1–2 minutes to cooking time).
- Cooked pierogi: Store in an airtight container in the fridge for up to 3 days. Reheat by boiling for 30 seconds or frying in butter.
- Russet potatoes (starchy) – create a fluffy, light filling.
- Yukon Gold potatoes (medium-starch) – give a slightly creamy texture.
- Avoid waxy potatoes (like red potatoes), as they don’t mash well.
Nutrition
Frequently Asked Questions
Despite the name, Pierogi Ruskie doesn’t mean “Russian pierogi.” It comes from the term “Ruthenia,” a historical region that includes parts of Poland and Ukraine.
Yes! Store the dough wrapped in plastic wrap at room temperature for up to 2 hours or refrigerate for up to 24 hours before using.
Make sure to seal the edges tightly and avoid overfilling. Boiling pierogi gently and not overcrowding the pot also helps.
Classic toppings include caramelized onions, crispy bacon, sour cream, melted butter, and fresh herbs like dill or chives.


")

 Mac and Cheese Recipe")
")

Amazing recipe, reminds me of childhood.
thank you.