Homemade Pickled Ginger (Gari) for Sushi
This post may contain affiliate links.
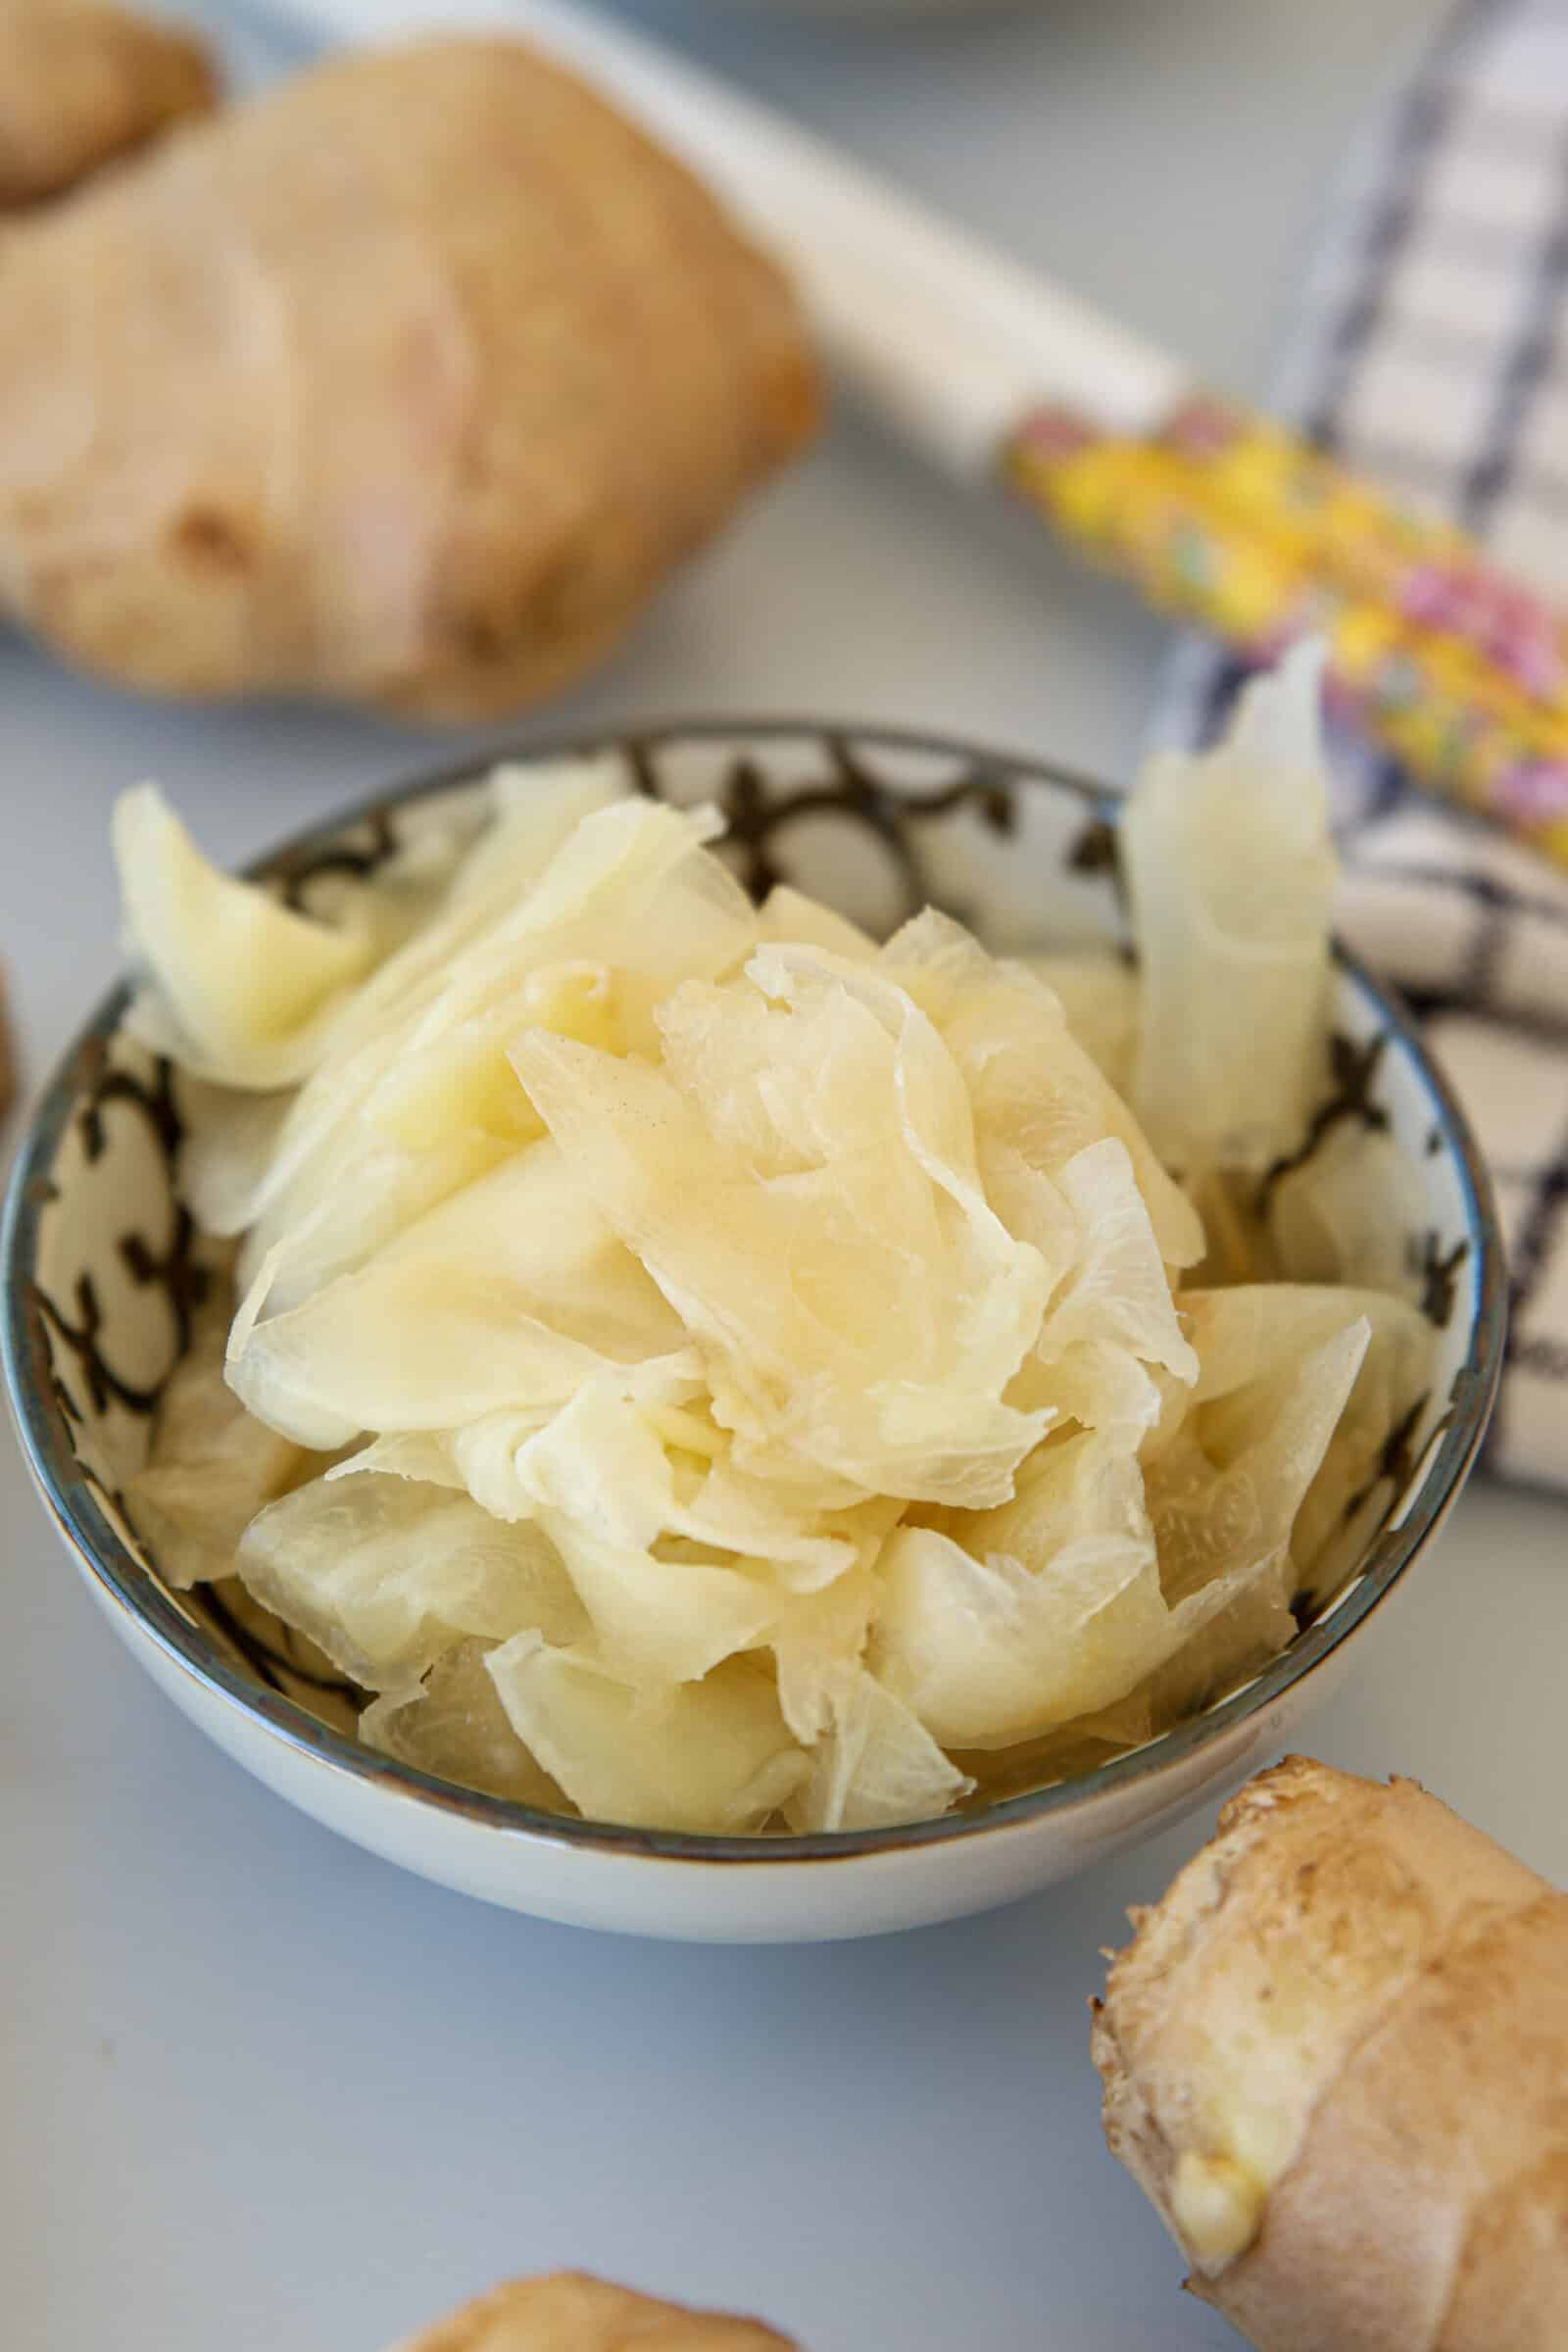
Spicy, tangy, and mildly sweet Japanese Pickled Ginger (Gari) is an essential part of any sushi dinner, offering a delicious palate cleanser between bites. But, rather than spend $5+ for a small jar at the store, why not make your own? It’s super easy and you only need 4 ingredients!
As they say, “the devil’s in the details,” and when we’re talking about food, condiments are the details that make all the difference. From homemade peanut butter and homemade pistachio paste to DIY garam masala and sushi ginger, making your own flavor boosters is an easy way to customize your cooking and save on your grocery budget.
Why You’ll Love This Pickled Ginger Recipe
- My YouTube video recipe for for gari ginger has racked up nearly 250,000 views and close to 5,000 likes, so you can trust that it’ll turn out perfectly every time.
- Unlike store-bought versions that include aspartame, artificial dyes and preservatives, this DIY ginger for sushi is made with only 4 real, easy-to-source ingredients. I don’t know about you, but all-natural is always my food preference.
- As with just about any DIY, pickling ginger yourself is not only healthier than store-bought, it’s typically cheaper, too! (And for all my green-thumbs out there, ginger is something you can plant once and harvest forever, so it’ll definitely be cheaper. 😉)
Ingredients & Substitutions
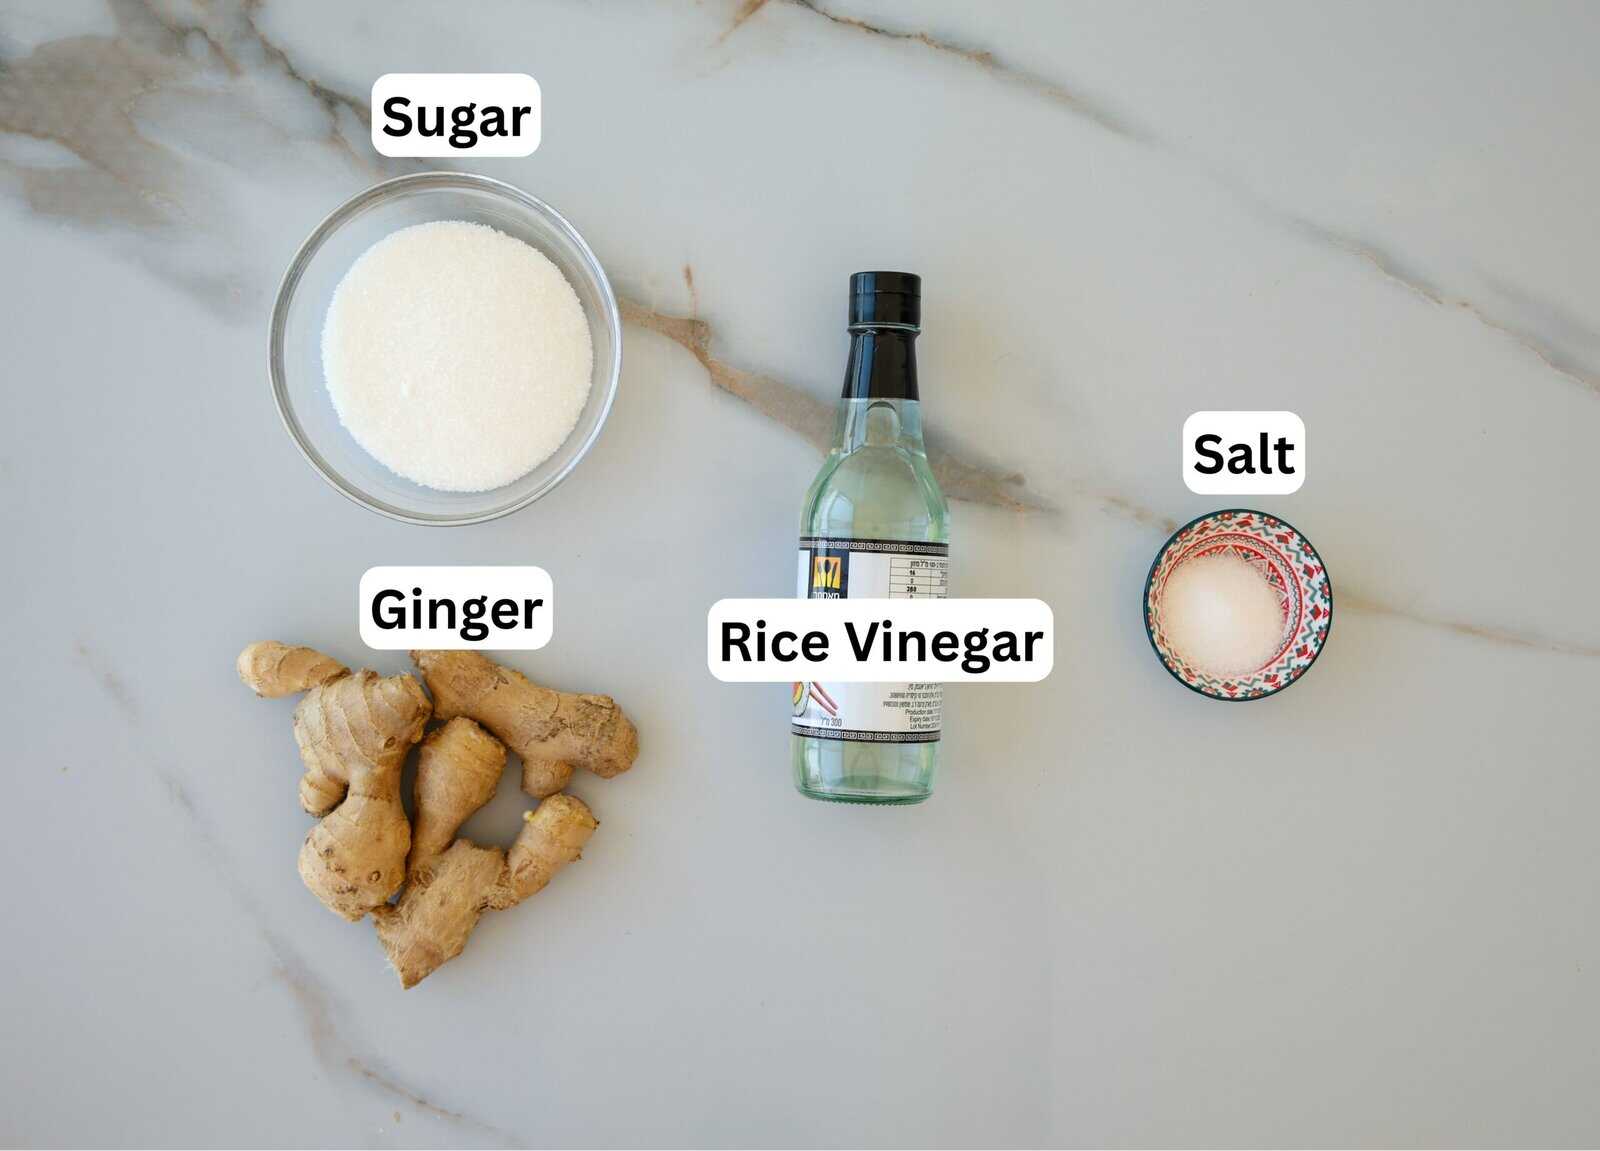
- Ginger Roots – If possible, opt for young ginger for the most authentic look and taste.
- Salt – Pickling, at its most basic, requires salt and acid to preserve the food. If you normally use table salt, this is a good excuse to pick up some kosher salt or sea salt. (Most table salt is iodized, which makes it taste bitter. While you might not pick that flavor up in a full dish, it becomes pretty noticeable here.)
- Rice Vinegar – This is a time where no substitutes will suffice. I prefer using unseasoned rice wine vinegar, but if you only have seasoned, that will work too.
- Sugar – Sugar both helps to tame the spiciness of ginger and works as an additional preservative. Traditional pickled sushi for ginger is pretty sweet to offset the salty-umami flavor of soy sauce and the horseradish heat of wasabi, but you’re welcome to adjust to your own preference.
This is just a short review of the ingredients; for the complete recipe, including quantities, scroll down to the recipe card 👇
All About Ginger
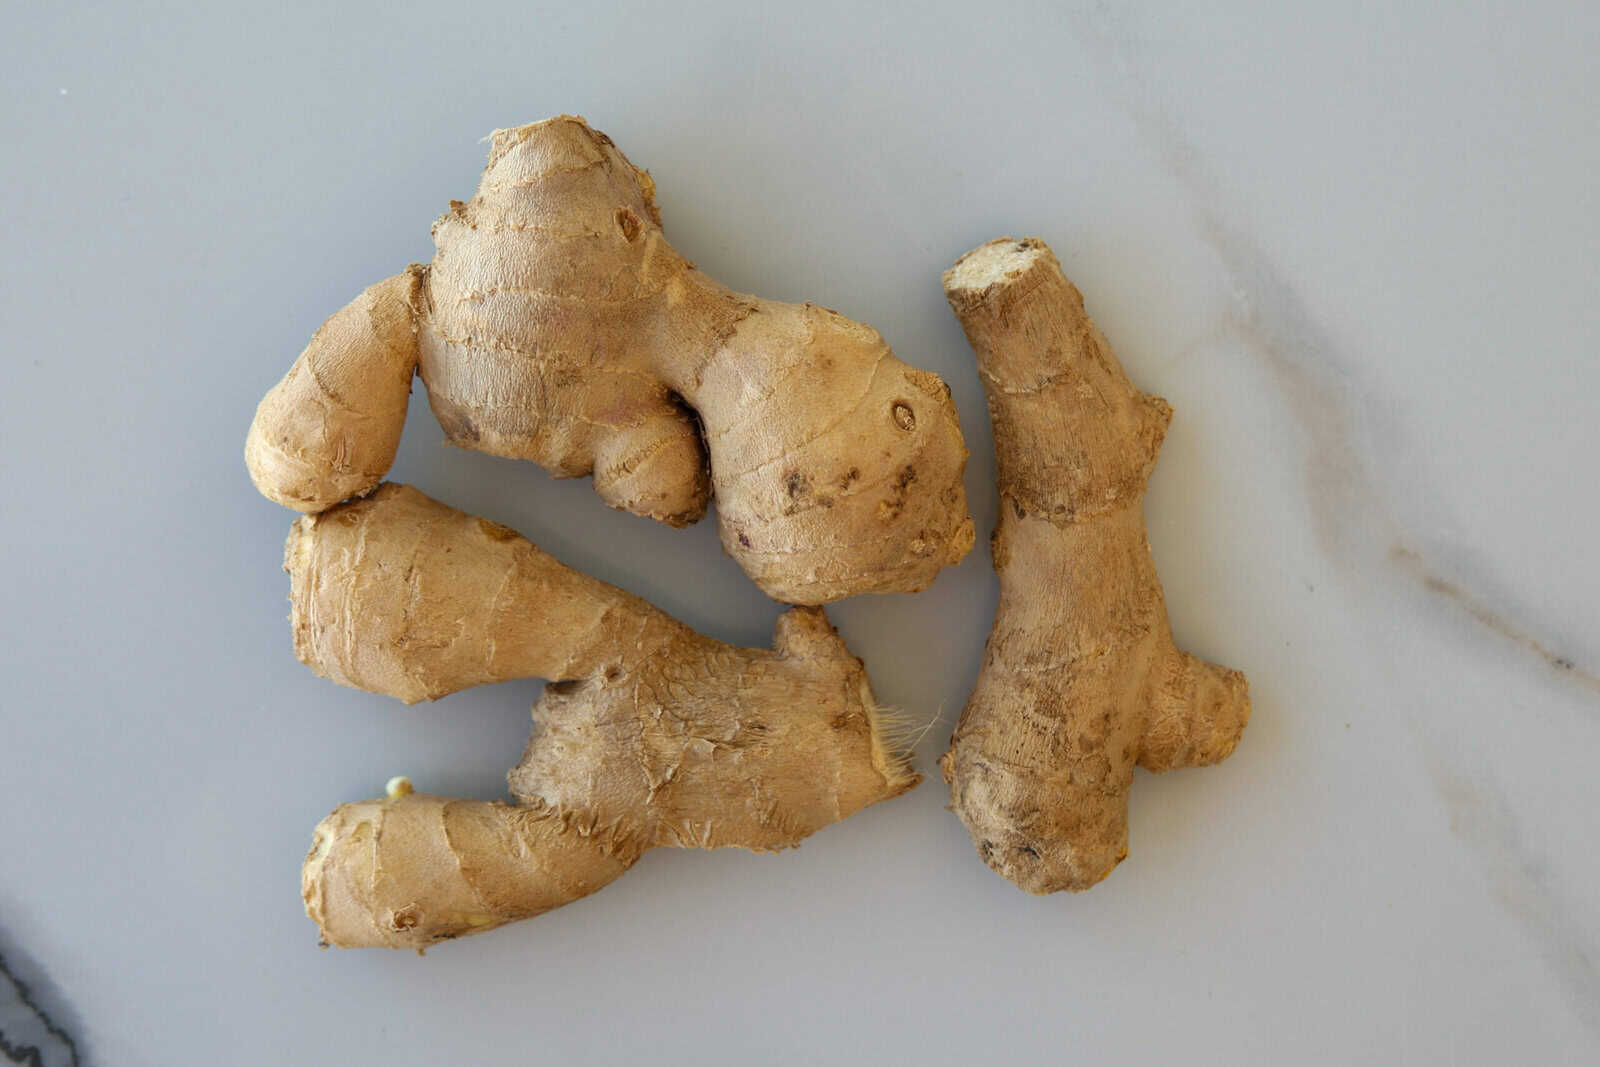
Ginger is a knobby root that comes in two main forms: young ginger (spring ginger) and mature (old) ginger. Young ginger, which is harvested early, has smooth, thin skin and a tender, juicy texture. It’s much milder in flavor, which makes it perfect for recipes like pickled ginger (gari). You can slice it paper-thin, and it will stay pleasantly crisp yet delicate once pickled.
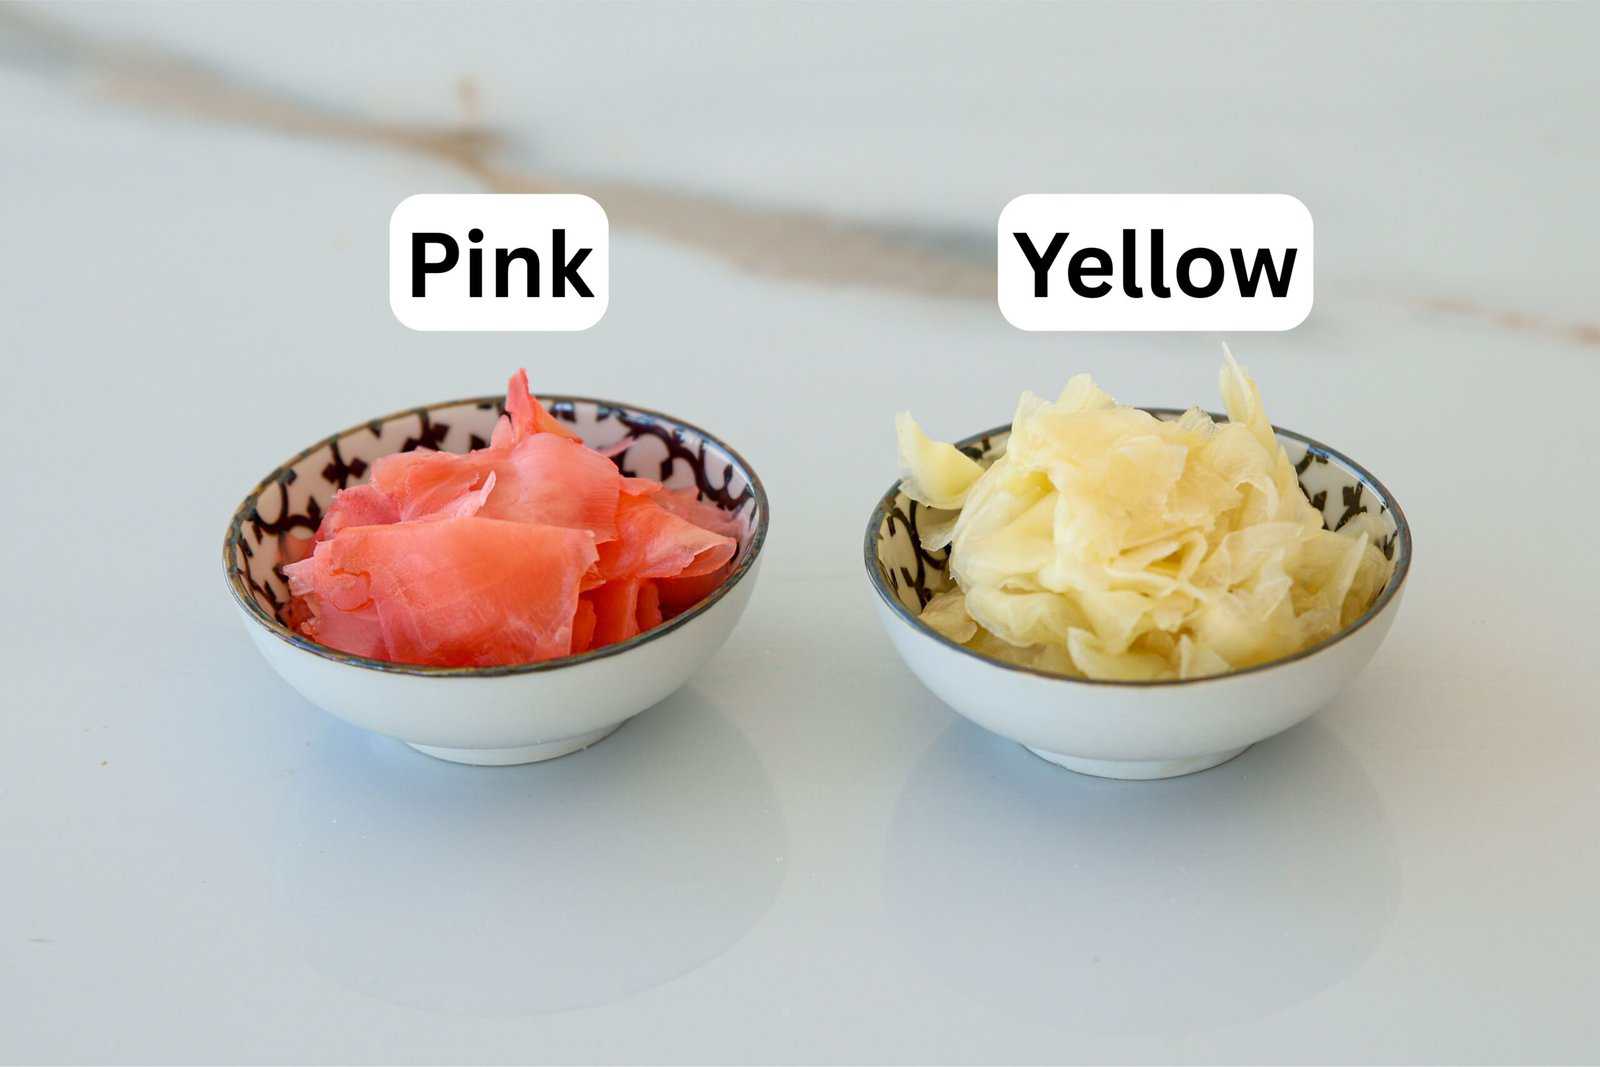
Mature ginger has tougher, fibrous flesh and thicker skin. It’s the variety most often found at grocery stores, and while it’s fantastic for grating into stir-fries, teas, or marinades, it’s not ideal for gari since it can be too stringy to enjoy in thin slices. That said, it can still be used! The end result will be yellow and will have a spicier ginger flavor.
Interestingly, pickled ginger is served with sushi because it acts as a palate cleanser. Its mild sweetness and tangy vinegar base refresh your taste buds, helping you better appreciate the subtle differences in flavor between one piece of sushi and the next. It’s meant to be eaten between bites, not layered on top of the sushi itself.
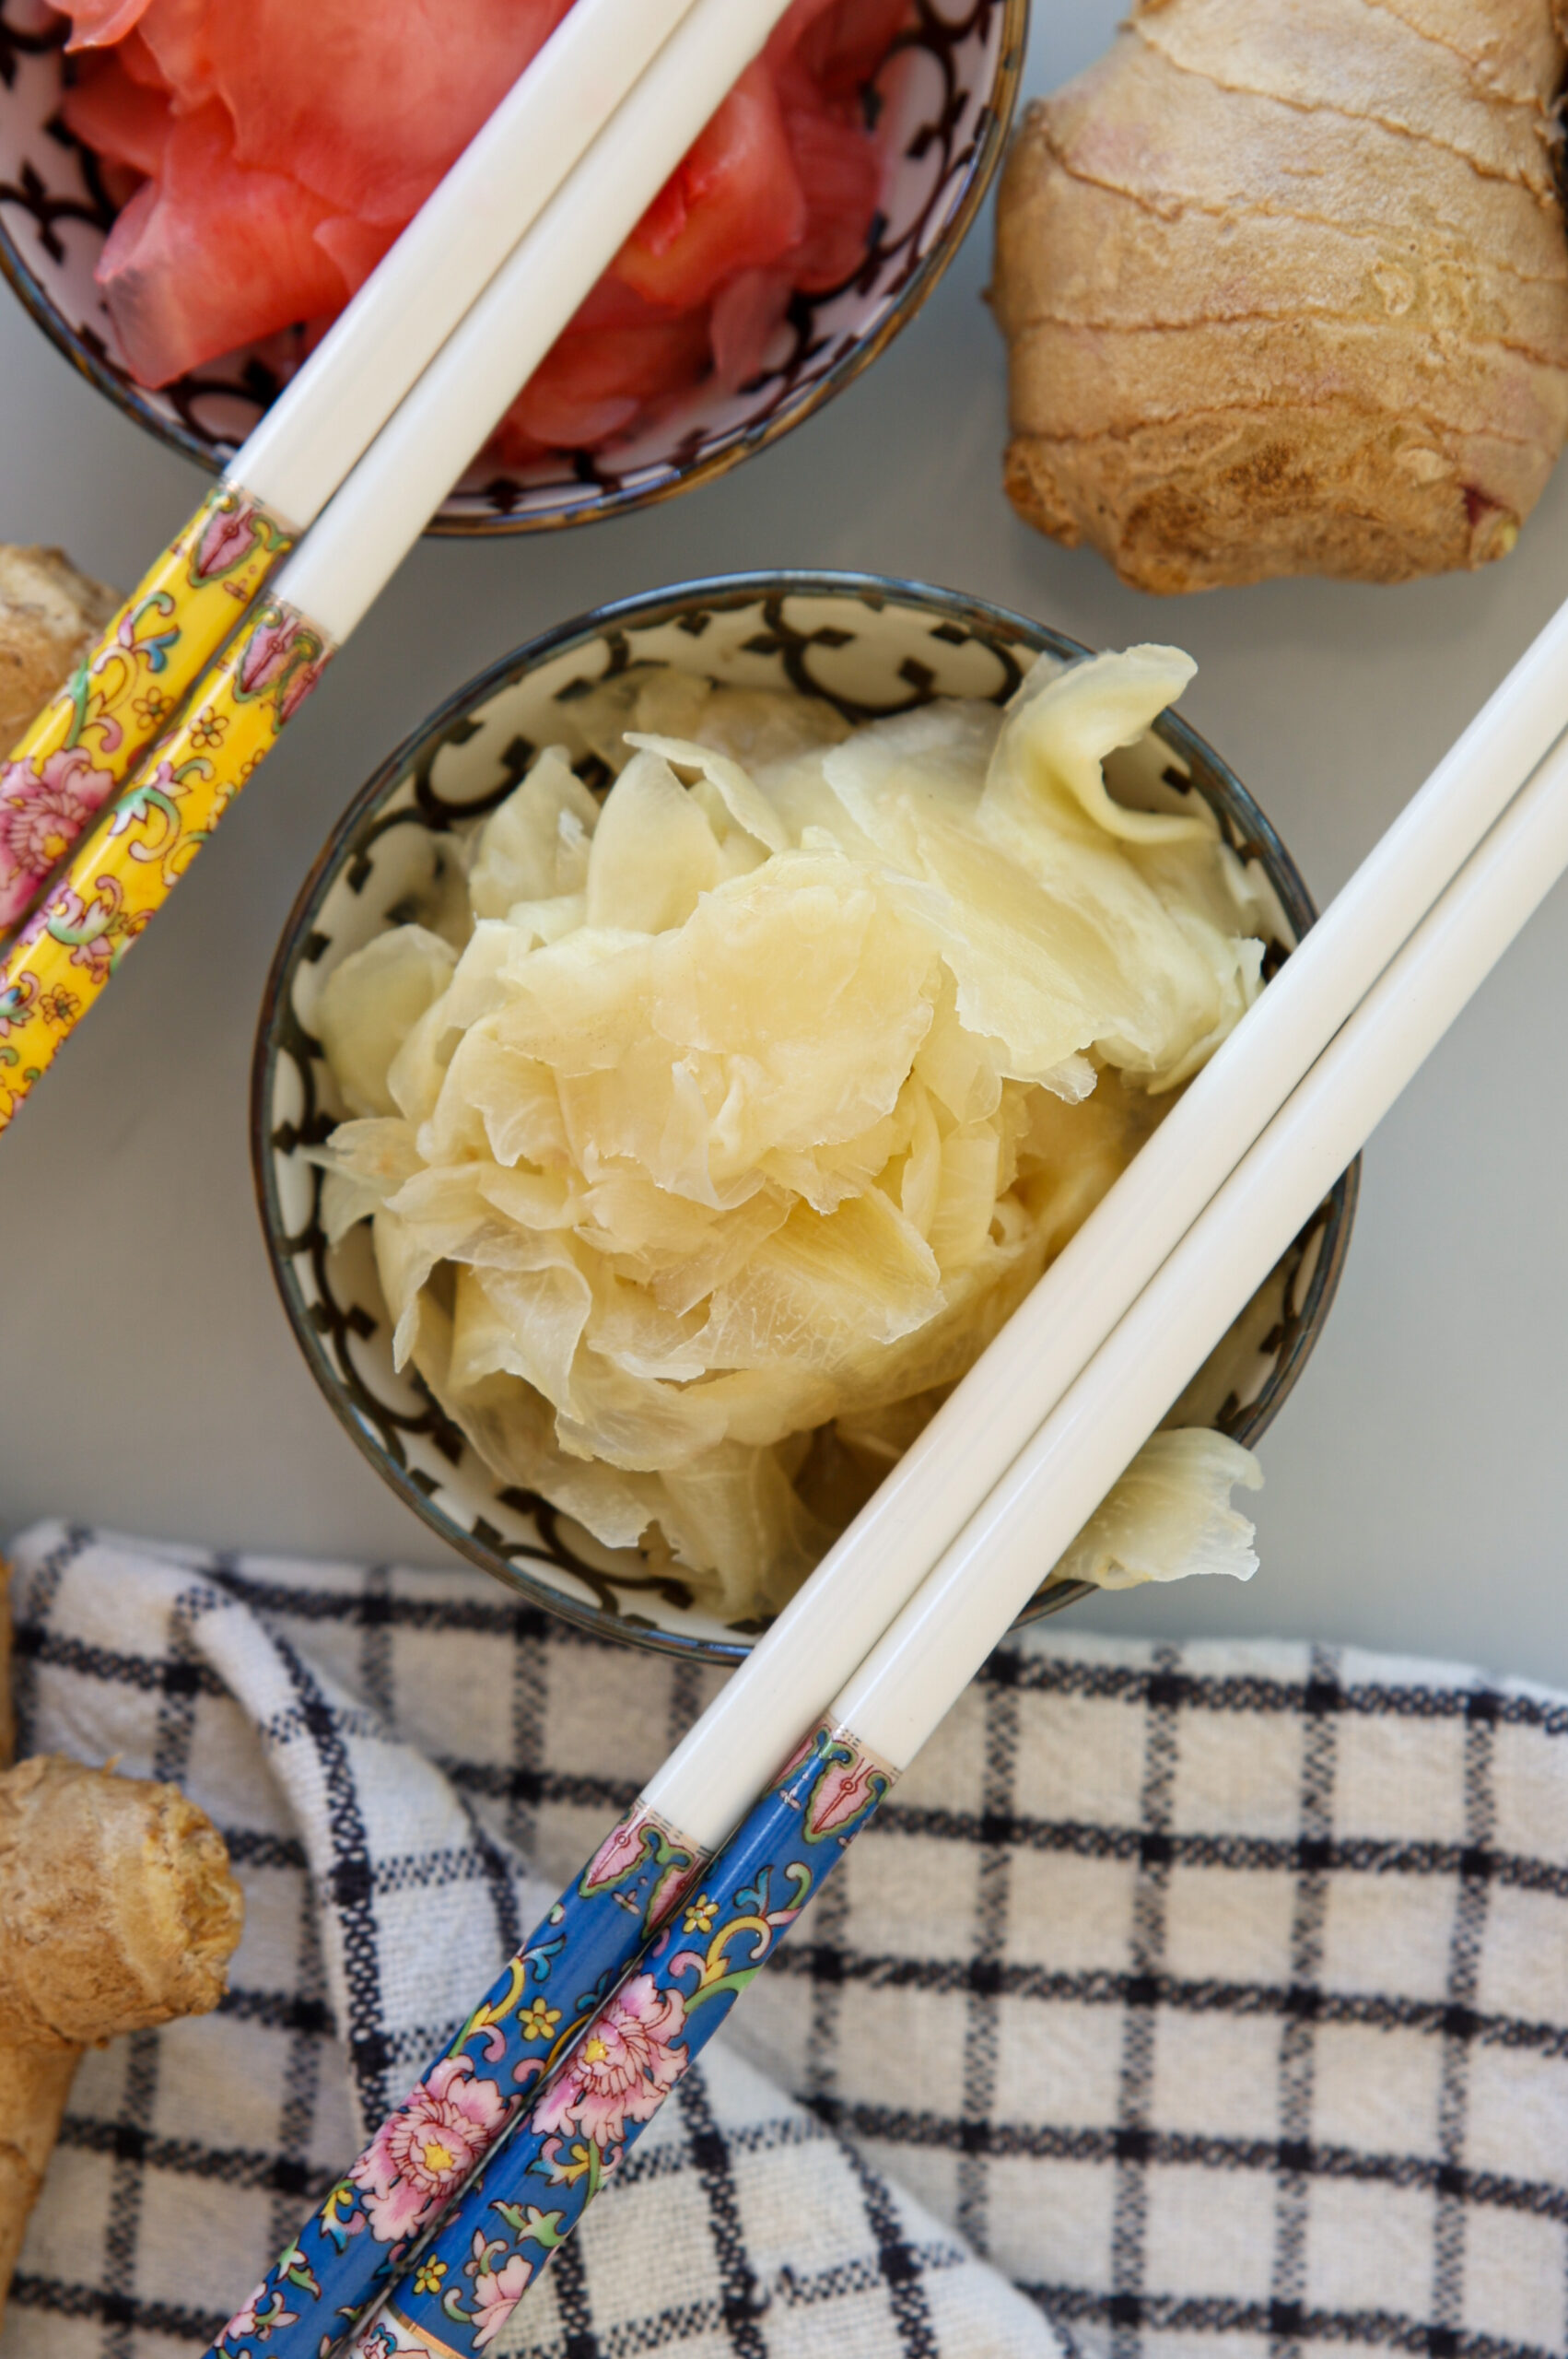
It’s also worth noting the difference between two different types of pickled Japanese ginger. Gari (a.k.a. shin shoga, which is the type we’re making here), is the pale pink or yellow, thinly sliced ginger you’ll see alongside sushi. Its soft color often comes naturally when young ginger is pickled, though many commercial versions add food dye.
Beni shoga, on the other hand, is shredded bright red pickled ginger. It’s pickled in plum vinegar rather than rice vinegar and is sharper and saltier than gari. It’s also used differently, not for sushi but as a punchy condiment for savory Japanese dishes like yakisoba, okonomiyaki, and gyudon (beef bowls).
How to Make Pickled Ginger
Watch the full video recipe to learn how to make the BEST Pink Ginger for Sushi. This step-by-step tutorial simplifies the process, offering tips and tricks to guarantee perfect results every time.
Prefer the written recipe? Scroll down to the recipe box 👇
Optional Variations & Dietary Adaptations
- Flavor Boosters – Traditional gari is lightly sweet and tangy, but you can play with the flavor. Add a splash of mirin for richer sweetness, or stir in a pinch of chili flakes if you prefer a spicy kick. For a more floral note, try swapping some of the sugar with a drizzle of honey (if not strictly vegan).
- Color Tip – Young ginger naturally blushes pink when pickled, but if you’re using older ginger and want the classic sushi-bar look, slip a very thin slice of beet into the jar. It will gently tint the ginger a natural pink without affecting the flavor much.
- Sugar-Free or Diabetic-Friendly – You can make pickled ginger without refined sugar by using a sugar substitute like stevia, monk fruit sweetener, or allulose. Just be sure to adjust to taste, since different sweeteners vary in intensity.
Expert Tips & Tricks
- Choose young ginger when possible. It’s less fibrous, easier to slice, and naturally blushes pink once pickled. If you can only find mature ginger, peel it thoroughly and slice extra thin for the best texture.
- Slice evenly. A mandoline or a sharp knife makes it much easier to get ultra-thin, uniform slices. Thinner slices absorb the pickling liquid faster and give you that delicate texture you’re used to with sushi.
- Blanch before pickling. Briefly blanching the ginger in boiling water helps mellow its bite, tenderizes the slices, and makes them more absorbent for the sweet-sour brine.
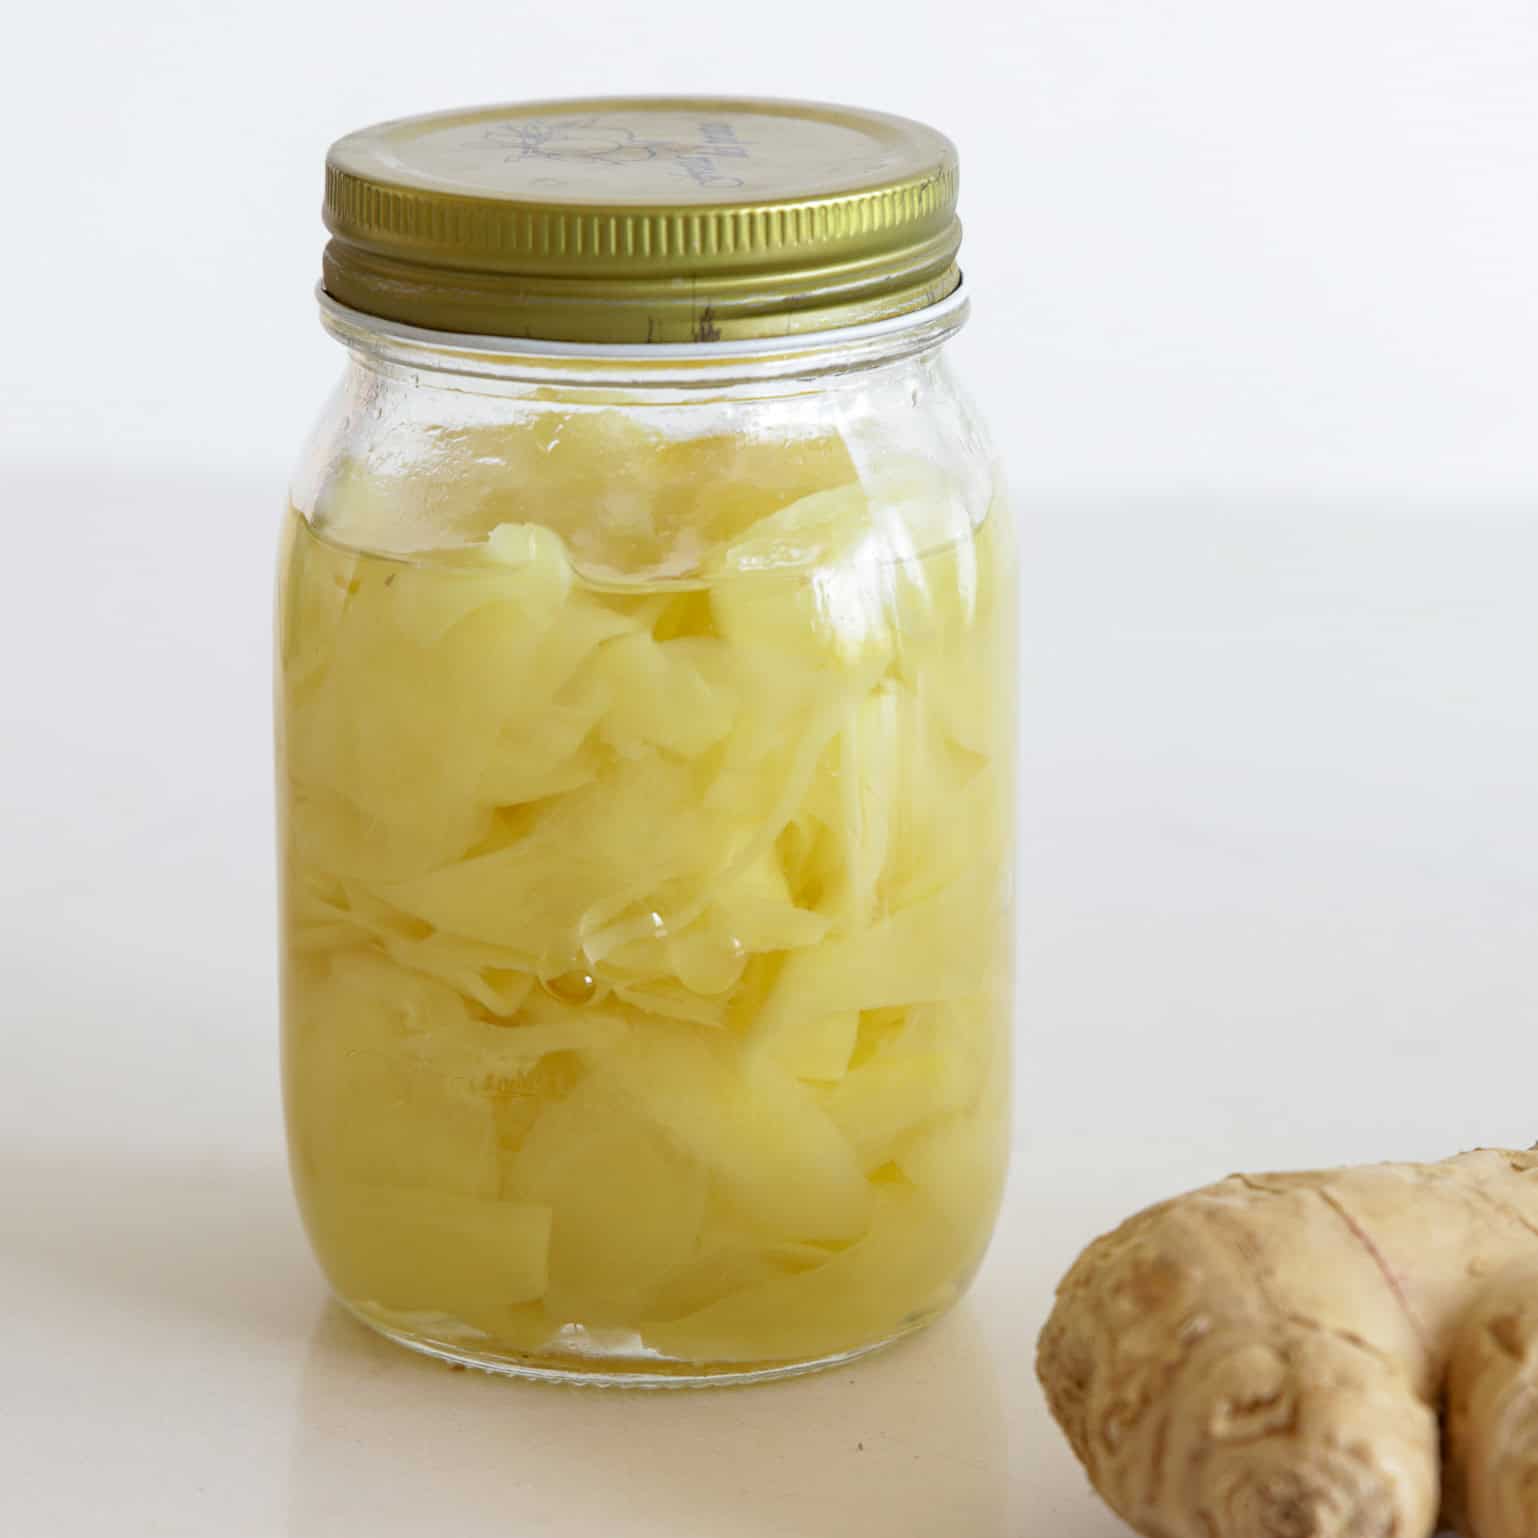
- Sterilize your jar. Pickled ginger lasts longer and stays fresher if you use a clean, sterilized glass jar with a tight-fitting lid.
- Let it rest. Gari needs at least 24 hours in the fridge before the flavors fully develop. The longer it sits (up to 2–3 weeks), the more complex the flavor becomes.
- Taste and adjust. The balance of sweet and tangy can vary by preference. Don’t be afraid to tweak the amount of sugar or vinegar slightly to get your perfect bite.
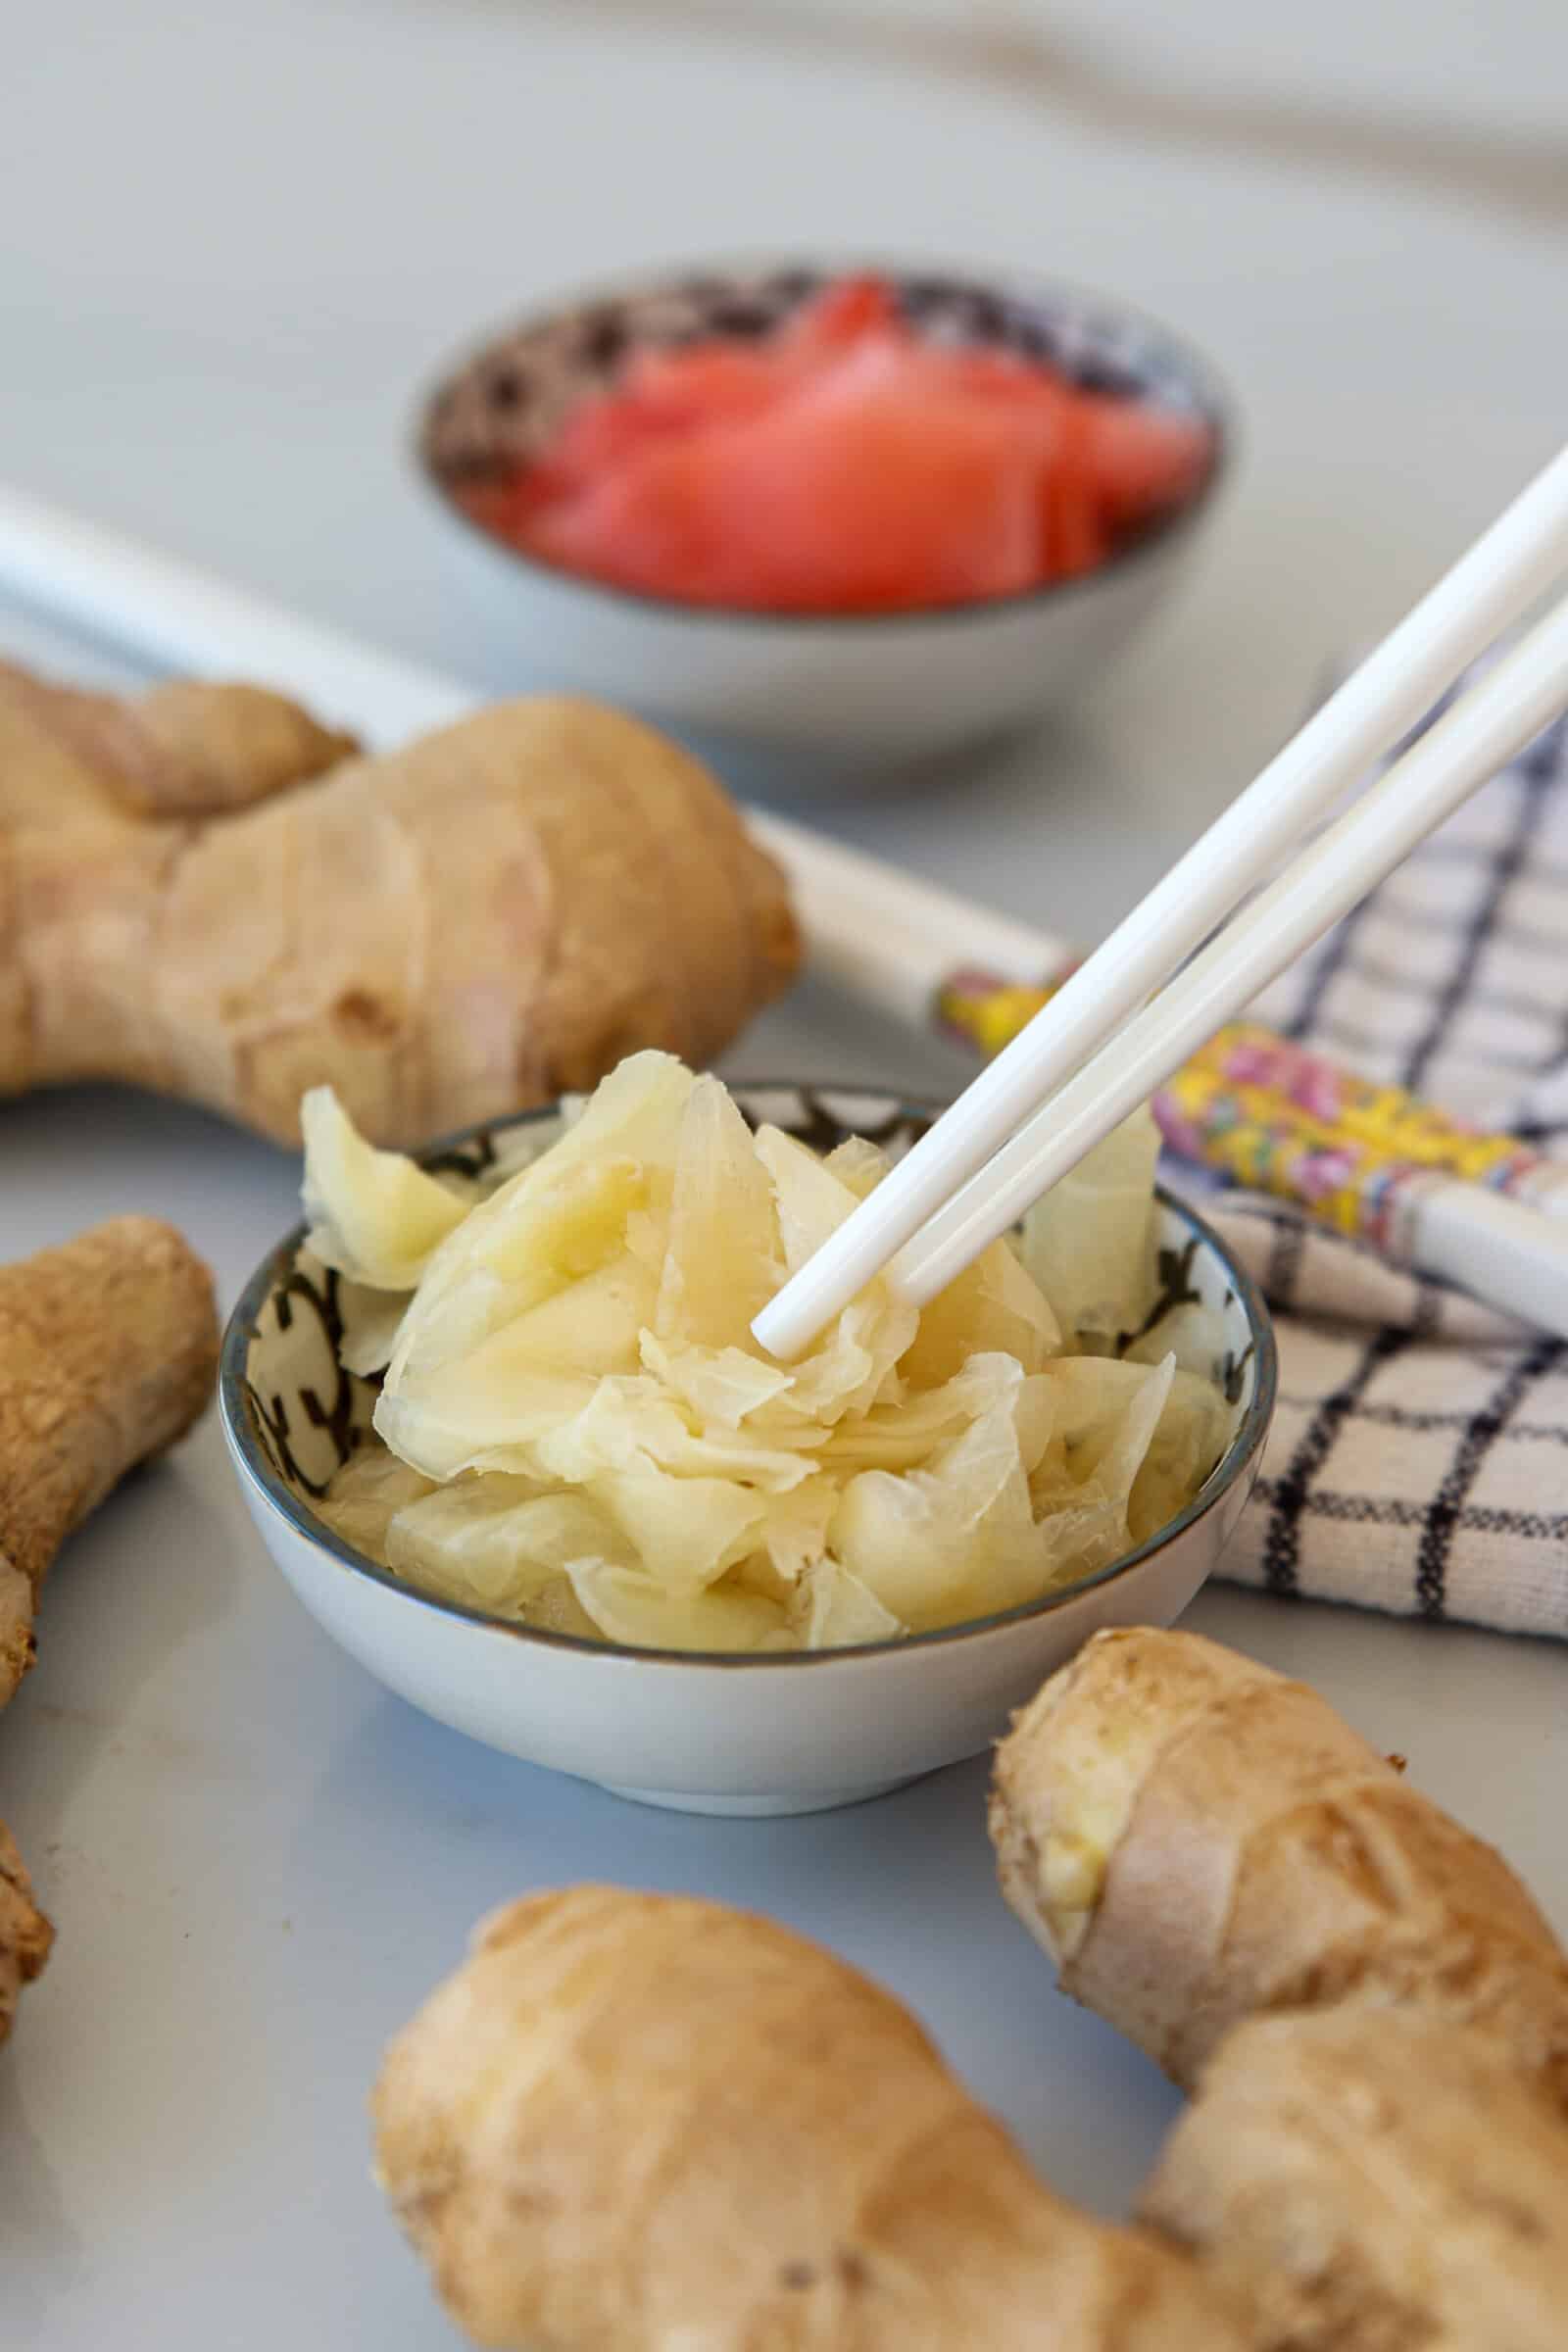
How to Serve Pickled Ginger
Pickled ginger is best known as a sushi companion, served on the side to cleanse the palate between different types of fish or rolls. But gari’s sweet-tart, zesty flavor makes it more versatile than you might expect. Tuck it into tuna poke bowls, smoked salmon bowls, or Buddha bowls for a refreshing contrast, or add it to salads and wraps for a bright pop of flavor.
It also pairs beautifully with smoked salmon on bagels or toast, and it can even upgrade a simple tuna salad sandwich with its tangy-sweet bite. For something unexpected, try finely chopping a bit of gari and stirring it into salad dressings, marinades, or even cocktails for a zingy twist.
How to Store Pickled Ginger (Gari)
- Make-Ahead – Pickled ginger actually tastes better after it rests. Let it chill in the refrigerator for at least 24 hours before serving to allow the flavors to fully develop.
- Refrigeration – Store your pickled ginger in a clean, airtight glass jar in the refrigerator. It will stay fresh for 2–3 weeks, and the flavor often deepens over time.
- Handling – Always use a clean utensil to remove ginger from the jar to prevent introducing bacteria that could shorten its shelf life.
- Freezing (Optional) – For longer storage, freeze gari in small portions (such as ice cube trays). Once solid, transfer to a freezer-safe bag or container. Frozen gari keeps for up to 3 months and can be thawed in the fridge as needed. Note that the texture may change slightly.
More DIY Recipes
Homemade Pickled Ginger (Gari) for Sushi
Ingredients
- 4 Ginger roots Young ginger, if available, otherwise regular
- 2½ teaspoons salt divided
- 1 cup (240 ml) Rice vinegar
- ½ cup + 2 tablespoons (125 g) Sugar
Instructions
- Prepare the ginger: Peel the ginger with the back of a spoon or a vegetable peeler. Slice as thinly as possible with a sharp knife or mandolin.
- Salt and rest: Place slices in a bowl, sprinkle with 2 teaspoons salt, mix well, and let sit 15–20 minutes to draw out excess moisture.
- Blanch: Bring a pot of water to a boil. Add salted ginger and blanch for 2–3 minutes. Drain and let cool slightly, then squeeze out as much water as possible. Transfer to a sterilized jar.
- Make the brine: In a small saucepan, combine rice vinegar, sugar, and ½ teaspoon salt. Bring to a boil and cook 1–2 minutes, just until sugar dissolves. Remove from heat and let cool slightly.
- Pickle: Pour warm vinegar mixture over ginger. Allow to cool completely, then seal with a lid.
- Chill: Refrigerate at least 24 hours before eating to allow flavors to develop.
Video
Notes
- Young vs. regular ginger: Traditional gari is made with young ginger (shin shoga), which has pale, thin skin and tender flesh. It naturally turns a delicate pink when pickled. Regular ginger works too, but will stay more yellow and may have a spicier bite.
- Color tip: If using regular ginger but you want pink gari, add a thin slice of beet to the jar — it will naturally tint the ginger.
- Rice vinegar: Use mild rice vinegar for authentic flavor. Avoid strong vinegars like white or apple cider, which overpower the ginger.
- Sugar balance: Adjust sugar to taste. Traditional sushi ginger is slightly sweet to balance wasabi and soy sauce.
- Sterilization: Always use a clean, sterilized jar to extend shelf life and prevent spoilage.
- Storage: Refrigerate for up to 2 months. The flavor develops and mellows over time.
- Serving ideas: Classic with sushi, sashimi, poke bowls, or even in sandwiches, salads, or as a palate cleanser between courses.
- Variations: Try adding a splash of mirin for a richer sweetness, or chili flakes for a spicy twist.
FAQs
Not exactly. Sushi ginger usually refers to thin slices of young ginger pickled in a sweet vinegar brine and served with sushi as a palate cleanser. But there are other varieties of pickled ginger, too. For example, beni shōga is shredded red ginger pickled in plum vinegar (umezu) and used as a garnish for dishes like yakisoba. In India, ginger pickles are made with spices, salt, and lemon juice or vinegar, creating a bolder, spicier condiment that’s served with curries and rice. So while sushi ginger is one type of pickled ginger, not all pickled ginger is sushi ginger.
Ginger can turn pink after pickling because of natural pigments in the root. Young ginger often has pink-tipped shoots, and when it’s sliced and brined in vinegar, those pigments can spread, giving the ginger a soft blush. The acidity of the vinegar can also react with compounds in the ginger, enhancing that rosy hue. Some commercial versions boost the color with food dye, but if your ginger turns pink without any dye, know that is completely natural!
Pickled ginger, or gari, is served with sushi primarily as a palate cleanser. Its sweet-tangy flavor refreshes your taste buds between different pieces of sushi, allowing you to fully appreciate the subtle differences in fish and seasonings. It also has a practical side! Ginger has natural antimicrobial and digestive properties, which makes it a smart accompaniment to raw fish.


")


 – Creamy & One-Pot")

Good recipe! Don’t throw out that water. You can use it as a base for ramen, any soup or as a sauce just needs to thicken.
Well presented. I will make some soon.